
Network Cabinet Goethe45
November 11, 2024
This post was translated into English by AI. Read the original →
Project description
My office was in the technical room of the Goethe45 in Bremerhaven. To gain more space, I removed the old network cabinet and replaced it with a new, cleanly wired system. Rack, patch panels, and all other components were already on site — so it was mainly about the build and the wiring itself.
The goal: bring all the network sockets of the office floor together in a structured way at a central patch panel, integrate two WiFi routers, and build the cabinet so that it stays maintainable in the long term.
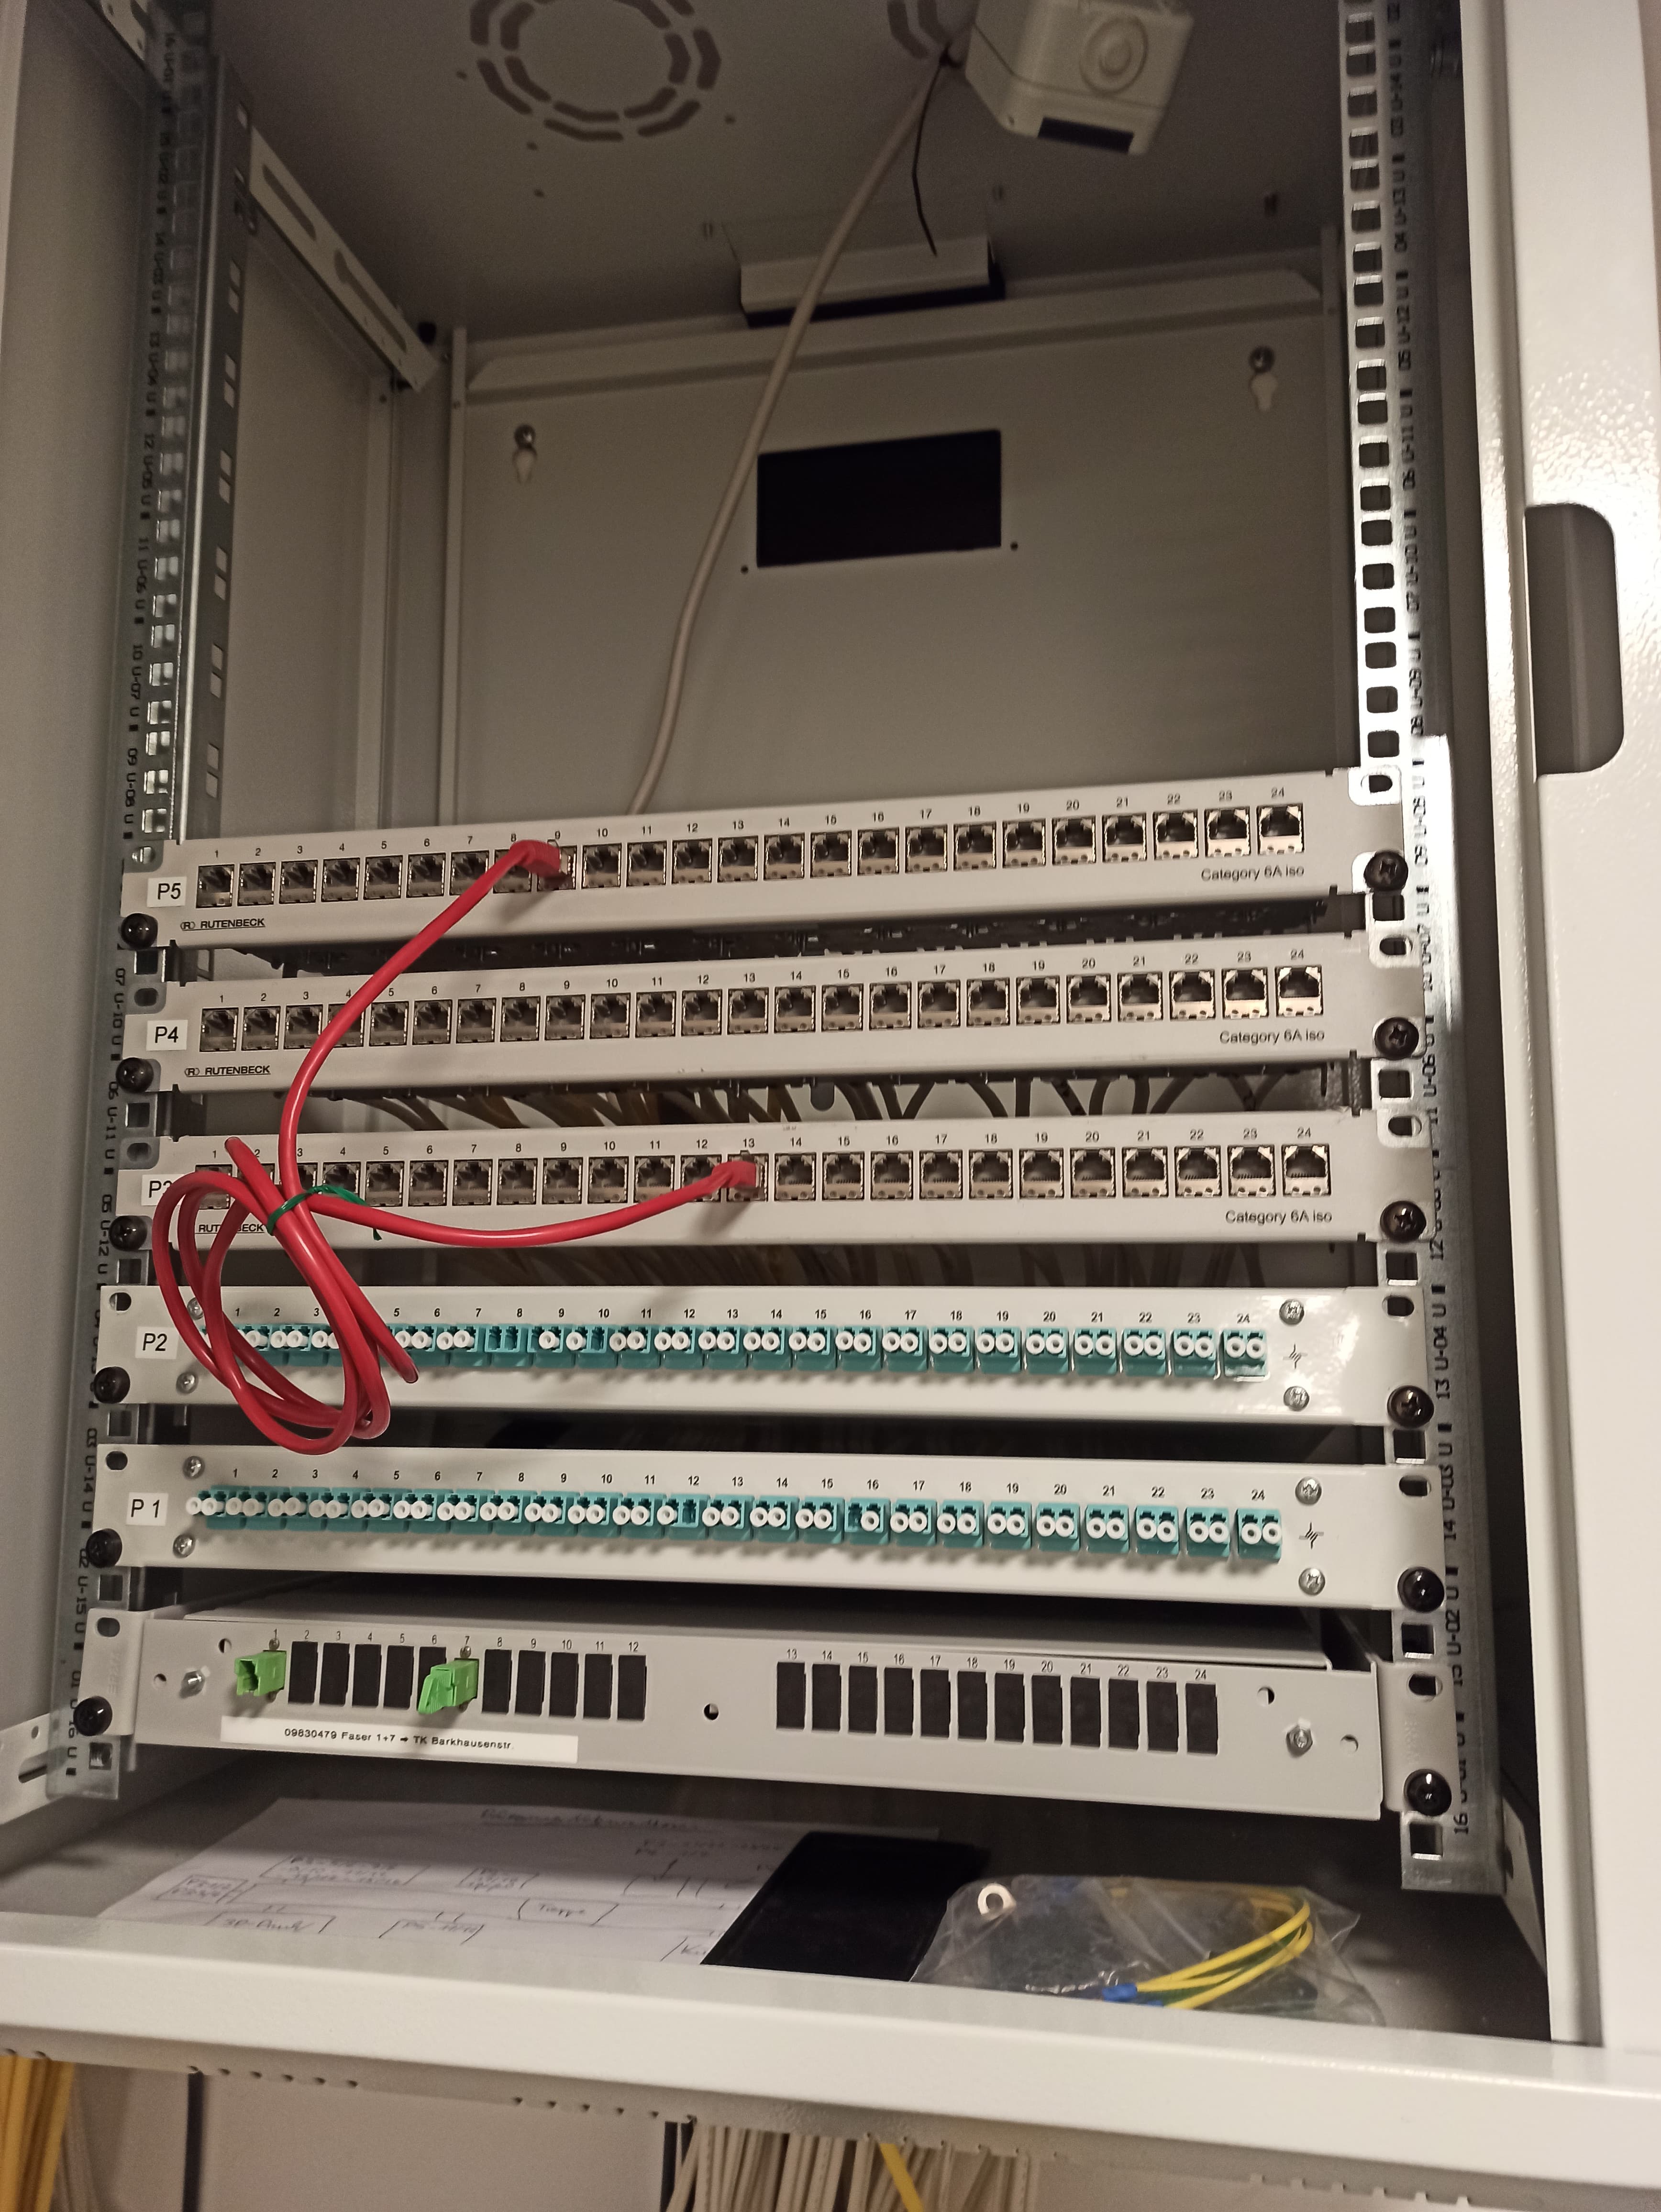
View into the finished network cabinet: all patch panels are mounted and wired.
Starting situation
The network sockets in the nine office rooms were already laid — depending on room size with one to three double sockets. The Cat-7 cables previously ran into the technical room unstructured and unterminated. A working, cleanly labeled network cabinet was missing. In addition there was a connection from the basement via Cat cable that also had to be integrated.
Build and approach
Install the rack and mount the patch panels
First, the old cabinet was removed and the new rack mounted in its place. Then the patch panels were inserted and labeled, to ease the later assignment of the cables.
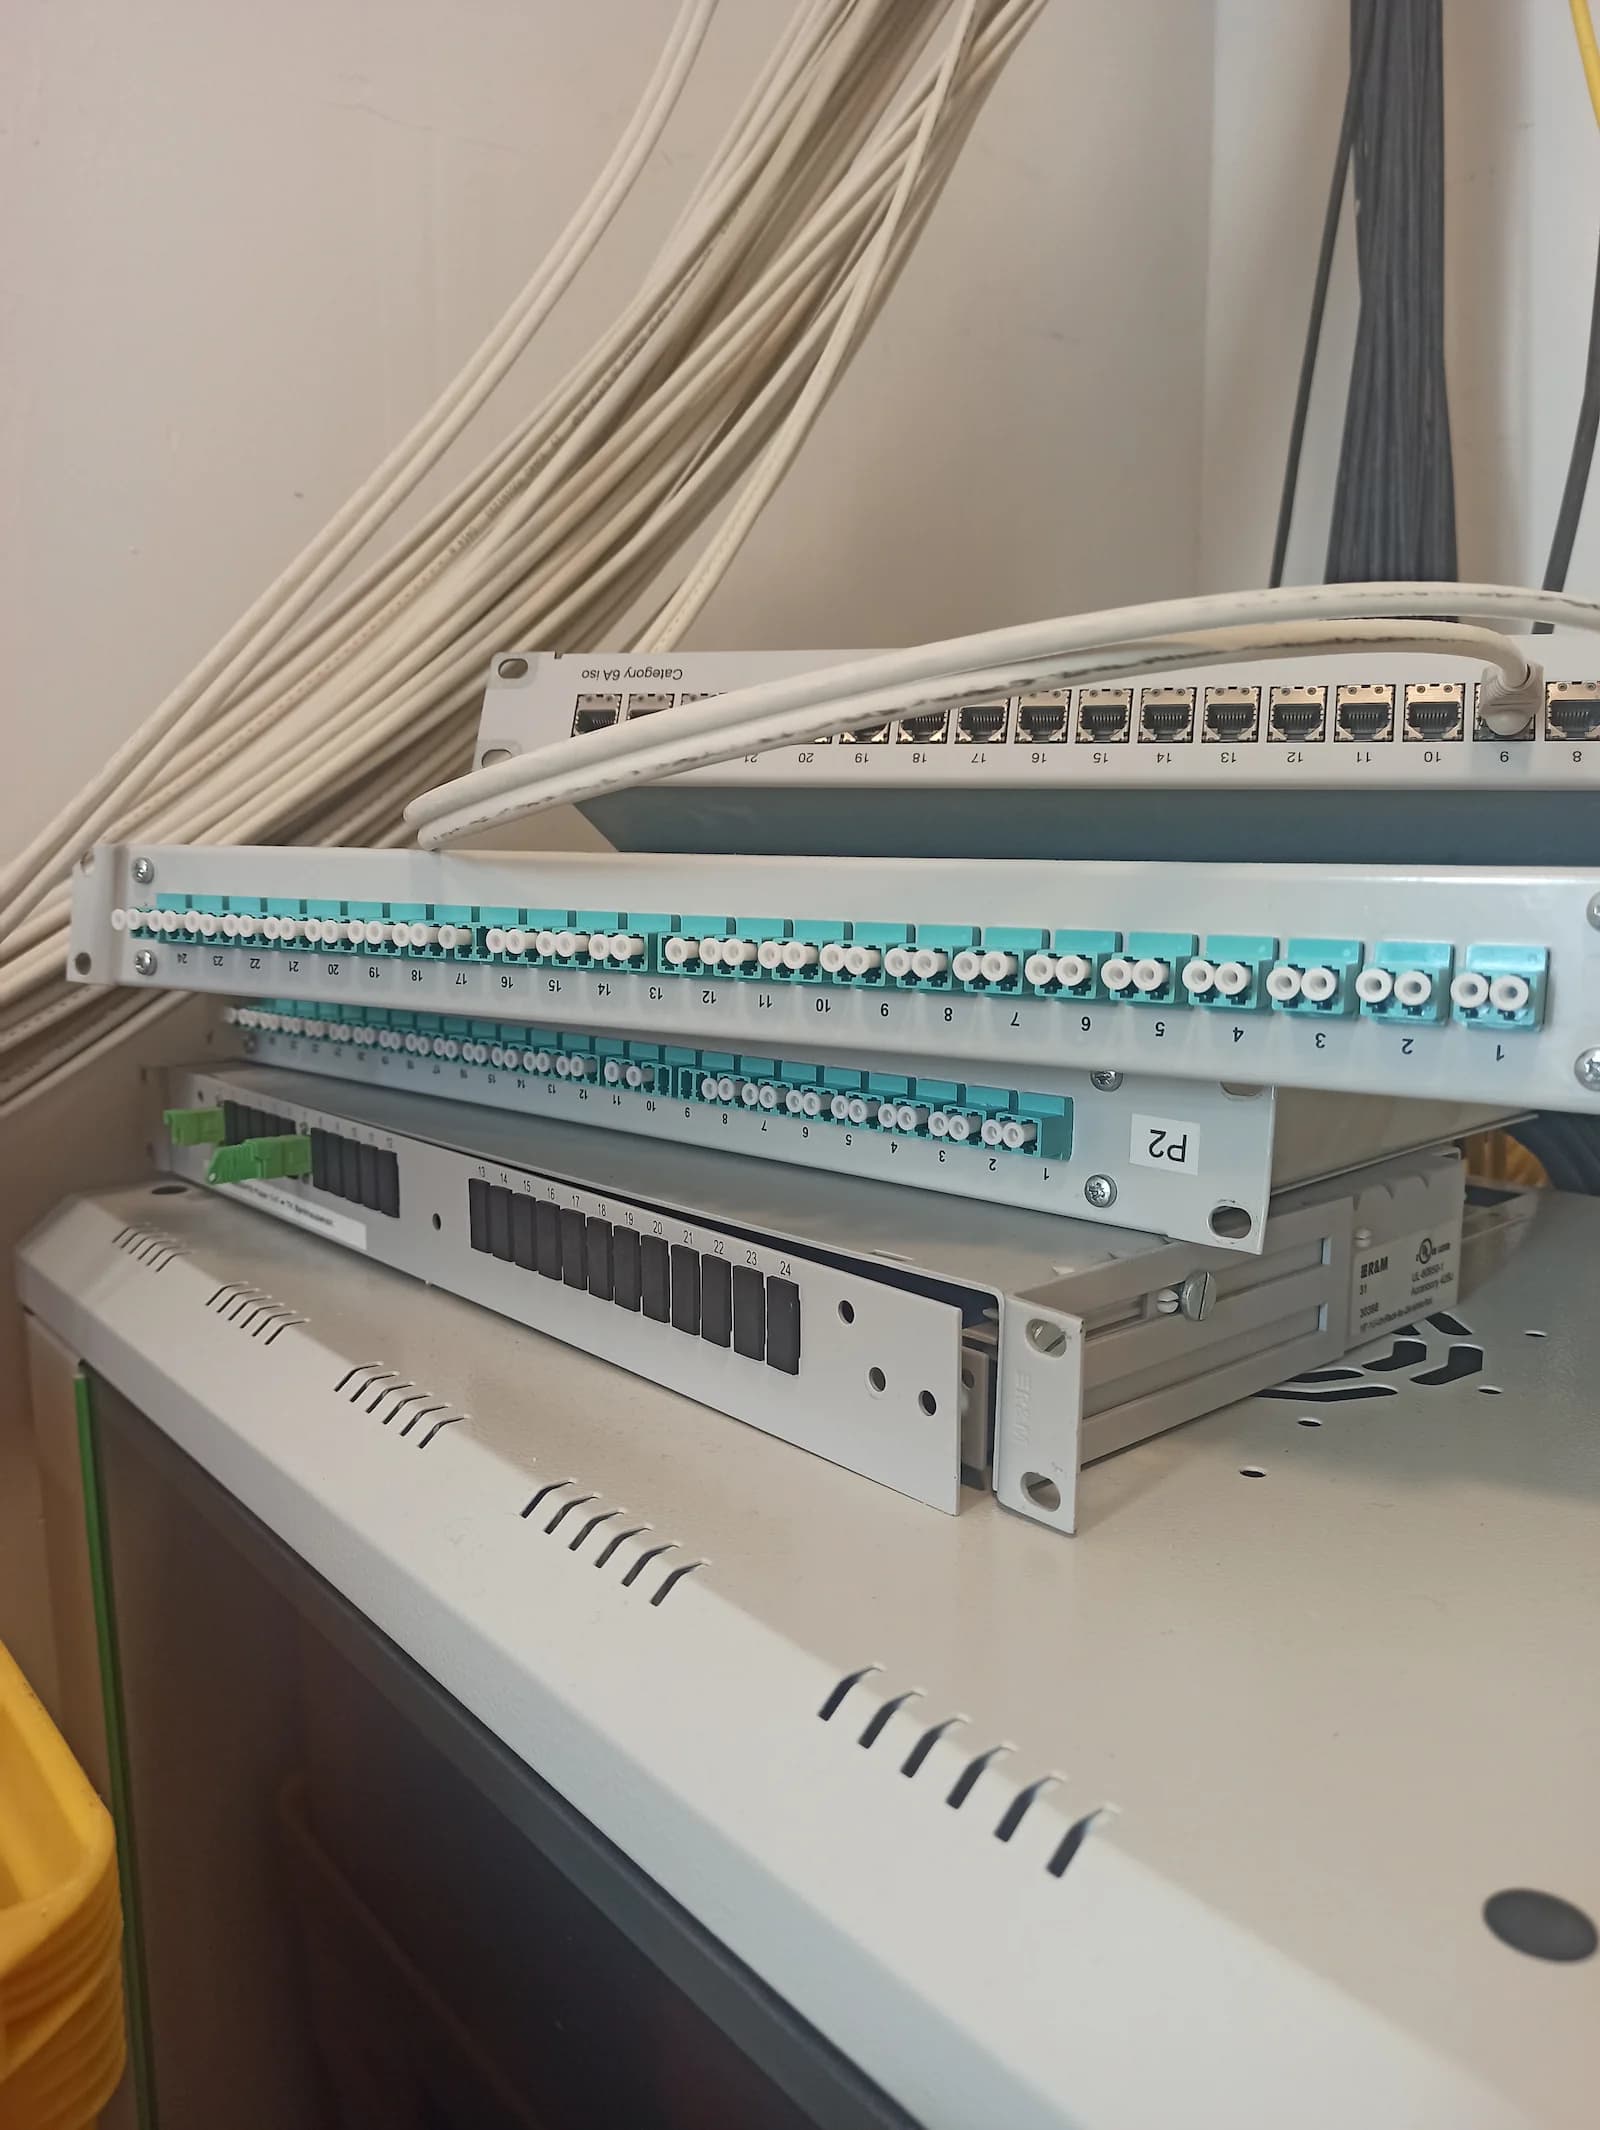
One of the first mounted patch panels, still before inserting and terminating the cables.
Strip and terminate the cables
The most laborious part was preparing the Cat-7 cables. Each cable had to be stripped individually — which revealed the complex shielding construction of the UCHWE Cat-7 Super Screen cables: each pair of wires is individually shielded with aluminum foil, and a braided overall shield additionally surrounds all the pairs.
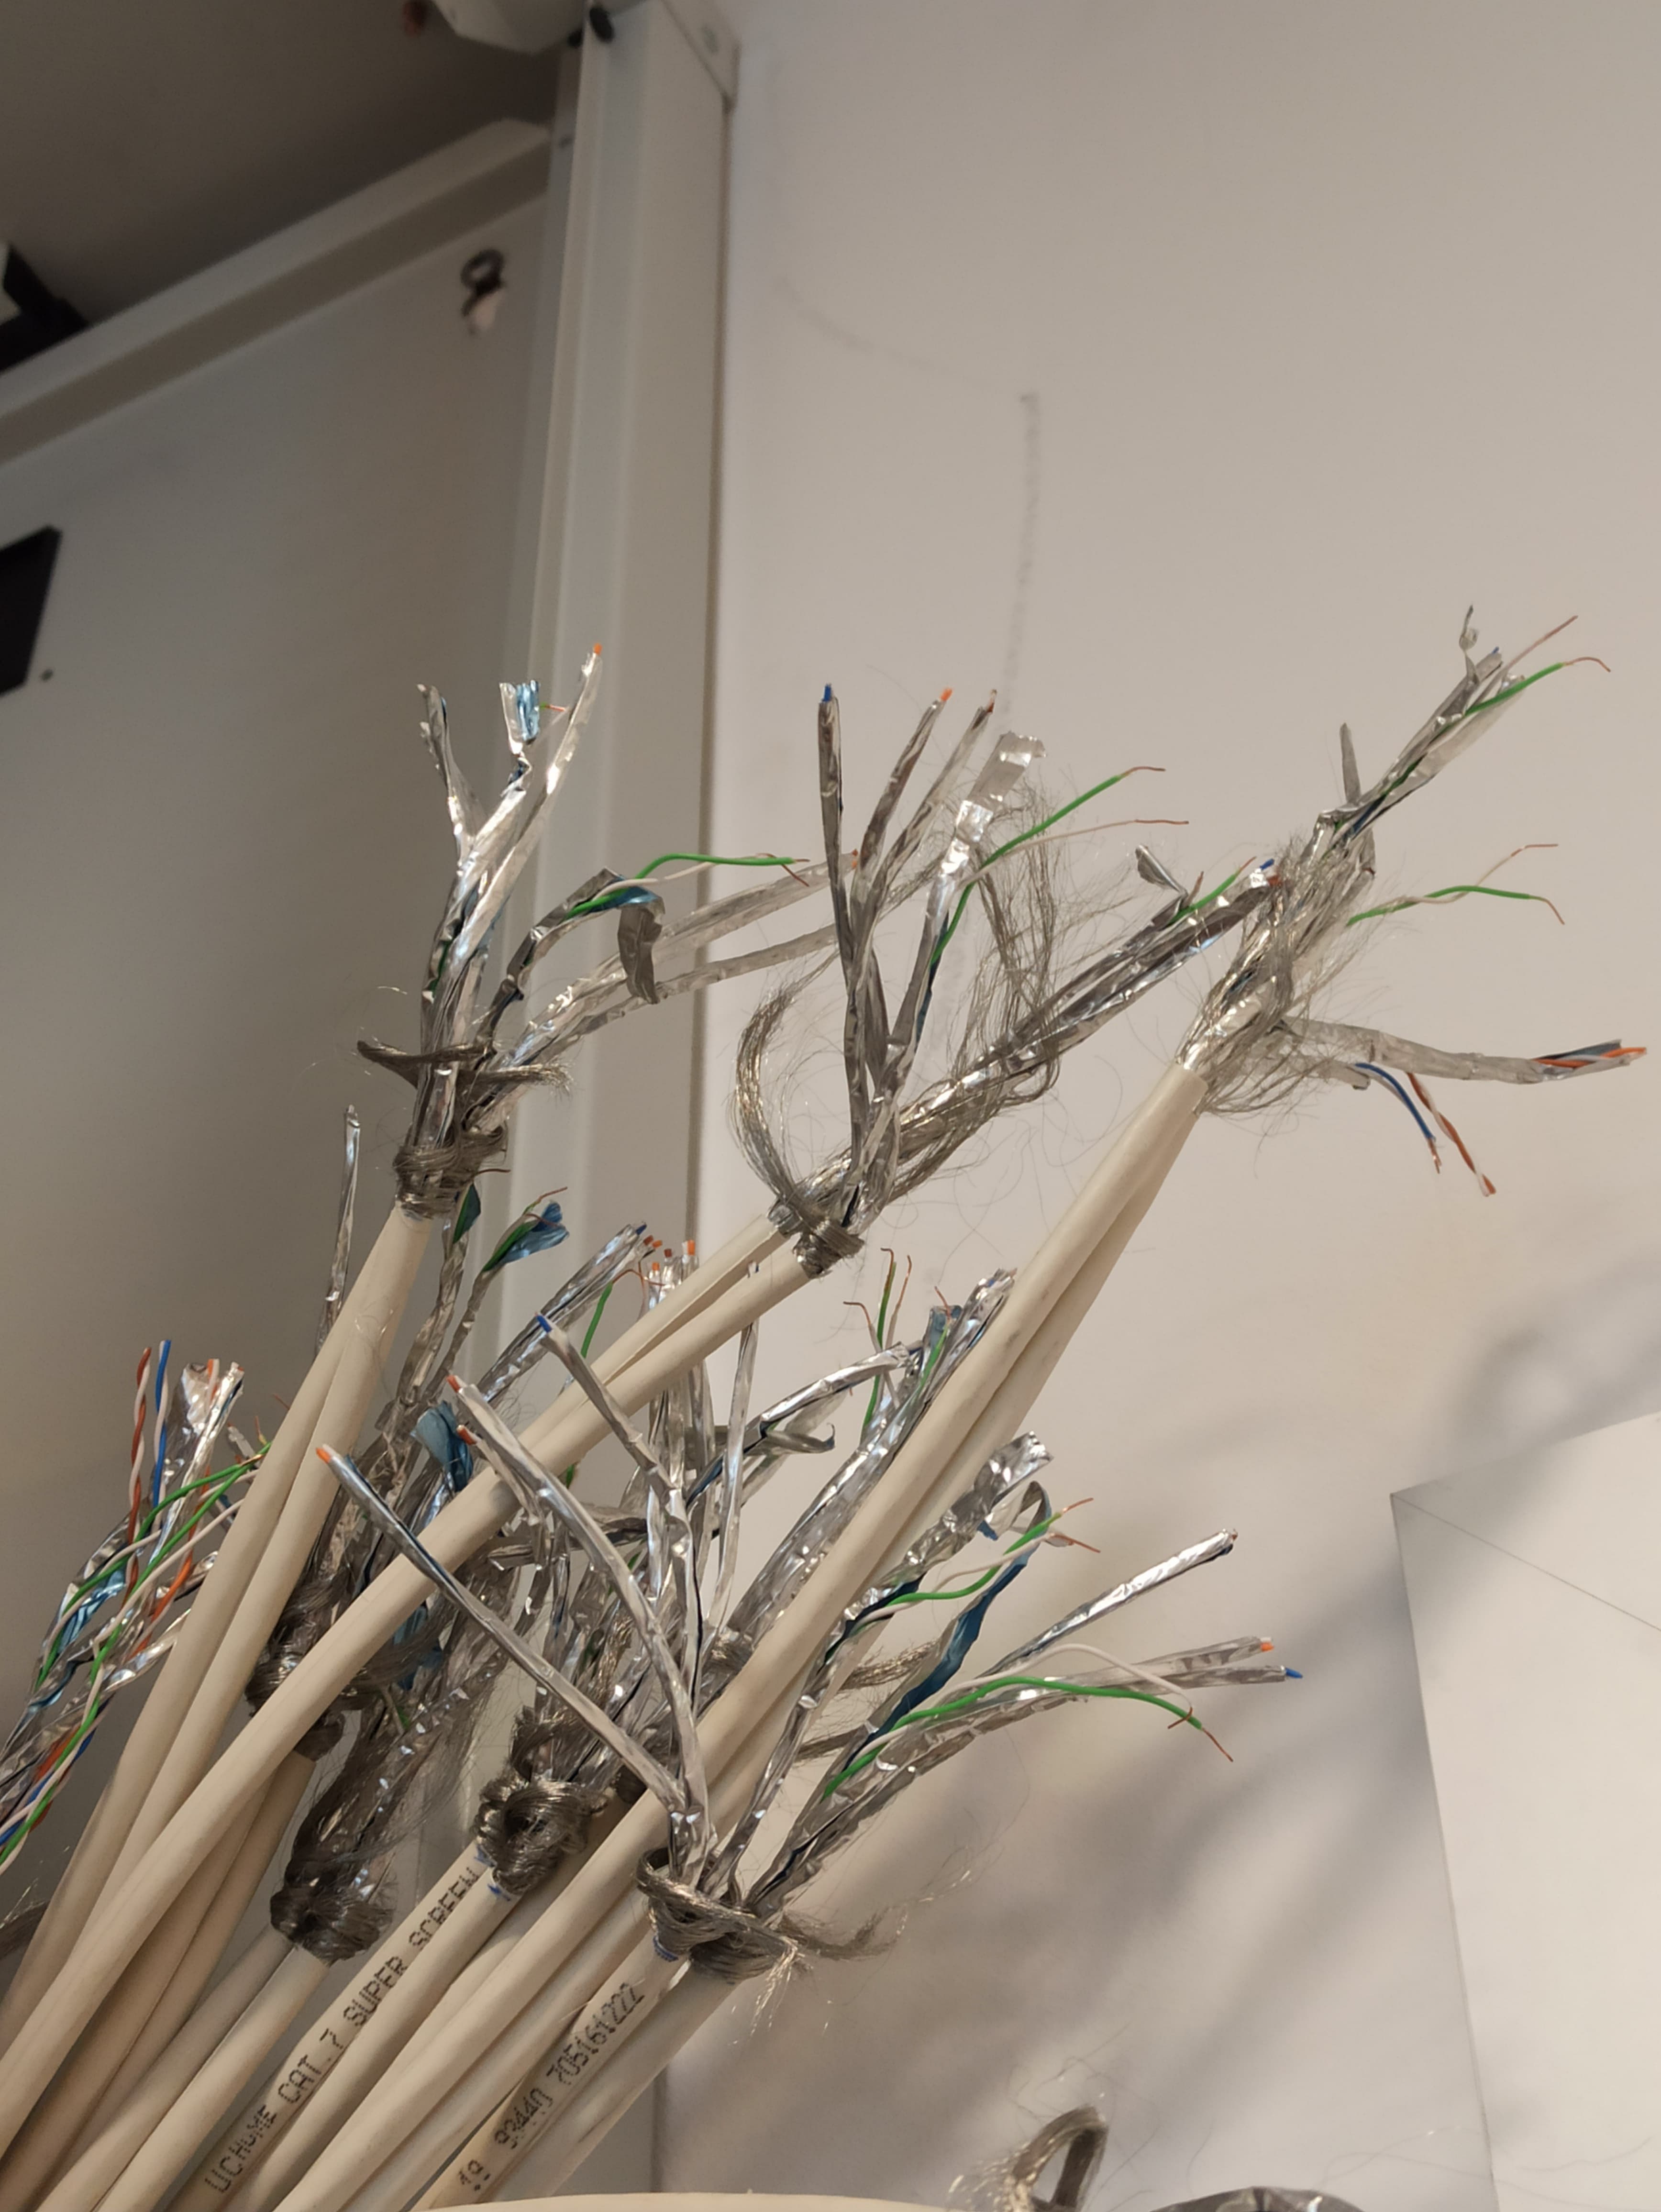
The stripped Cat-7 cables before insertion into the patch panels.
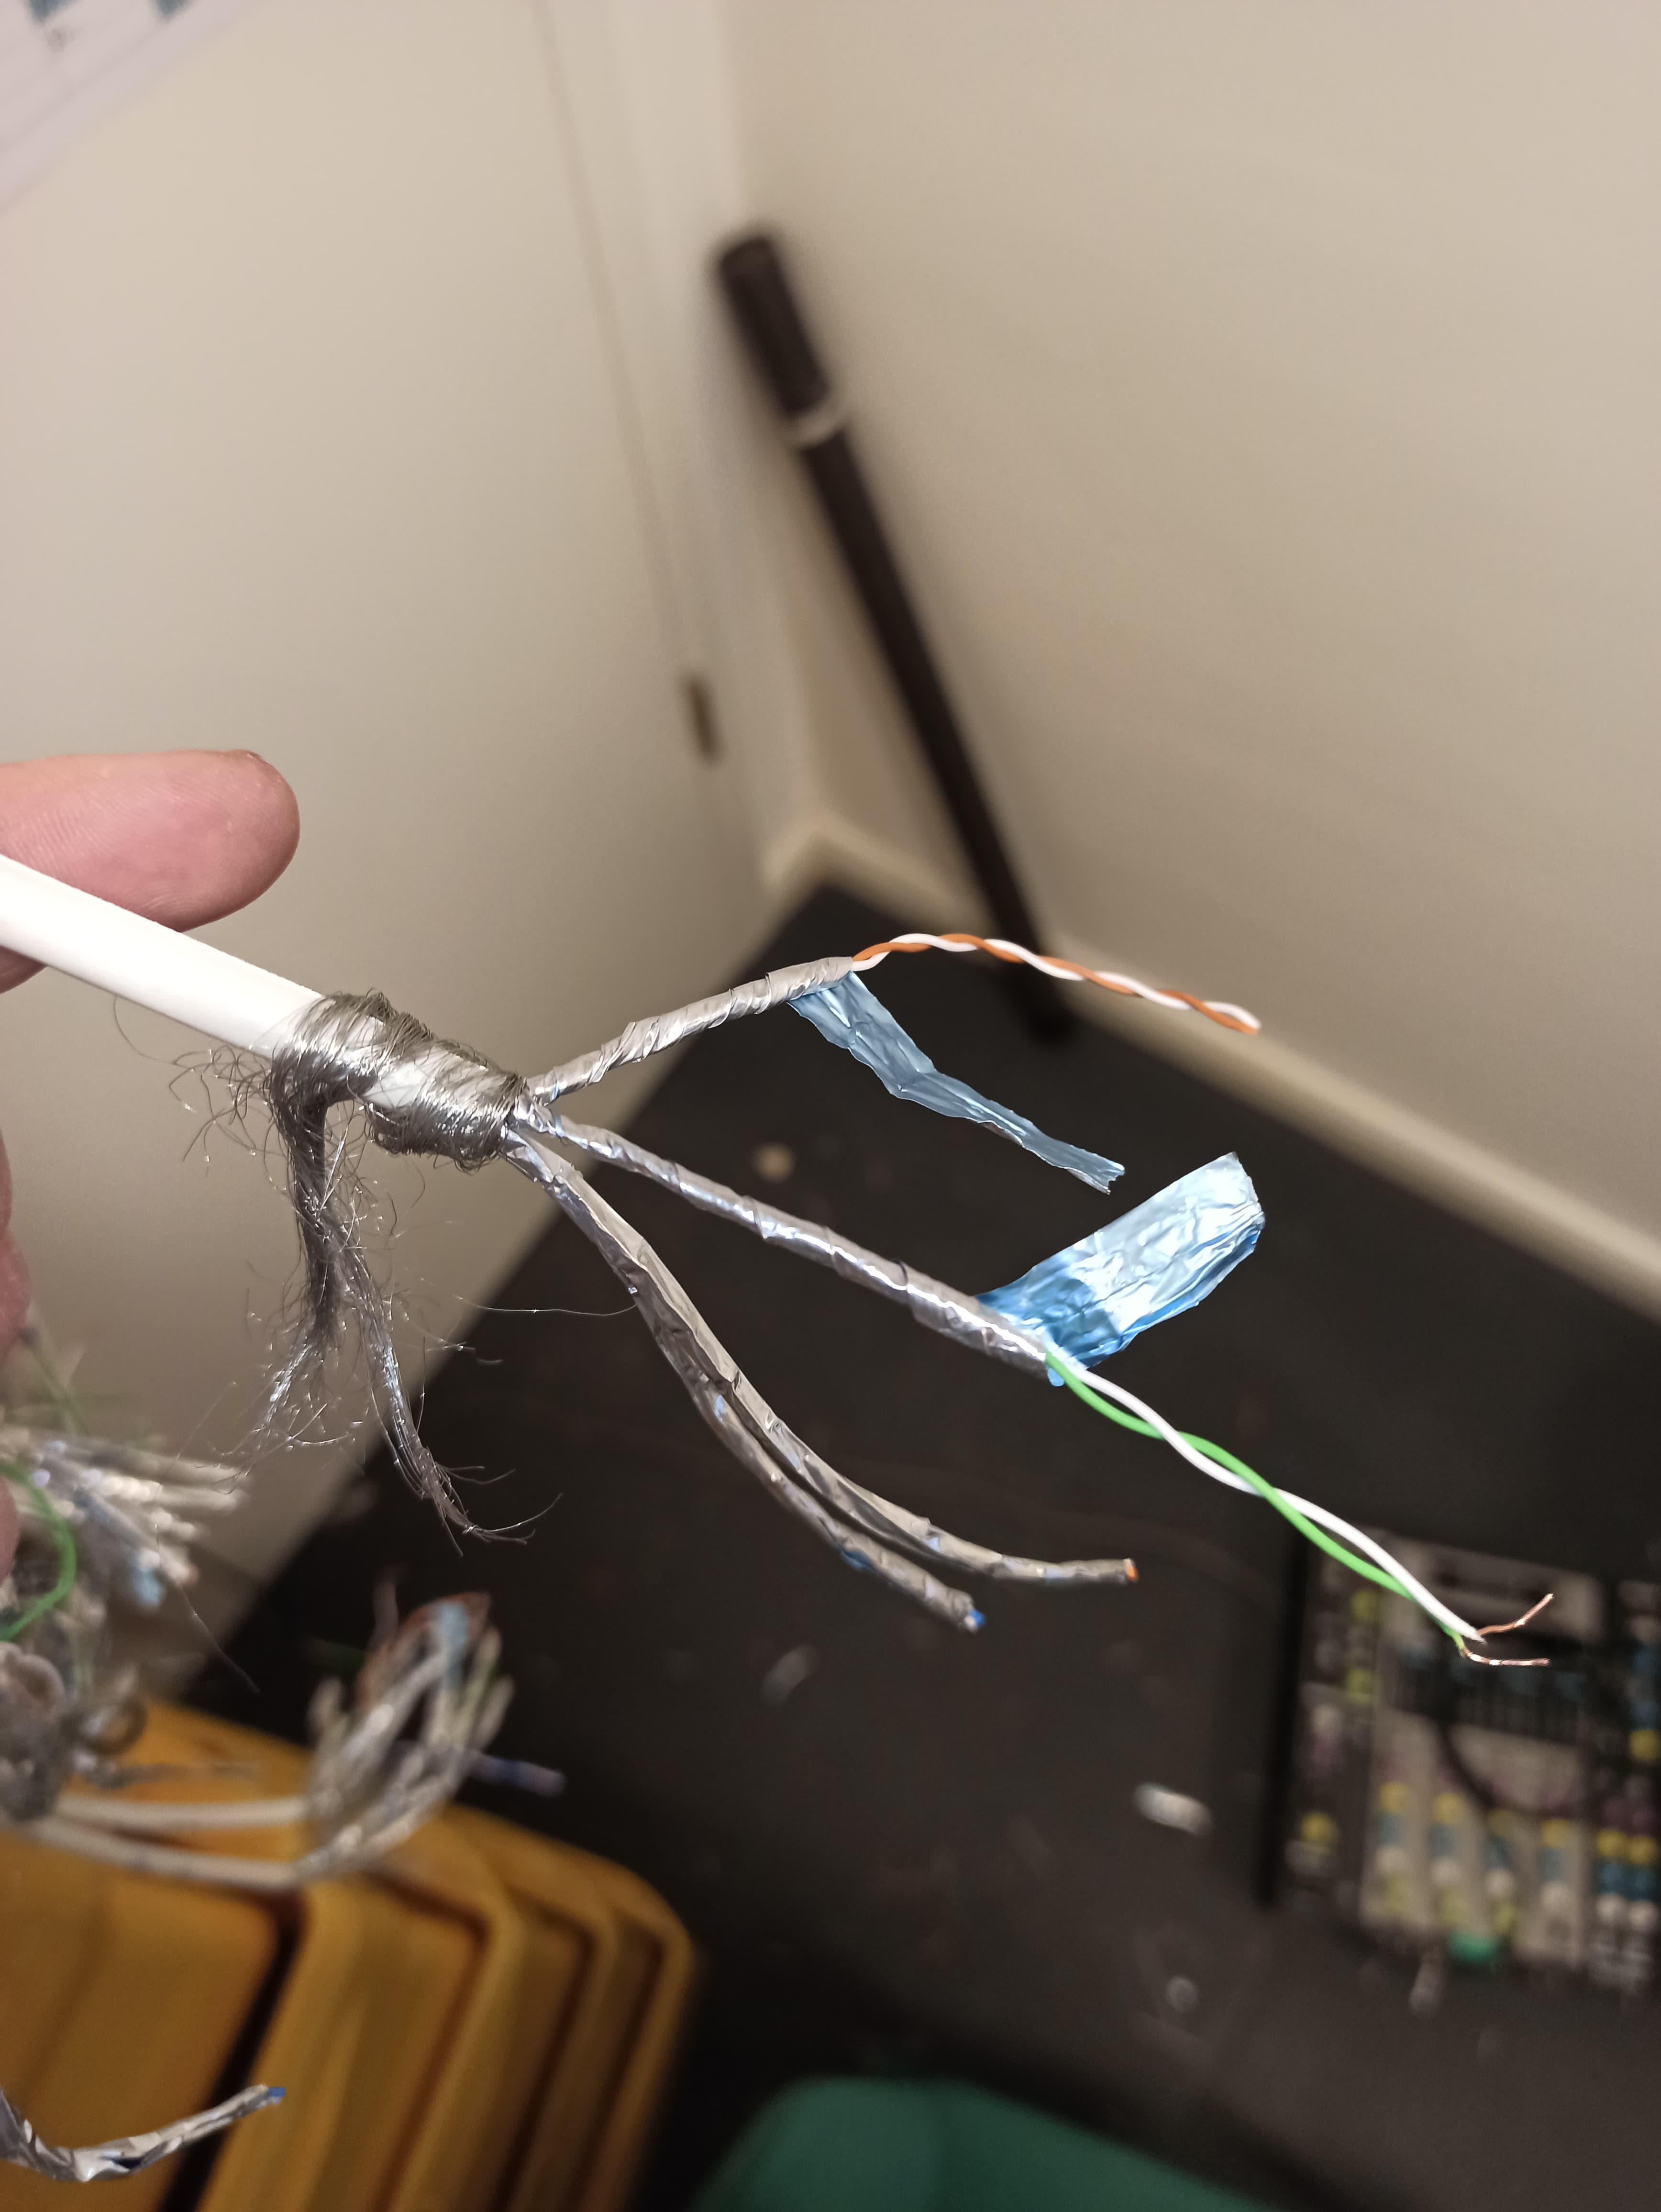
Close-up of a stripped Cat-7 cable with foil shielding per wire pair and a braided overall shield.
Then the wires were inserted and pressed into the insulation-displacement contacts of the patch-panel modules. The shielding was carefully connected to the grounding points of the panel in the process.
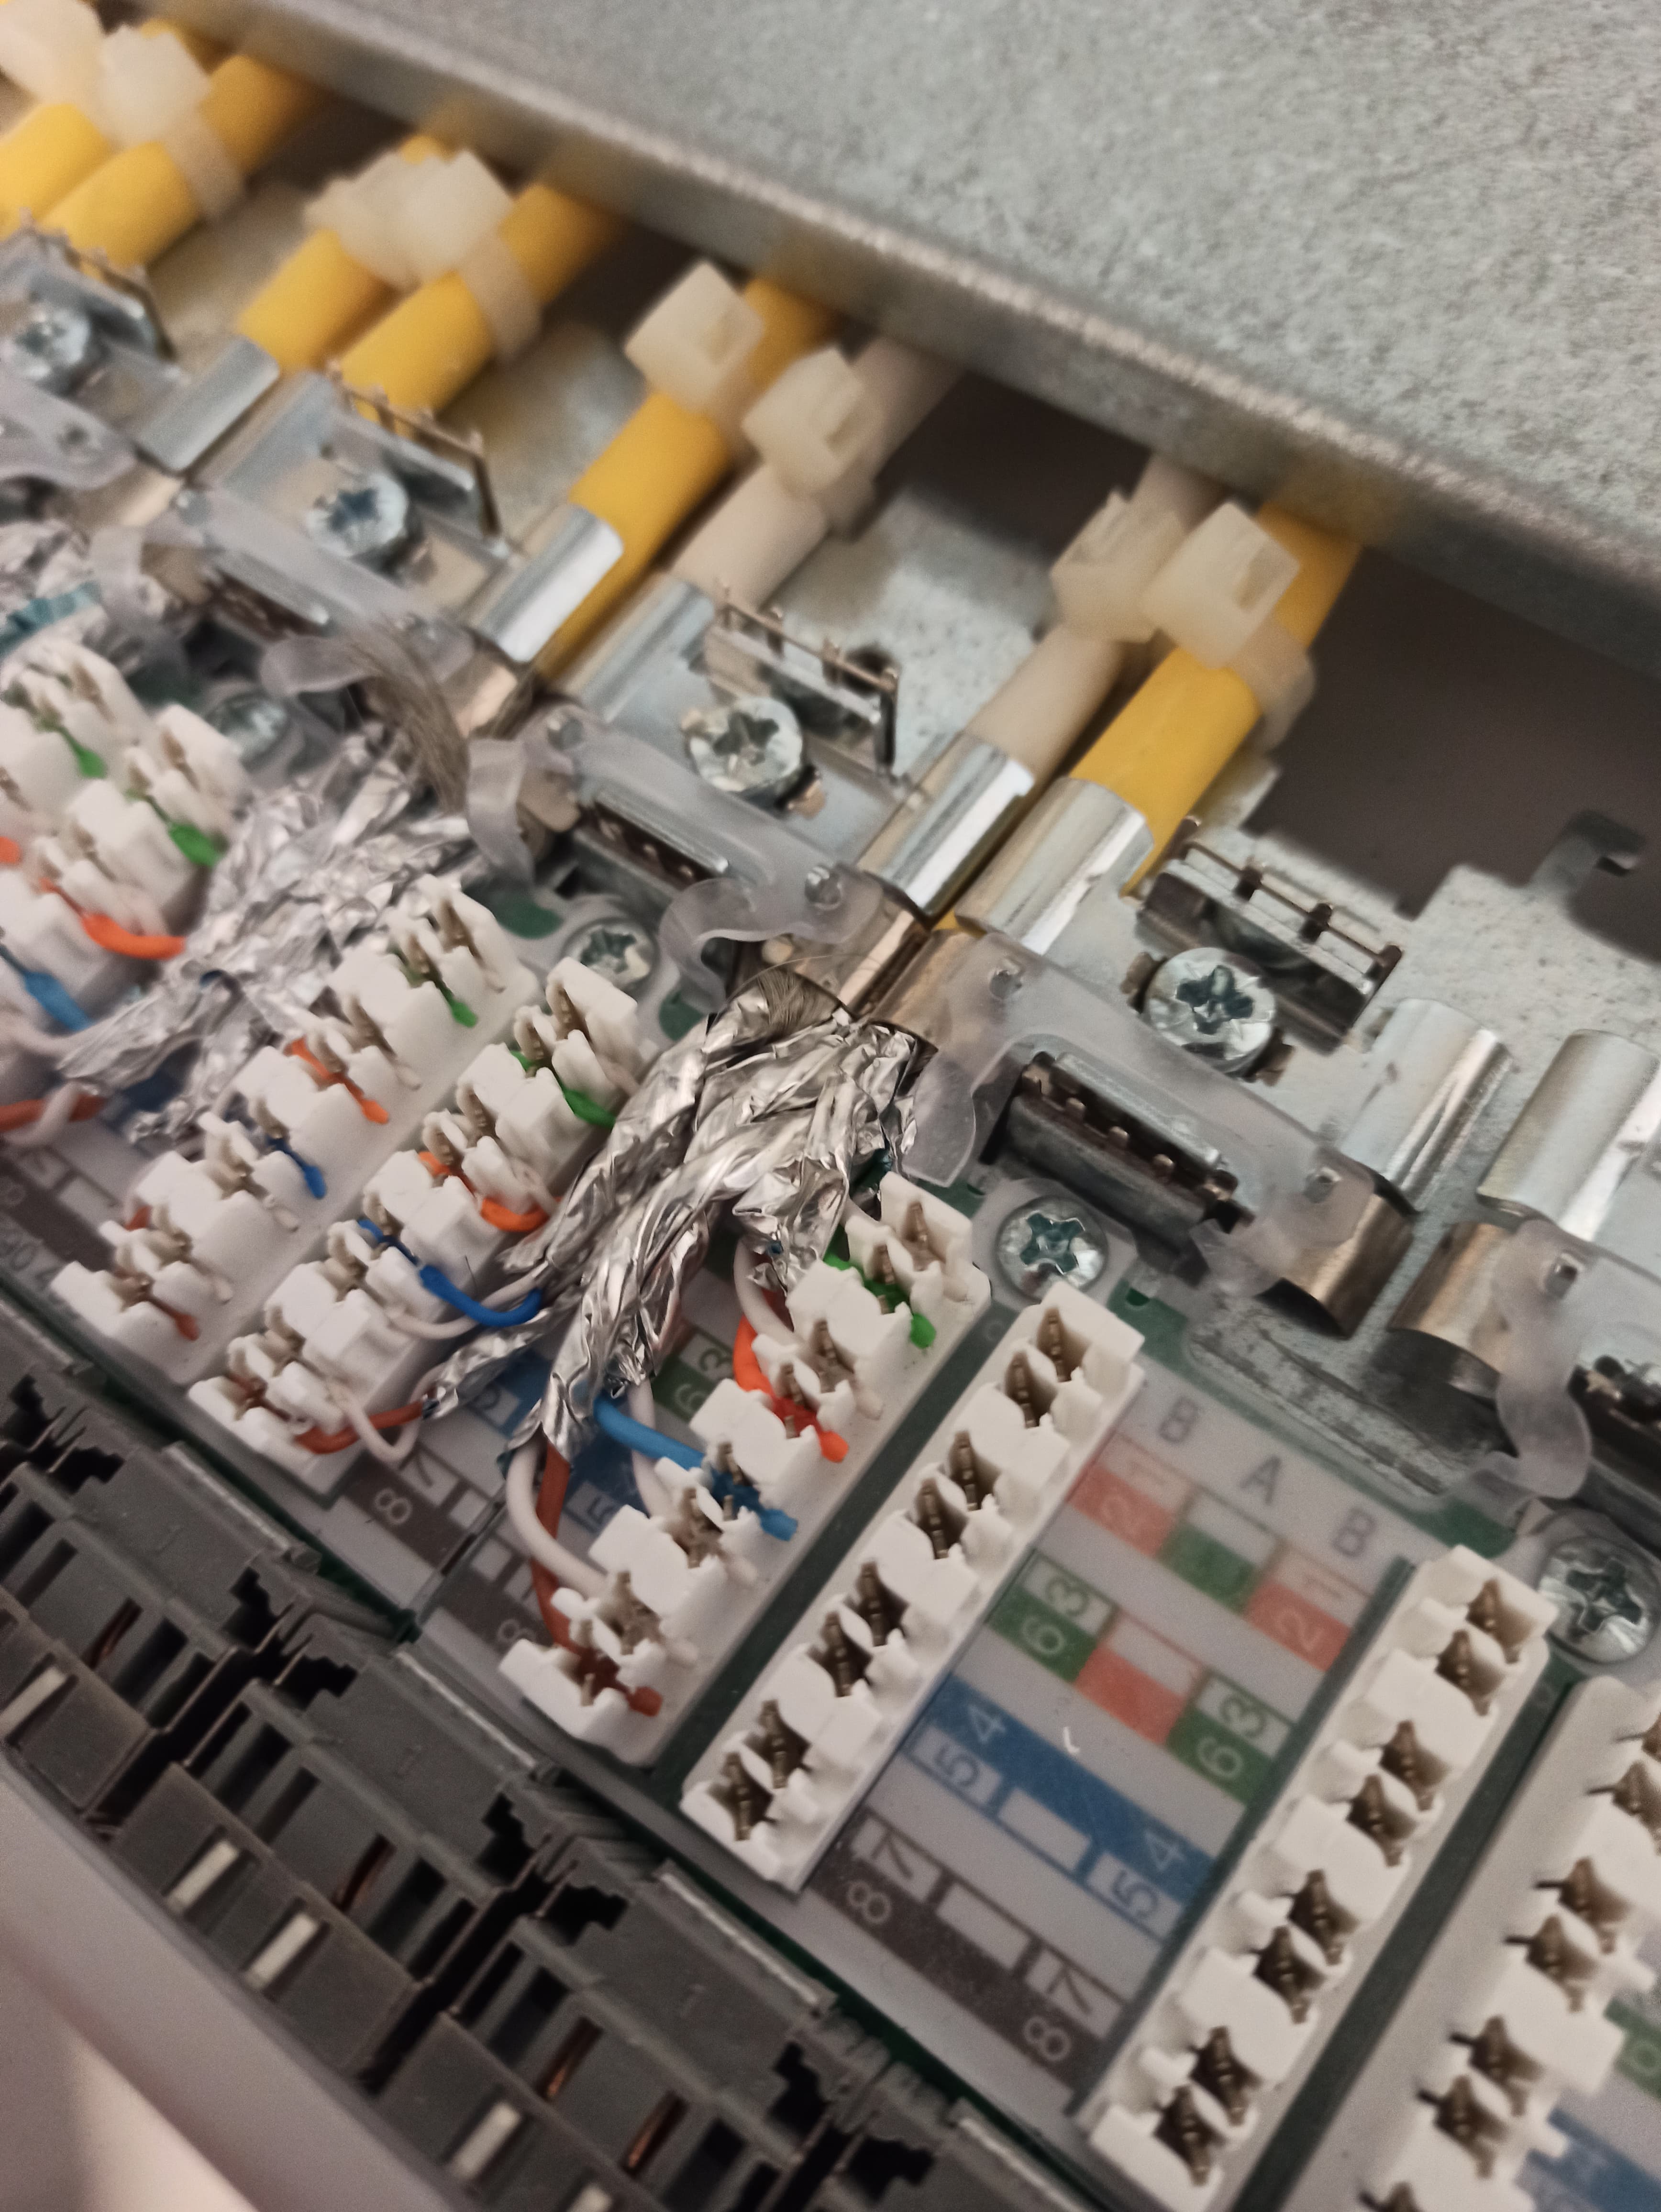
A patch panel on the workbench during termination. The cables are inserted individually before the panel is built into the cabinet.
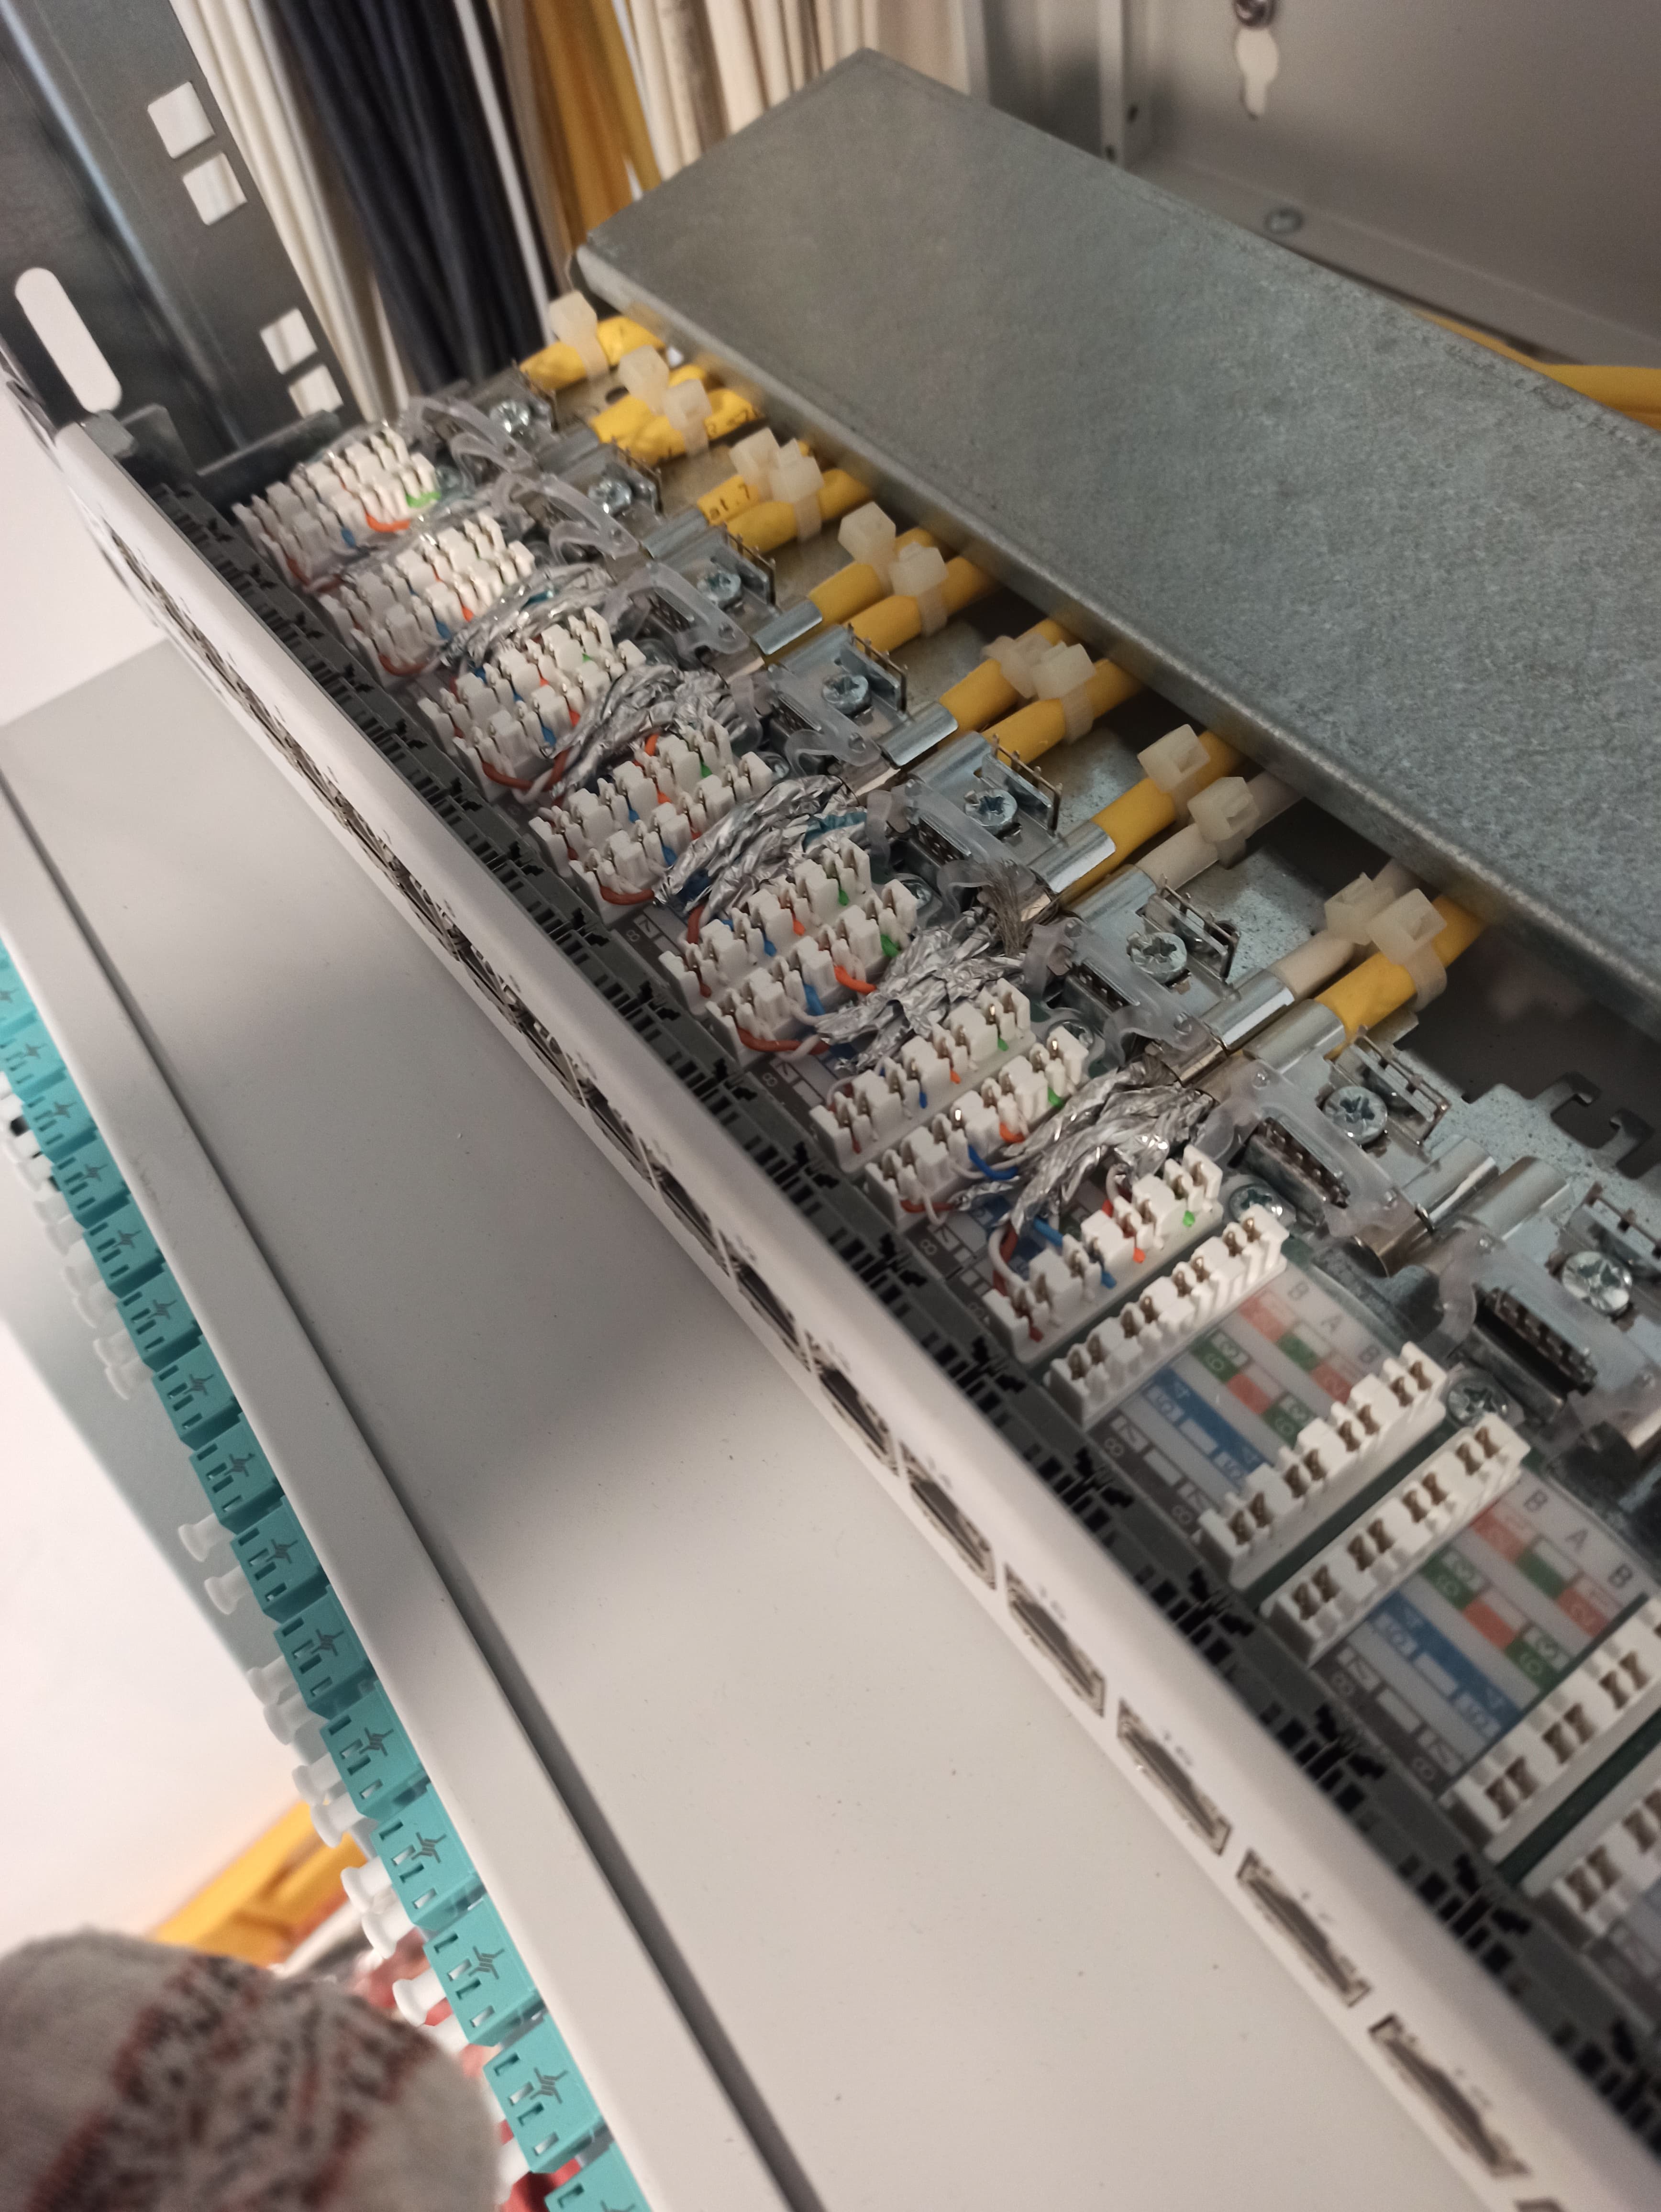
Fully terminated rear. Clearly visible are the inserted wires and the folded-out shielding foils.
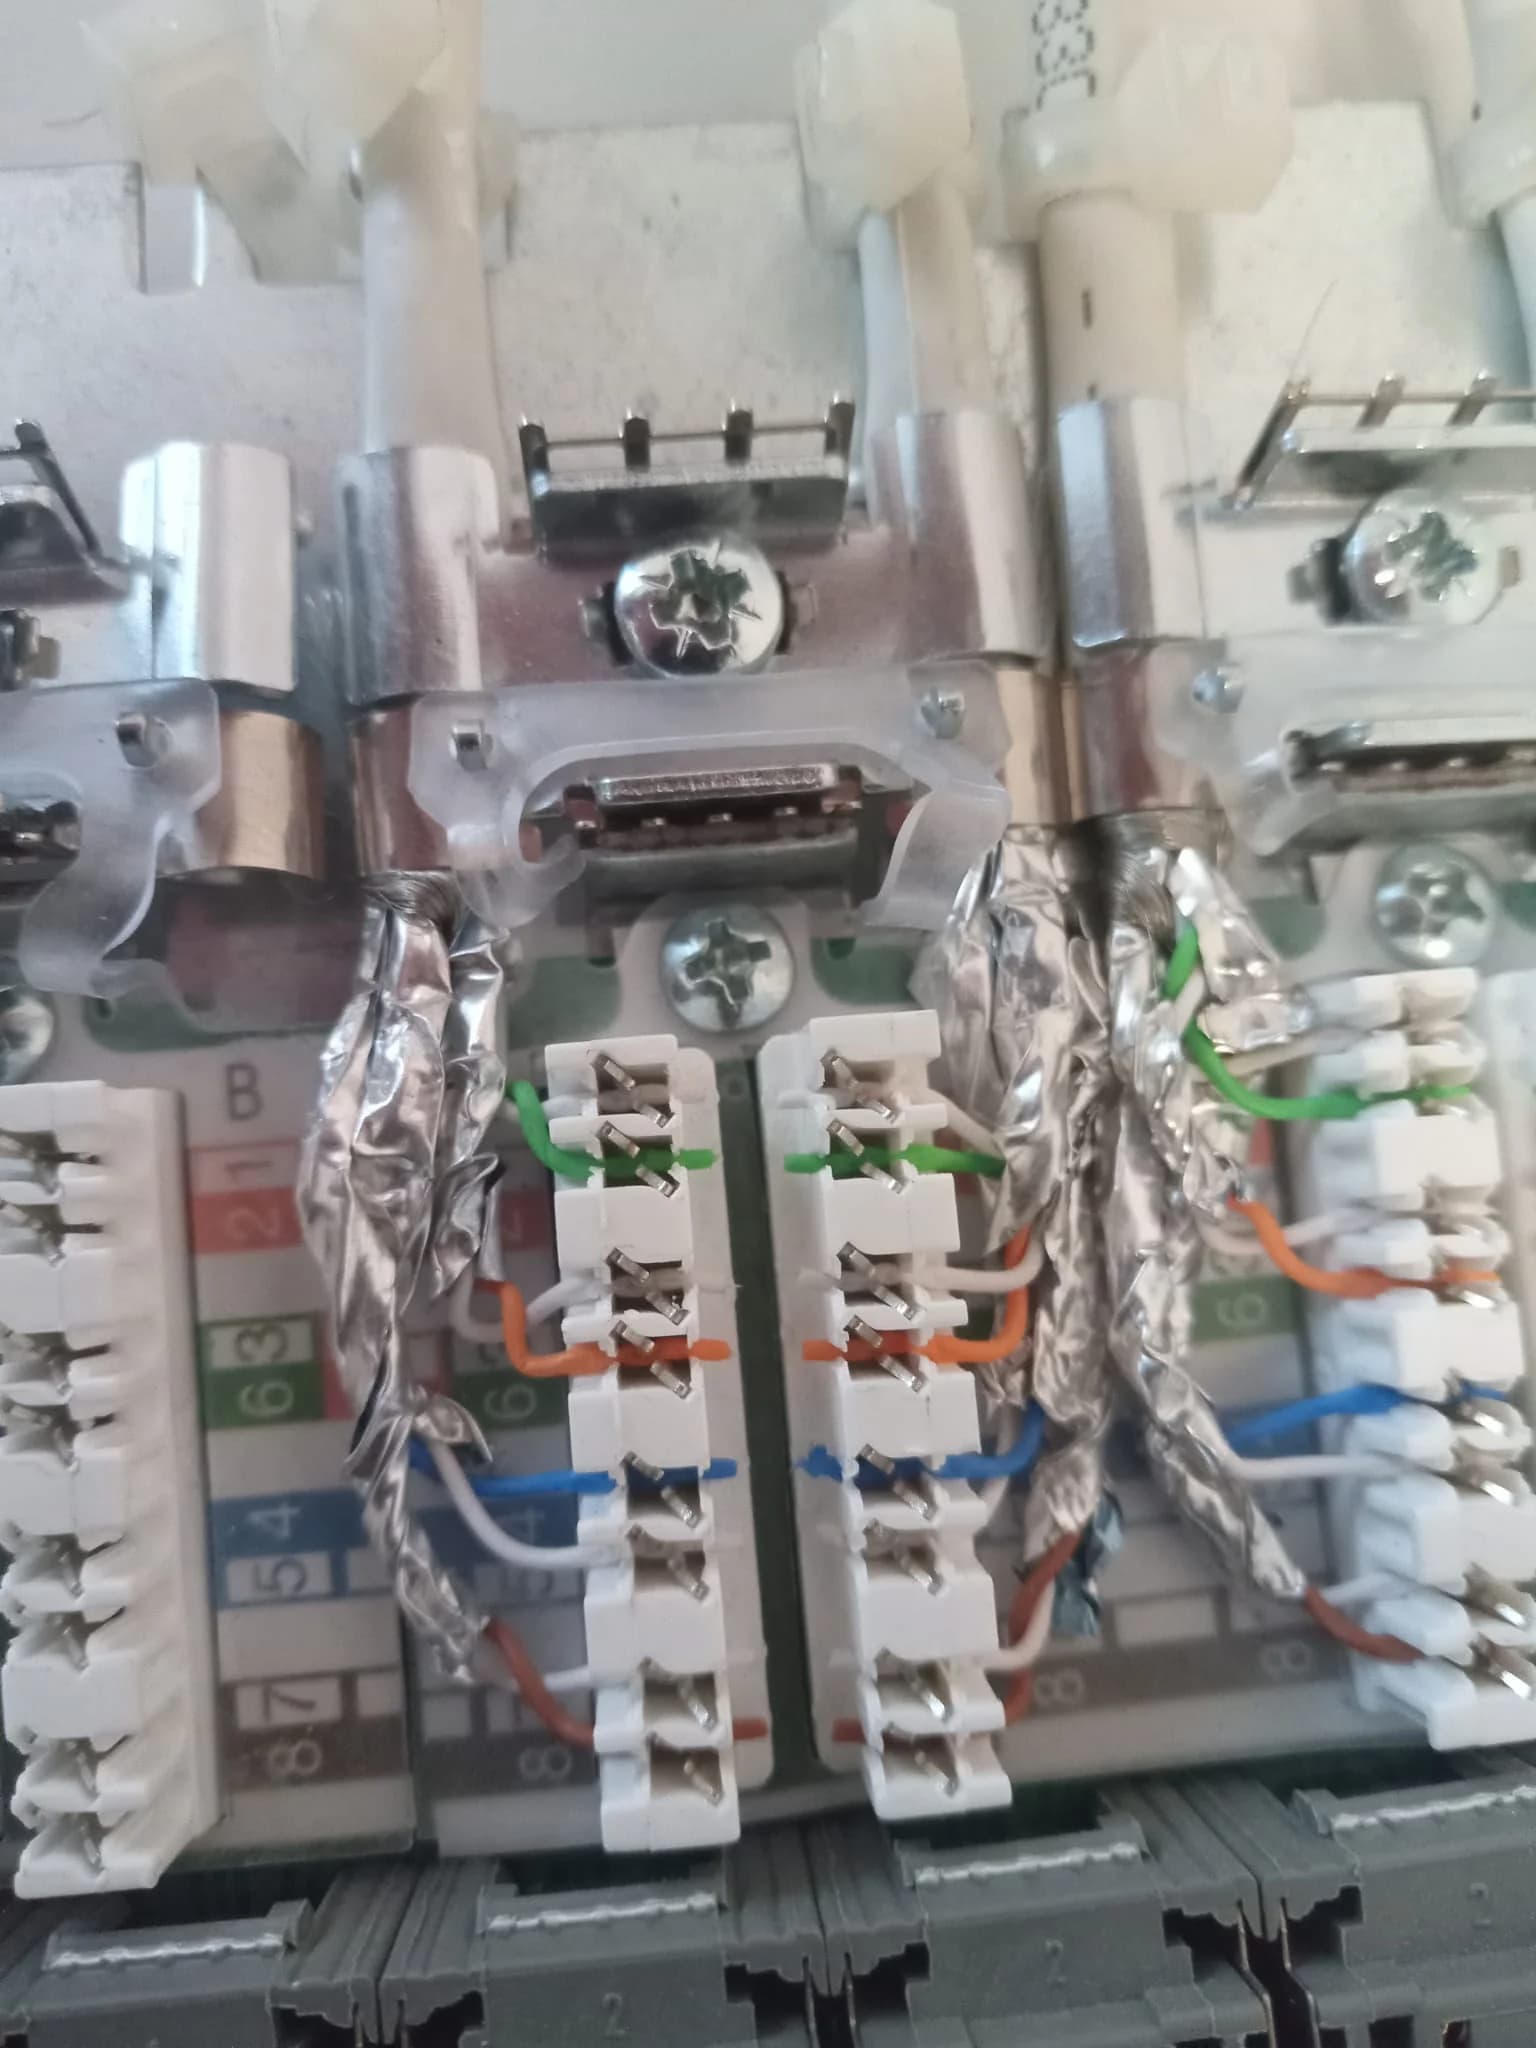
Close-up of inserting the color-coded wires into the insulation-displacement contacts.
Cable routing
The cables ran bundled through a central entry into the technical room. In the process I had to make sure to maintain the bending radii of the Cat-7 cables and to route the different cable types cleanly separated.
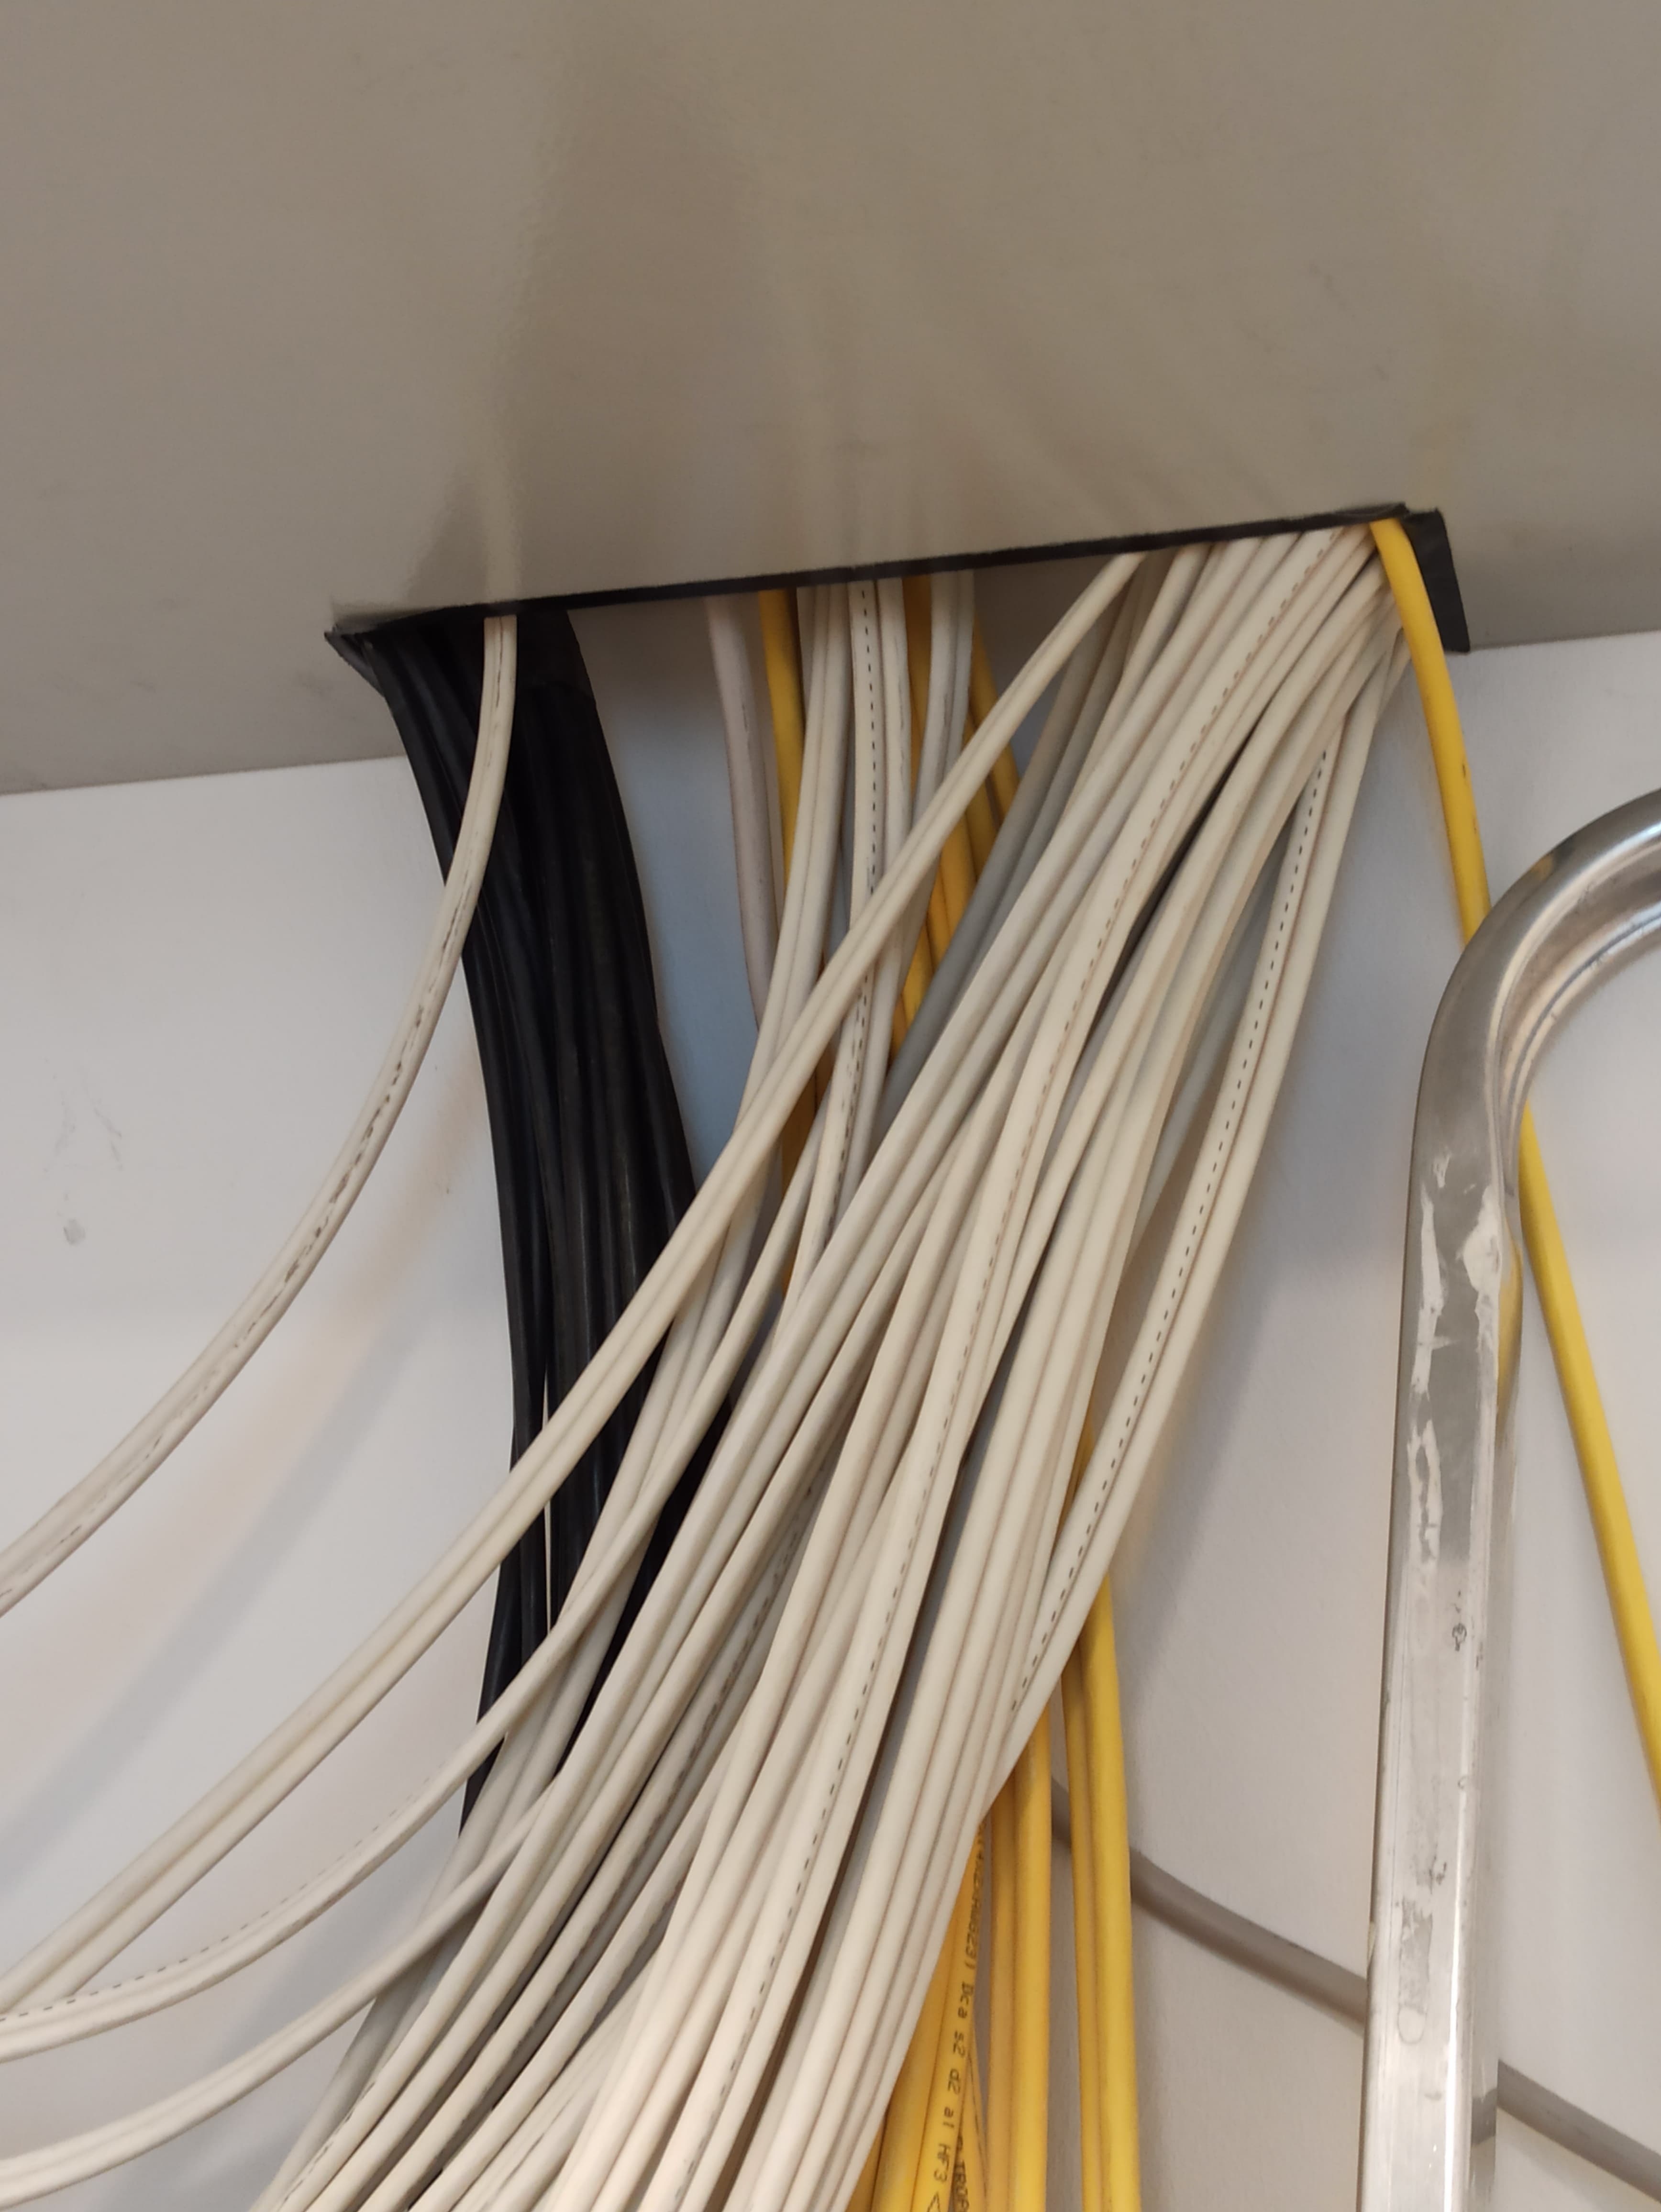
The cable entry with the different cable types: white Cat-7 cables from the office sockets, black lines, and yellow patch cables.
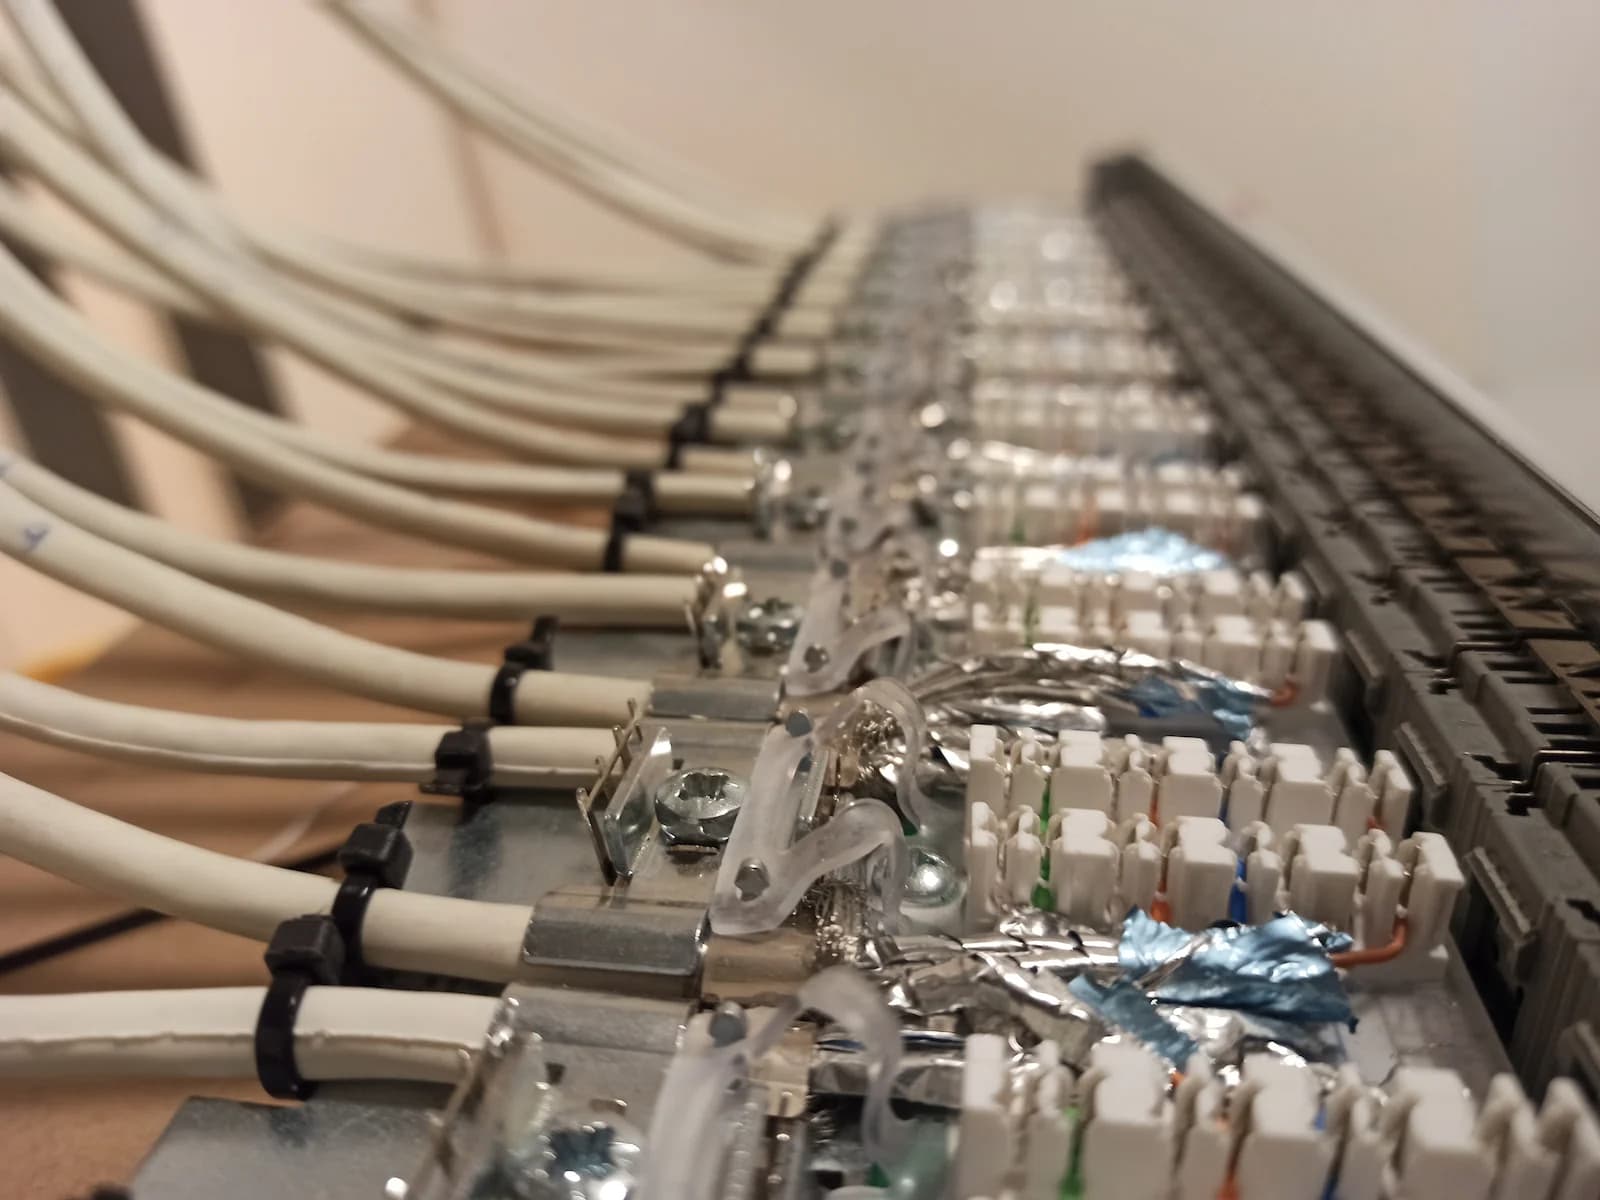
Several cables on their way to the termination blocks — clean routing was decisive here.
Challenges
The biggest hurdle was shielding and inserting the Cat-7 cables. Compared to simpler cable categories, Cat-7 cables have a considerably more complex shielding structure — besides the overall shield, each of the four wire pairs is individually sheathed with aluminum foil. That makes stripping time-consuming and requires care, so that the shielding is contacted correctly and the sensitive wires stay undamaged.
With nine rooms and over 50 ports in total, this process repeats many times — mistakes in insertion only show up during testing.
Result
After a few days of work on the side, the cabinet was fully built, all ports terminated, and the two WiFi routers integrated into the system. The new cabinet replaced the old one and at the same time created considerably more space in the technical room.
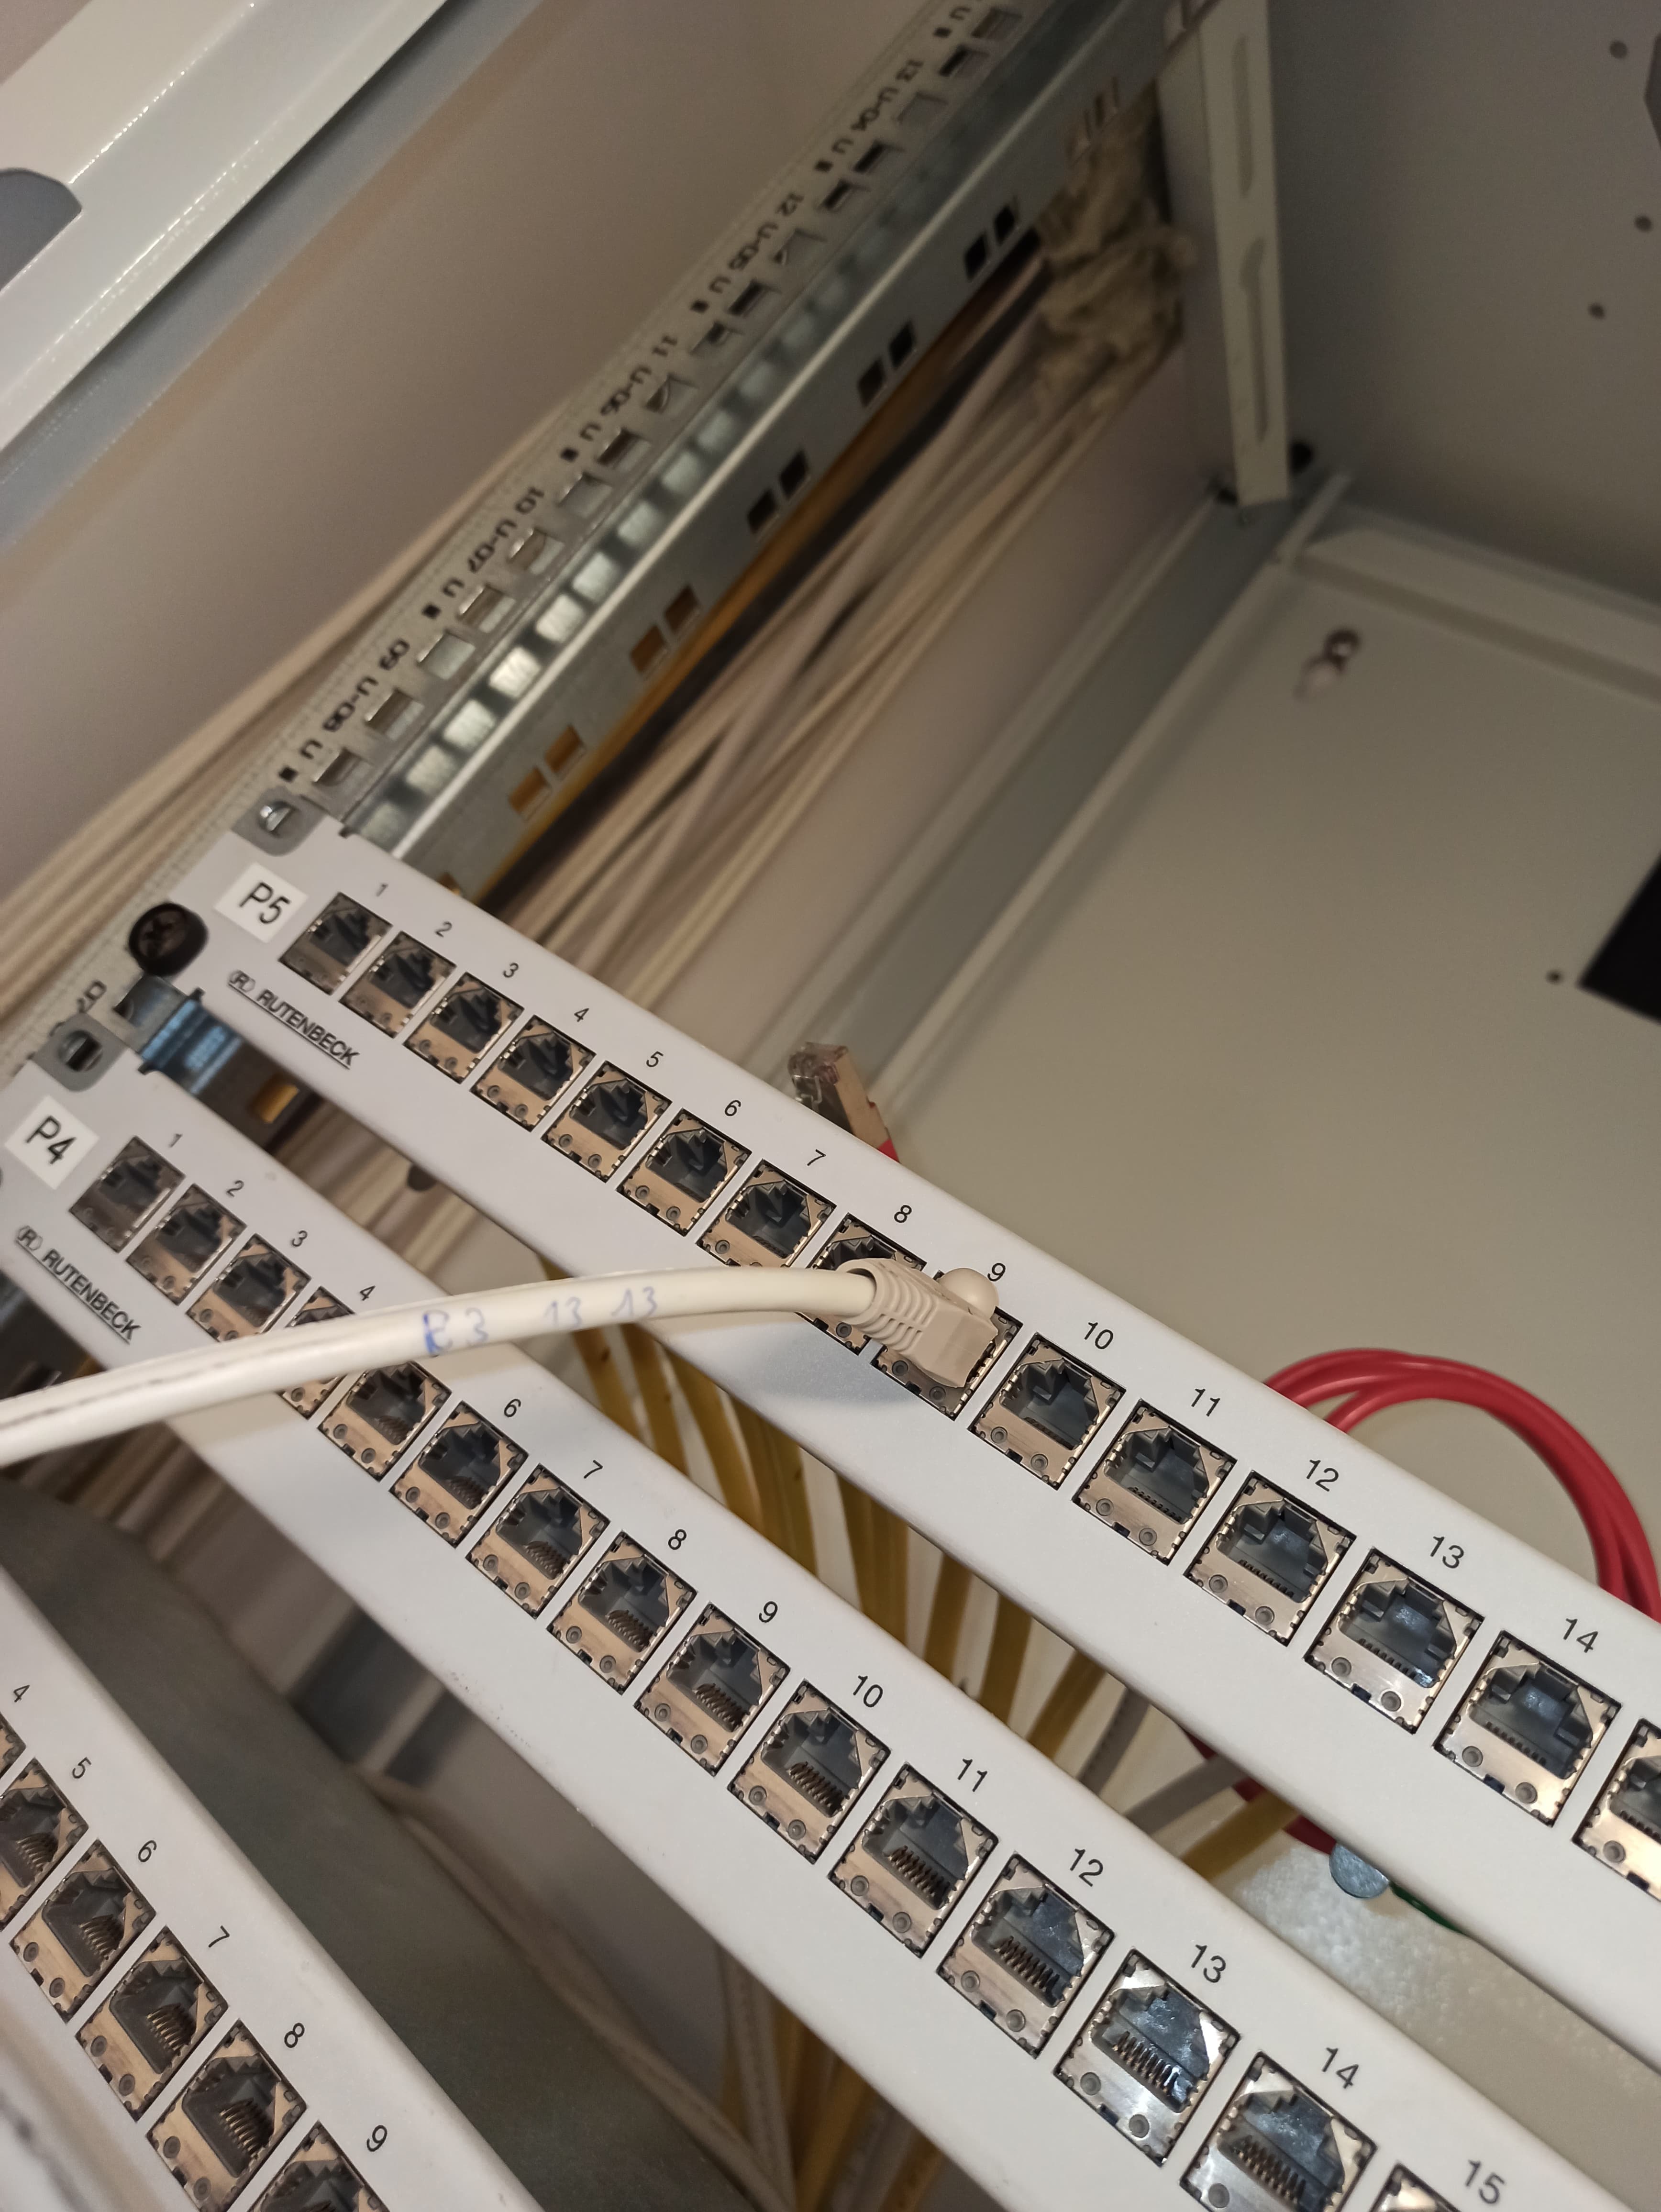
One of the first patch cables plugged in — the connection between two ports is being established.
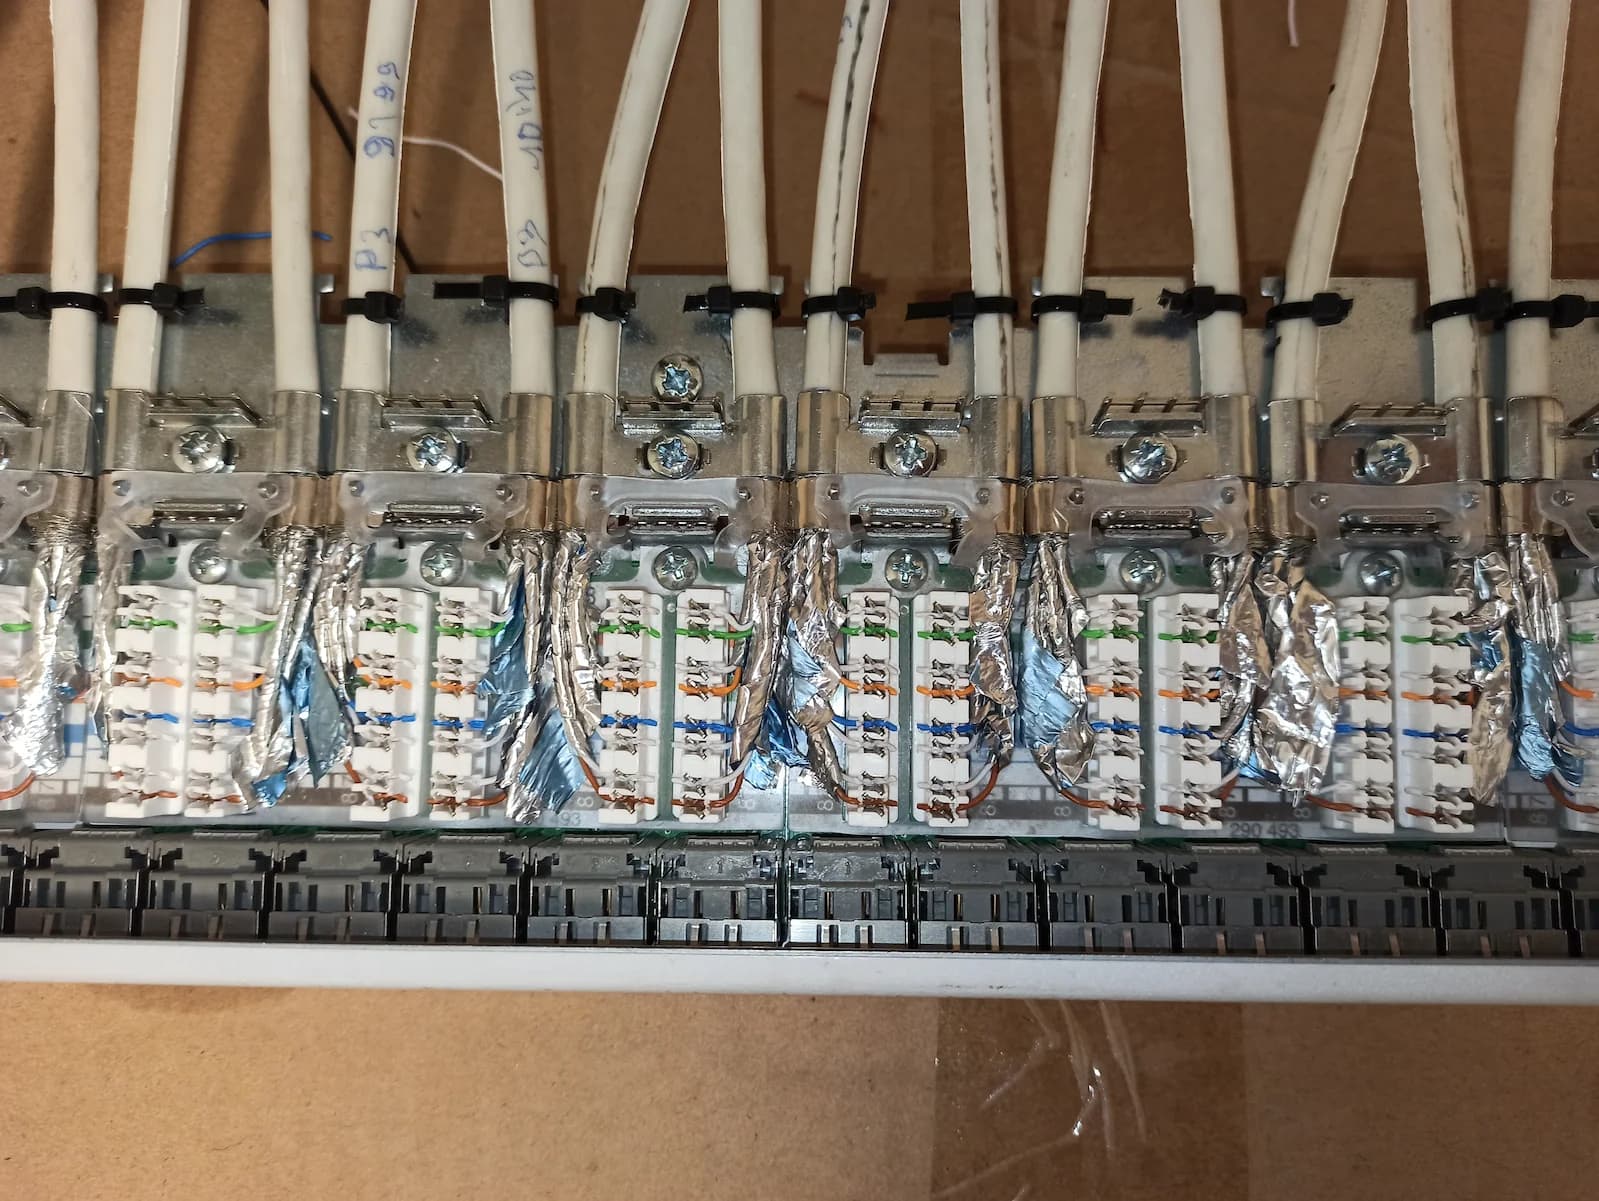
A row of fully terminated modules — the result of many repetitions of the same careful work step.
What I learned
The project was my first deep dive into structured network cabling. I got to know the basics of network technology in practice: the construction of patch panels, the working principle of insulation-displacement connections, and the importance of correct shielding. Especially valuable was the insight that clean craftsmanship — even bending radii, correctly inserted wires, consistent labeling — makes the difference between a system that works and one that causes problems.