
Steel Tongue MIDI Player
August 12, 2023
This post was translated into English by AI. Read the original →
Project description
The idea for this fun project was as simple as it was fascinating: what if a steel tongue drum could be controlled like an electronic instrument via MIDI? Could you connect an acoustic steel tongue to a keyboard and have it play melodies automatically?
Out of this question came the Steel Tongue MIDI Player. The goal of the project was to strike the individual tongues of a steel tongue drum with the help of electromagnetic actuators, and thereby be able to play it via any MIDI-capable device. The result combines the warm, organic sound world of an acoustic instrument with the flexibility of digital music control.
Besides the musical aspect, the project also served as practical exercise in microcontroller programming, power electronics, and the interplay of hardware and software. It shows how digital and analog worlds can merge in a creative way.
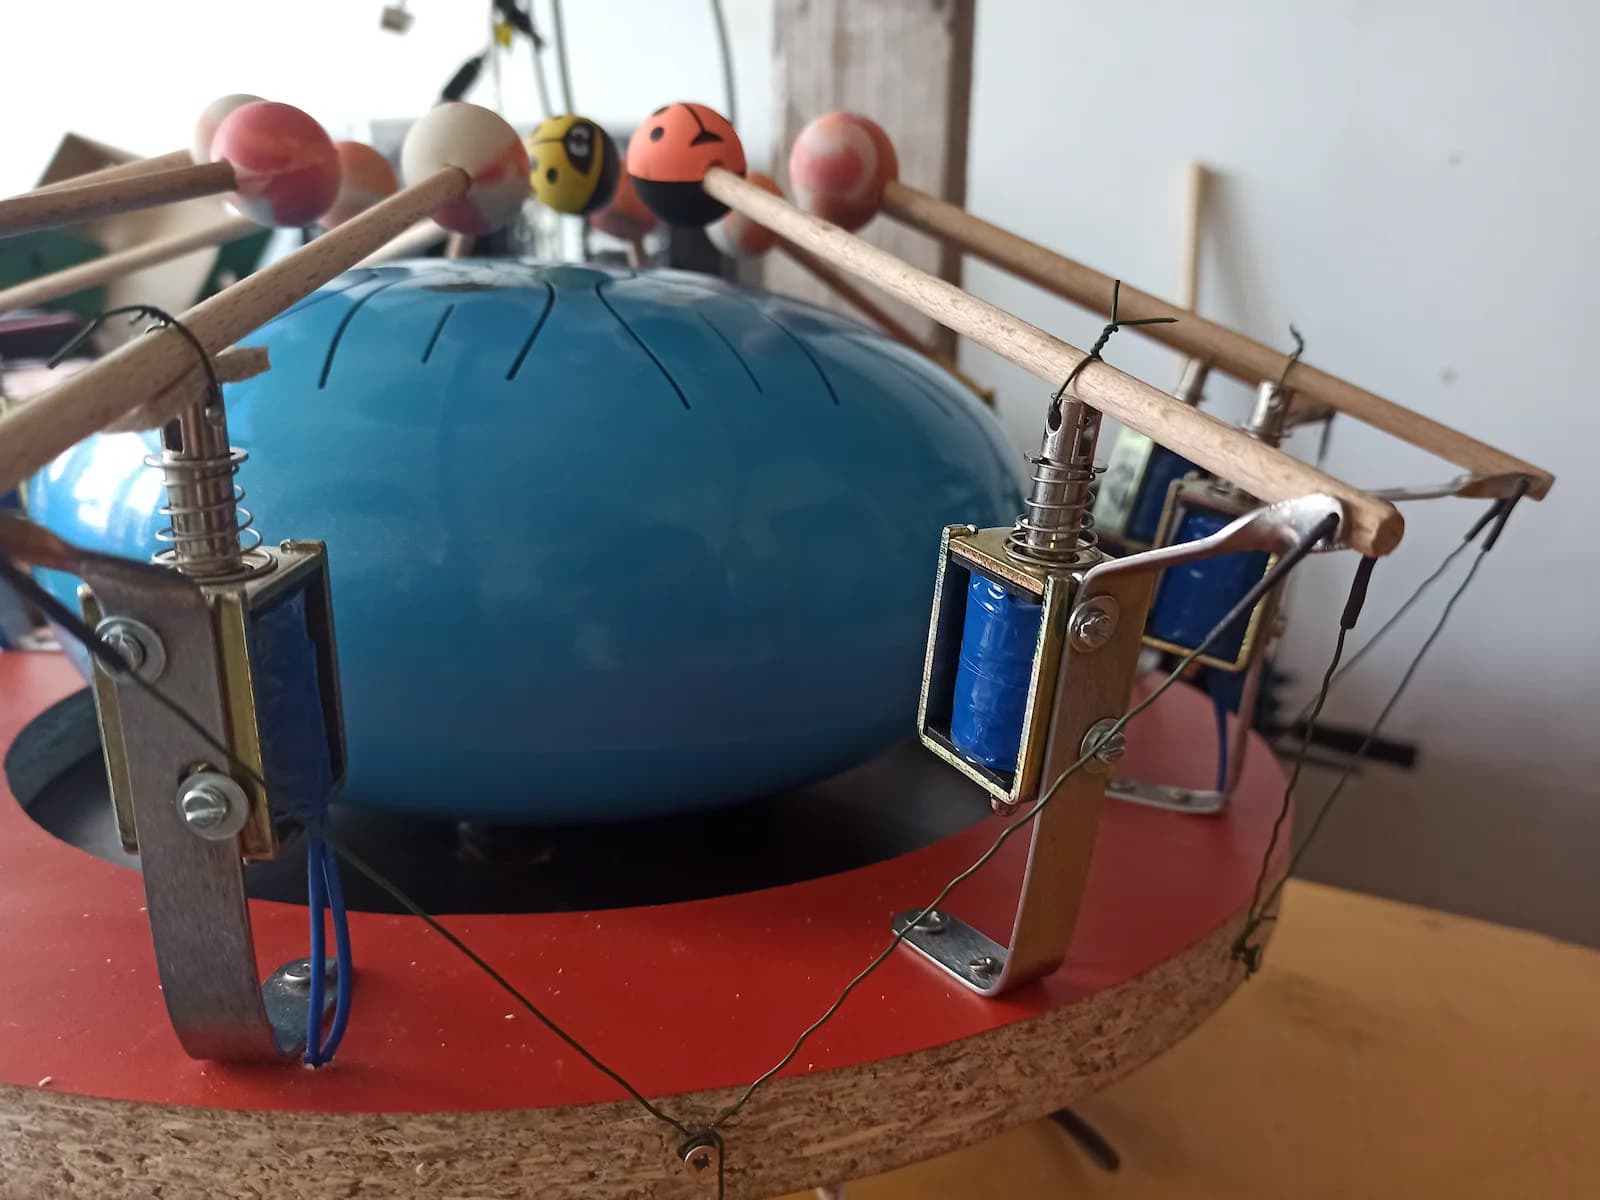
The finished prototype of the Steel Tongue MIDI Player.
Why this project?
I'm fascinated by the interface between software and the physical world. While many of my projects take place in the browser, this experiment offered the chance to make digital signals audible and visible.
The Steel Tongue MIDI Player came about less from a concrete use case than from curiosity: can you automate an acoustic instrument with simple means and at the same time preserve its characteristic sound? I built it in the lead-up to CCC Camp 2023.
The answer is: yes — and that's exactly where the appeal of maker projects lies.
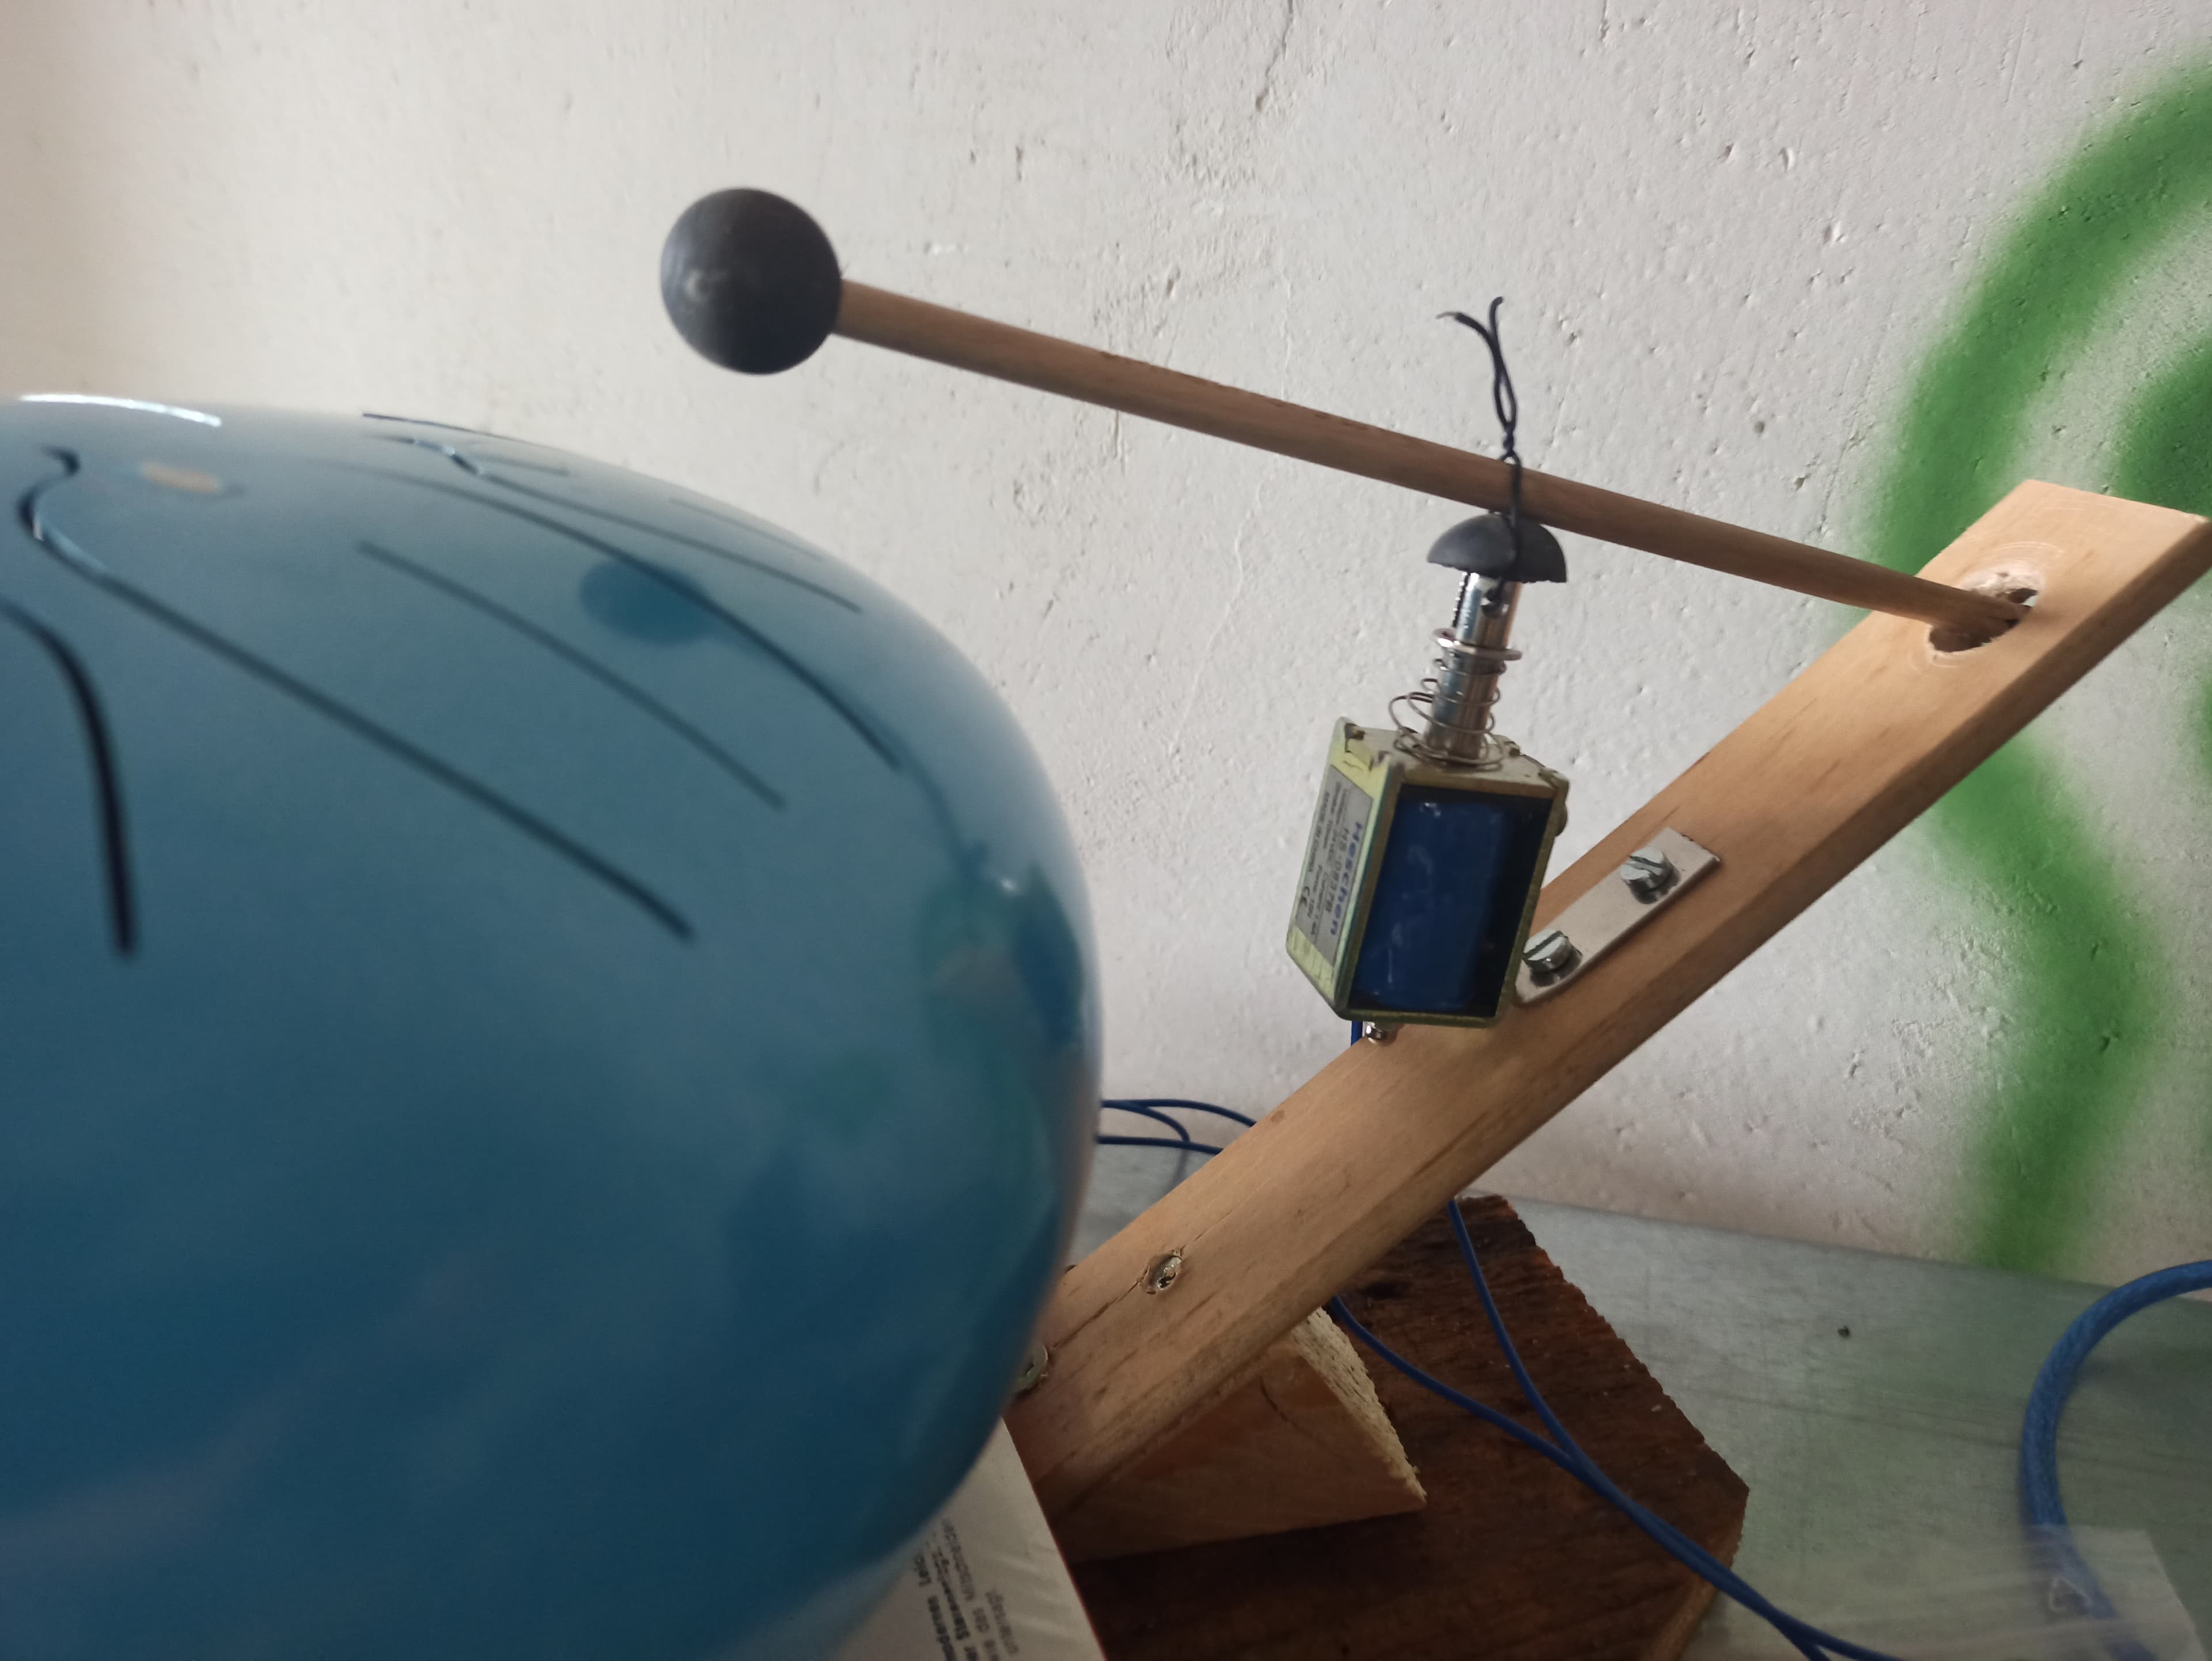
The first prototype.
How it works
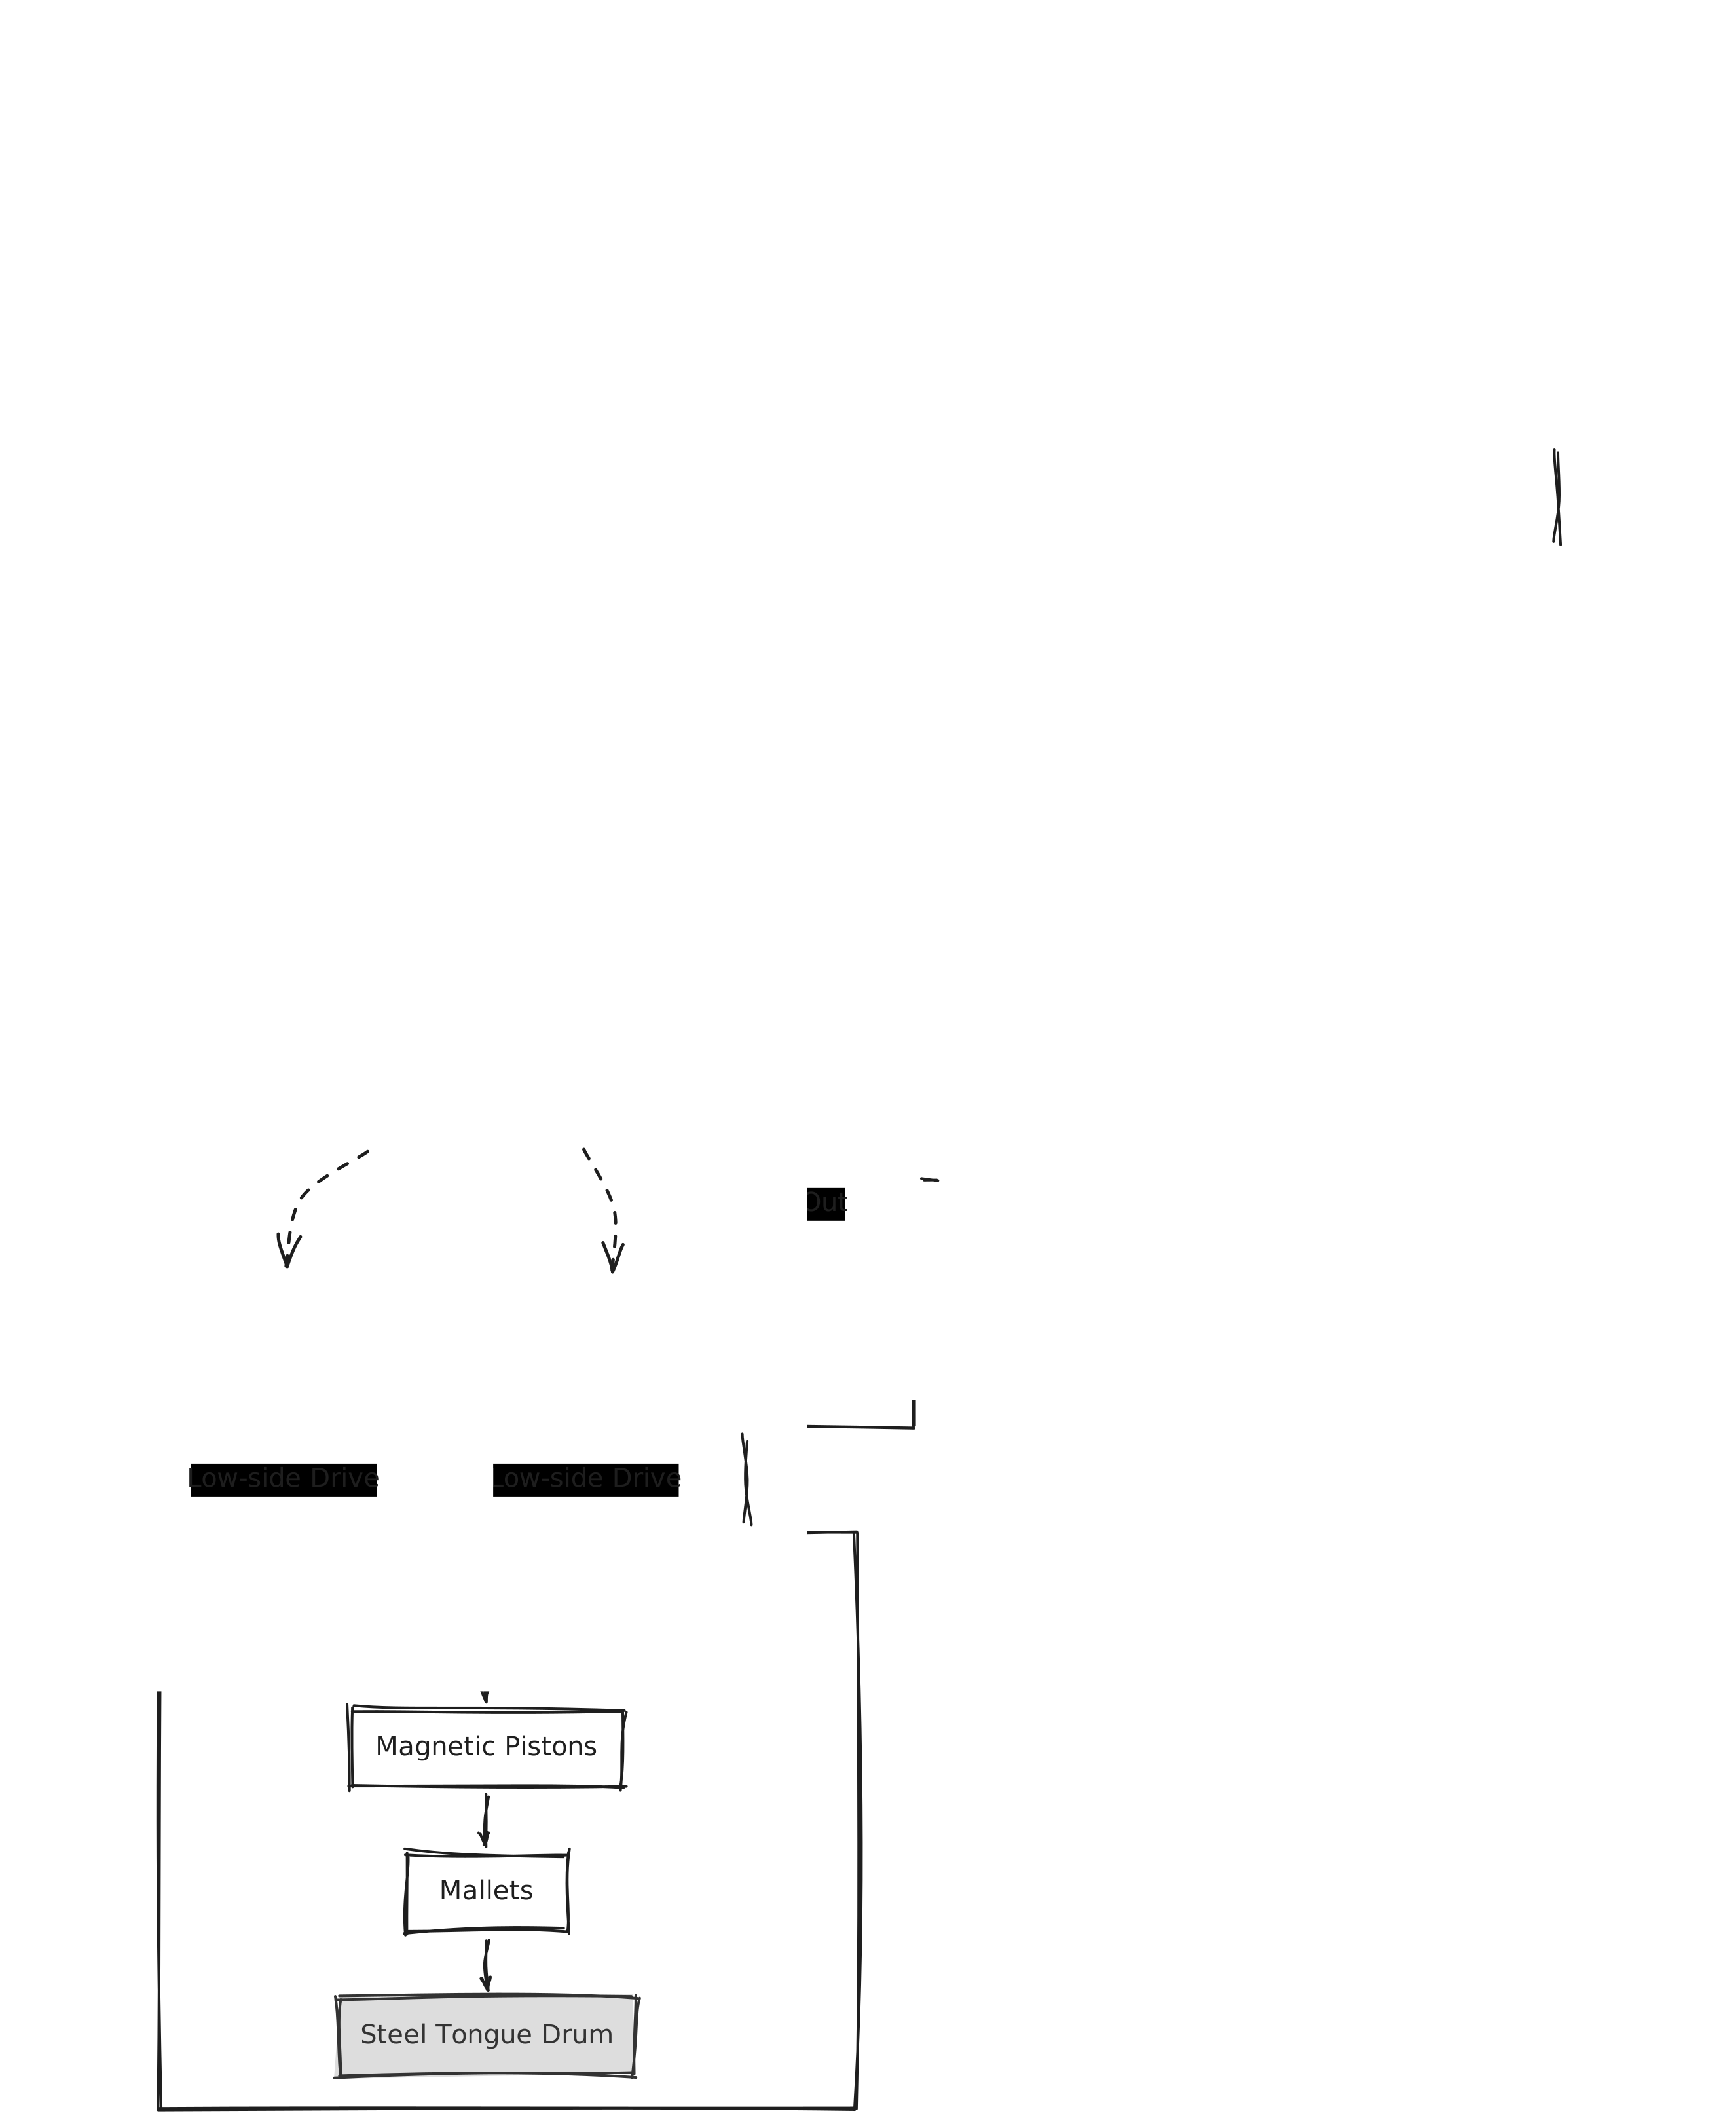
The signal flow of the Steel Tongue MIDI Player — from the incoming MIDI command to the struck note of the steel tongue drum.
The Steel Tongue MIDI Player translates incoming MIDI commands into mechanical movements that make the steel tongue drum sound.
- A MIDI-capable device (e.g. keyboard, computer, or MIDI interface) sends a MIDI signal.
- The signal is received via a MIDI jack and galvanically isolated from the rest of the system by an optocoupler (6N138).
- The optocoupler passes the MIDI data on to the serial input of the Arduino Uno.
- The Arduino interprets the received MIDI messages and recognizes the played note.
- Via two shift registers (74HC595), the corresponding outputs are driven.
- The outputs of the shift registers switch the MOSFETs.
- The MOSFETs supply the respective solenoids with current.
- Through the resulting magnetic field, the pistons are pulled in.
- The mallets attached to them strike the corresponding tongues of the steel tongue drum.
- The struck tongue produces the desired note.
In this way, a digital MIDI command becomes a real acoustic sound.
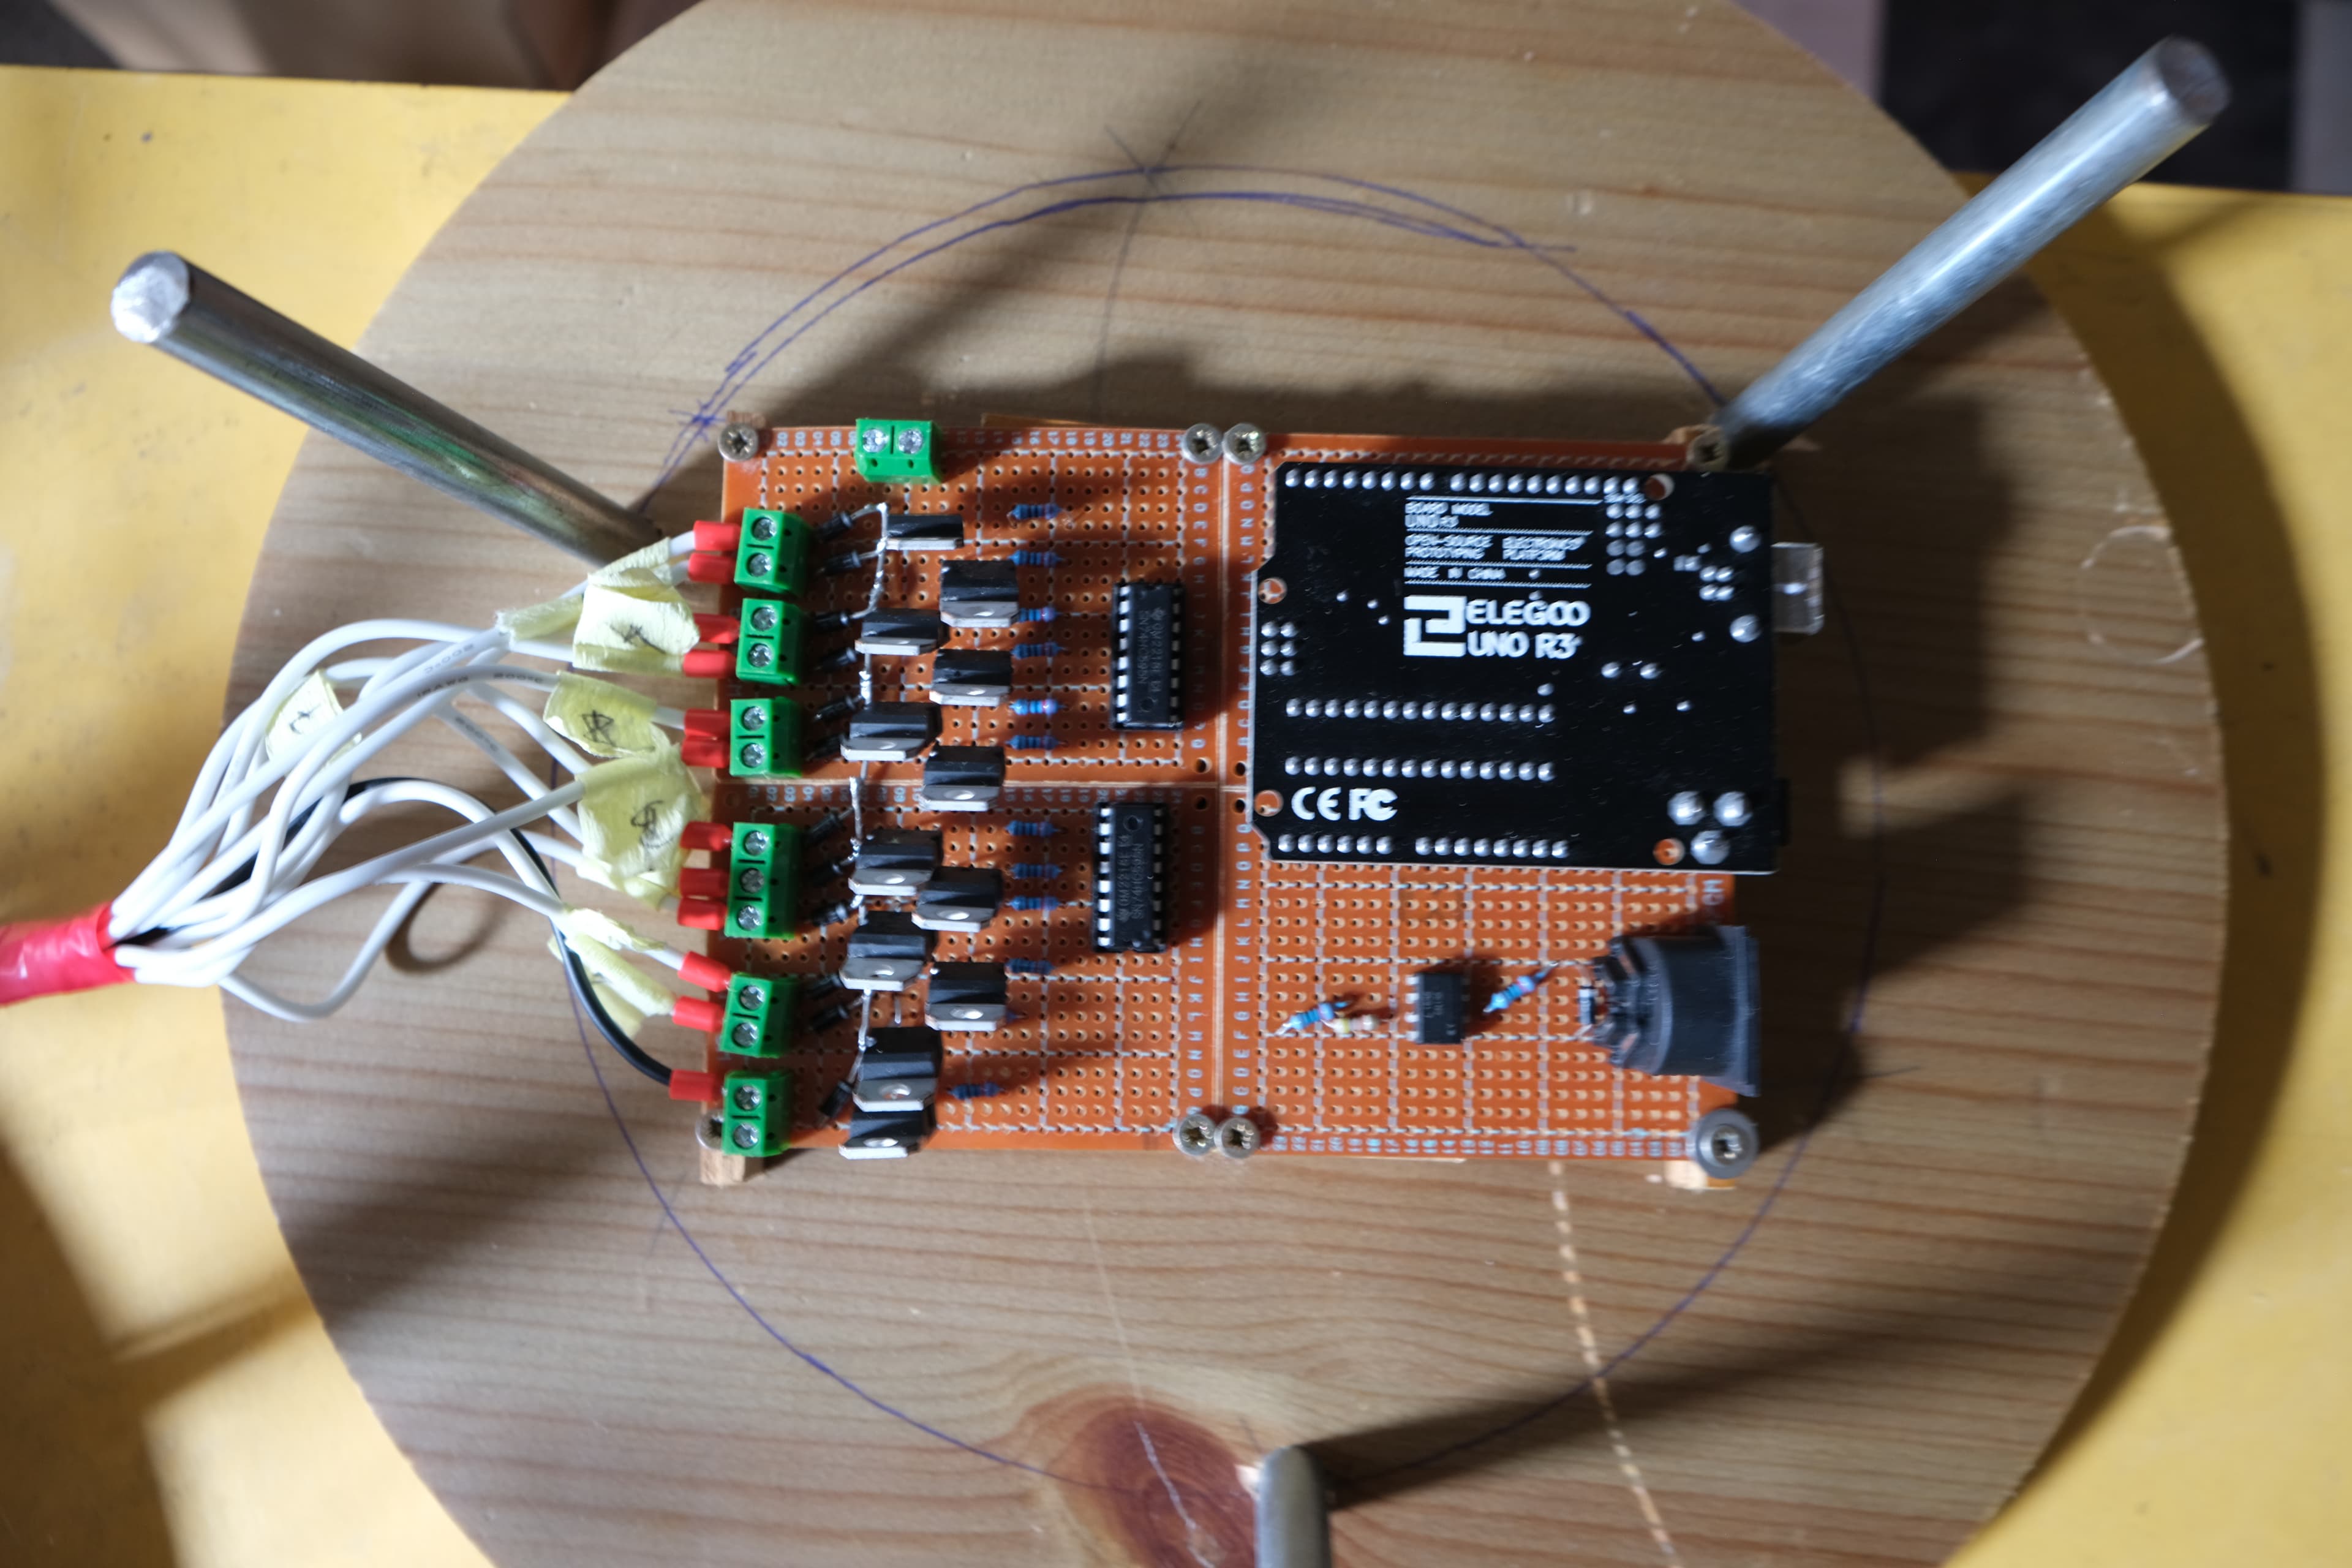
Build of the control electronics in the prototype.
Challenges
While the basic working principle seems comparatively simple, the implementation brought some technical and mechanical challenges with it.
The solenoids need considerably higher currents than a microcontroller's outputs can deliver. MOSFETs therefore had to be used as power switches. At the same time, the available digital outputs of the Arduino Uno weren't enough to drive all the solenoids individually. For that reason, shift registers (74HC595) were used to extend the number of usable outputs. As a result, eleven actuators in total could be driven independently of one another with just a few of the Arduino's control lines.
The biggest challenge, however, lay in the mechanics. For the steel tongue to sound reliably, the mallets have to strike the tongues with an even force. In the first prototypes, though, the mounts for the solenoids and mallets weren't sufficiently stable. As a result, the strikes varied in their intensity: some notes came out considerably louder than others, while individual strikes turned out too weak.
On top of that came the mechanical noises of the system. The movement of the pistons, the play in the mounts, and the strikes of the actuators produced audible side noises that partly competed with the actual sound of the steel tongue. The construction therefore had to be adjusted several times to reduce vibrations and improve the stability of the fastenings.
The project showed that the biggest difficulty lay not in evaluating the MIDI data or in the electronics, but in the interplay of mechanics and sound. Even small changes to material, fastening, or alignment had a noticeable influence on the sound quality and the reliability of the instrument.
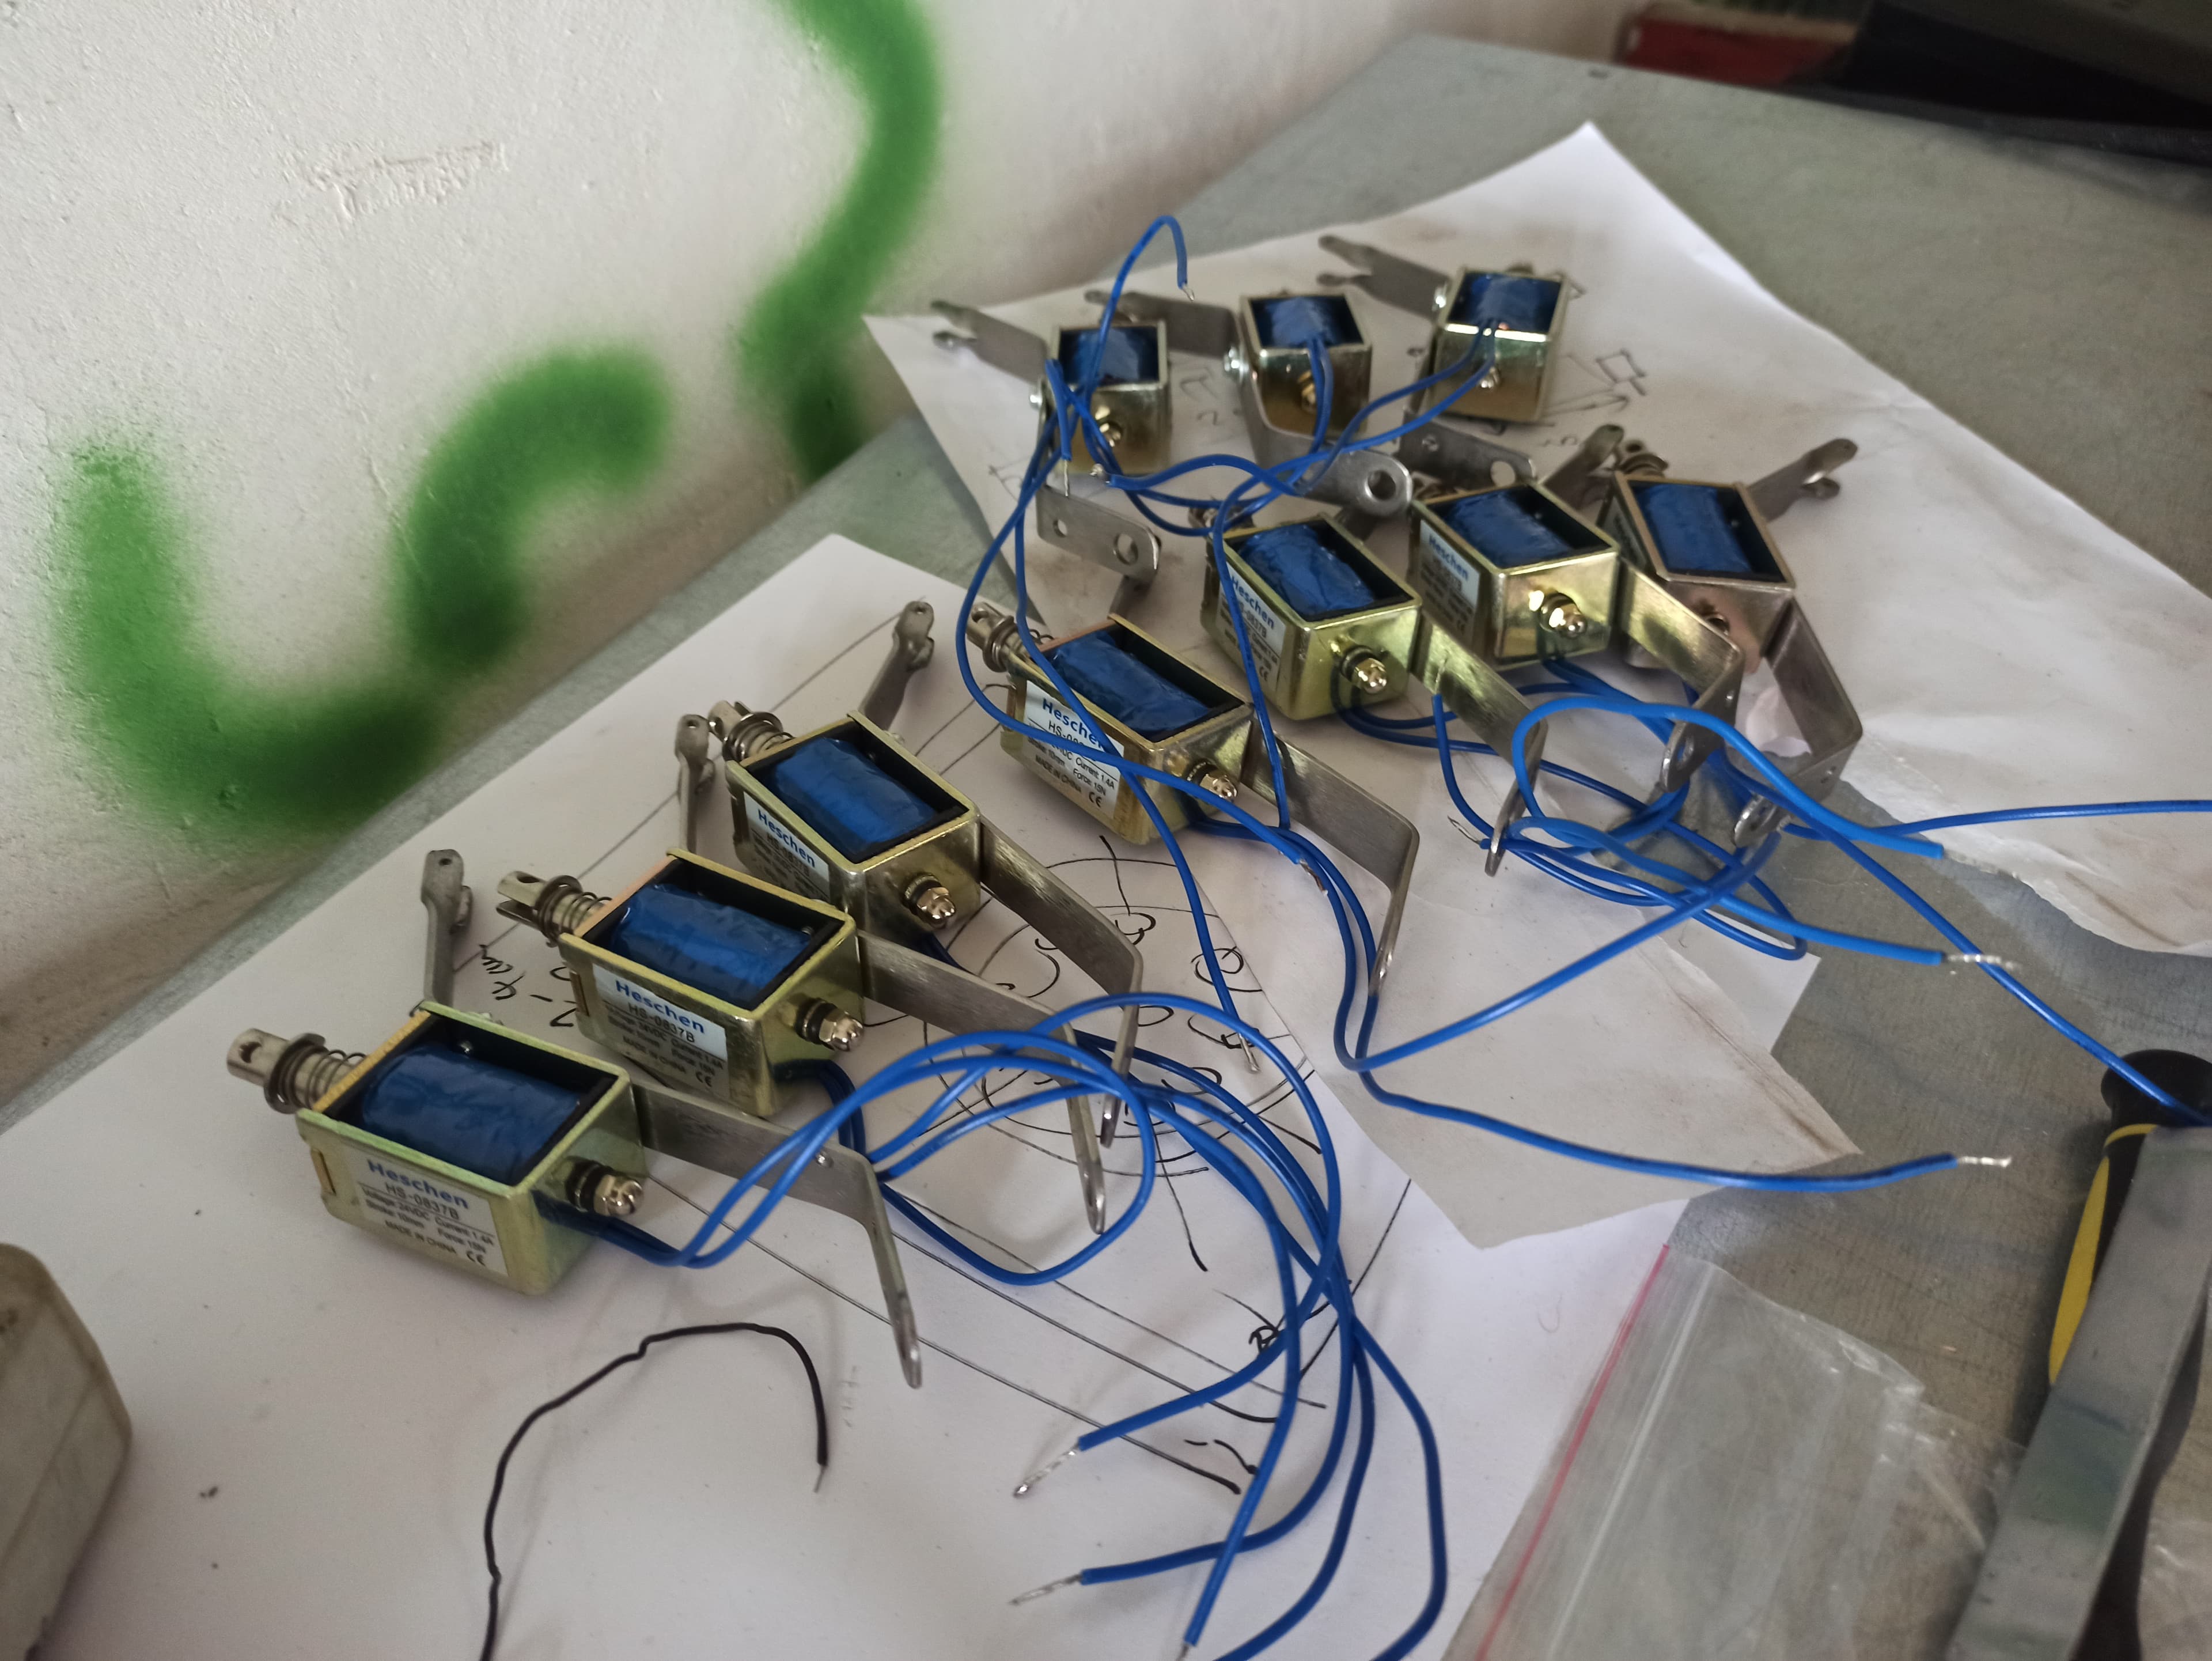
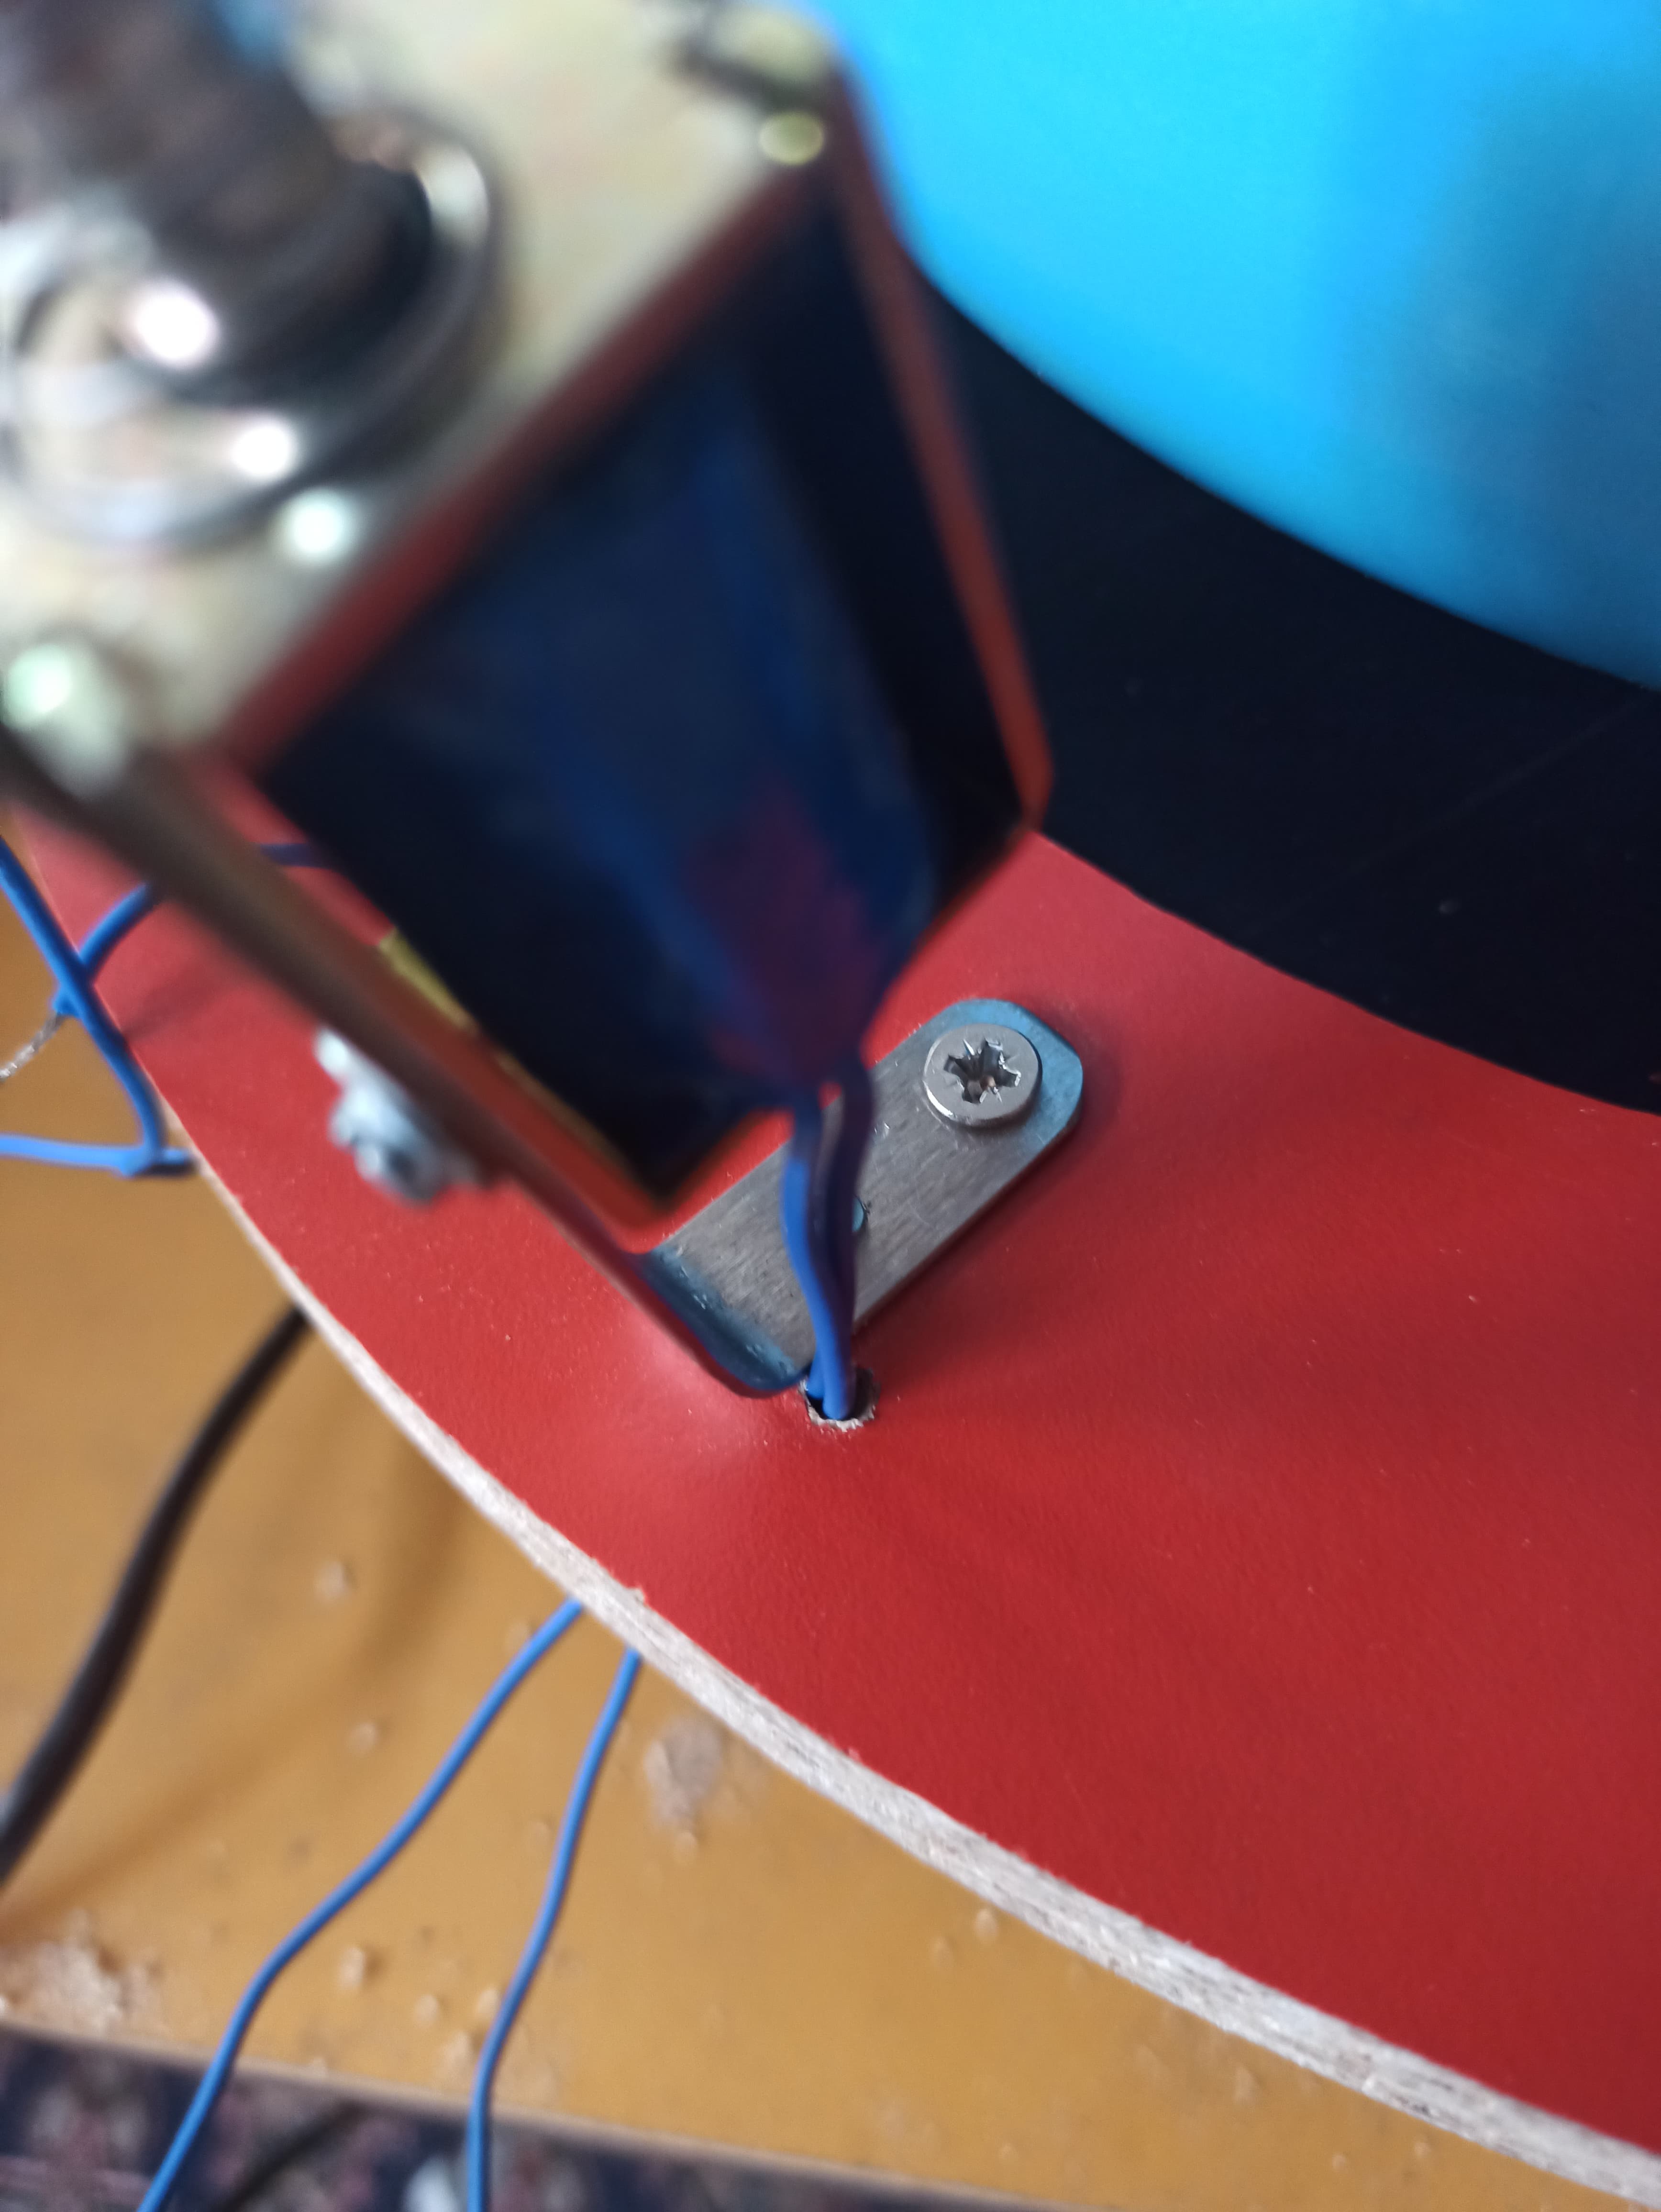
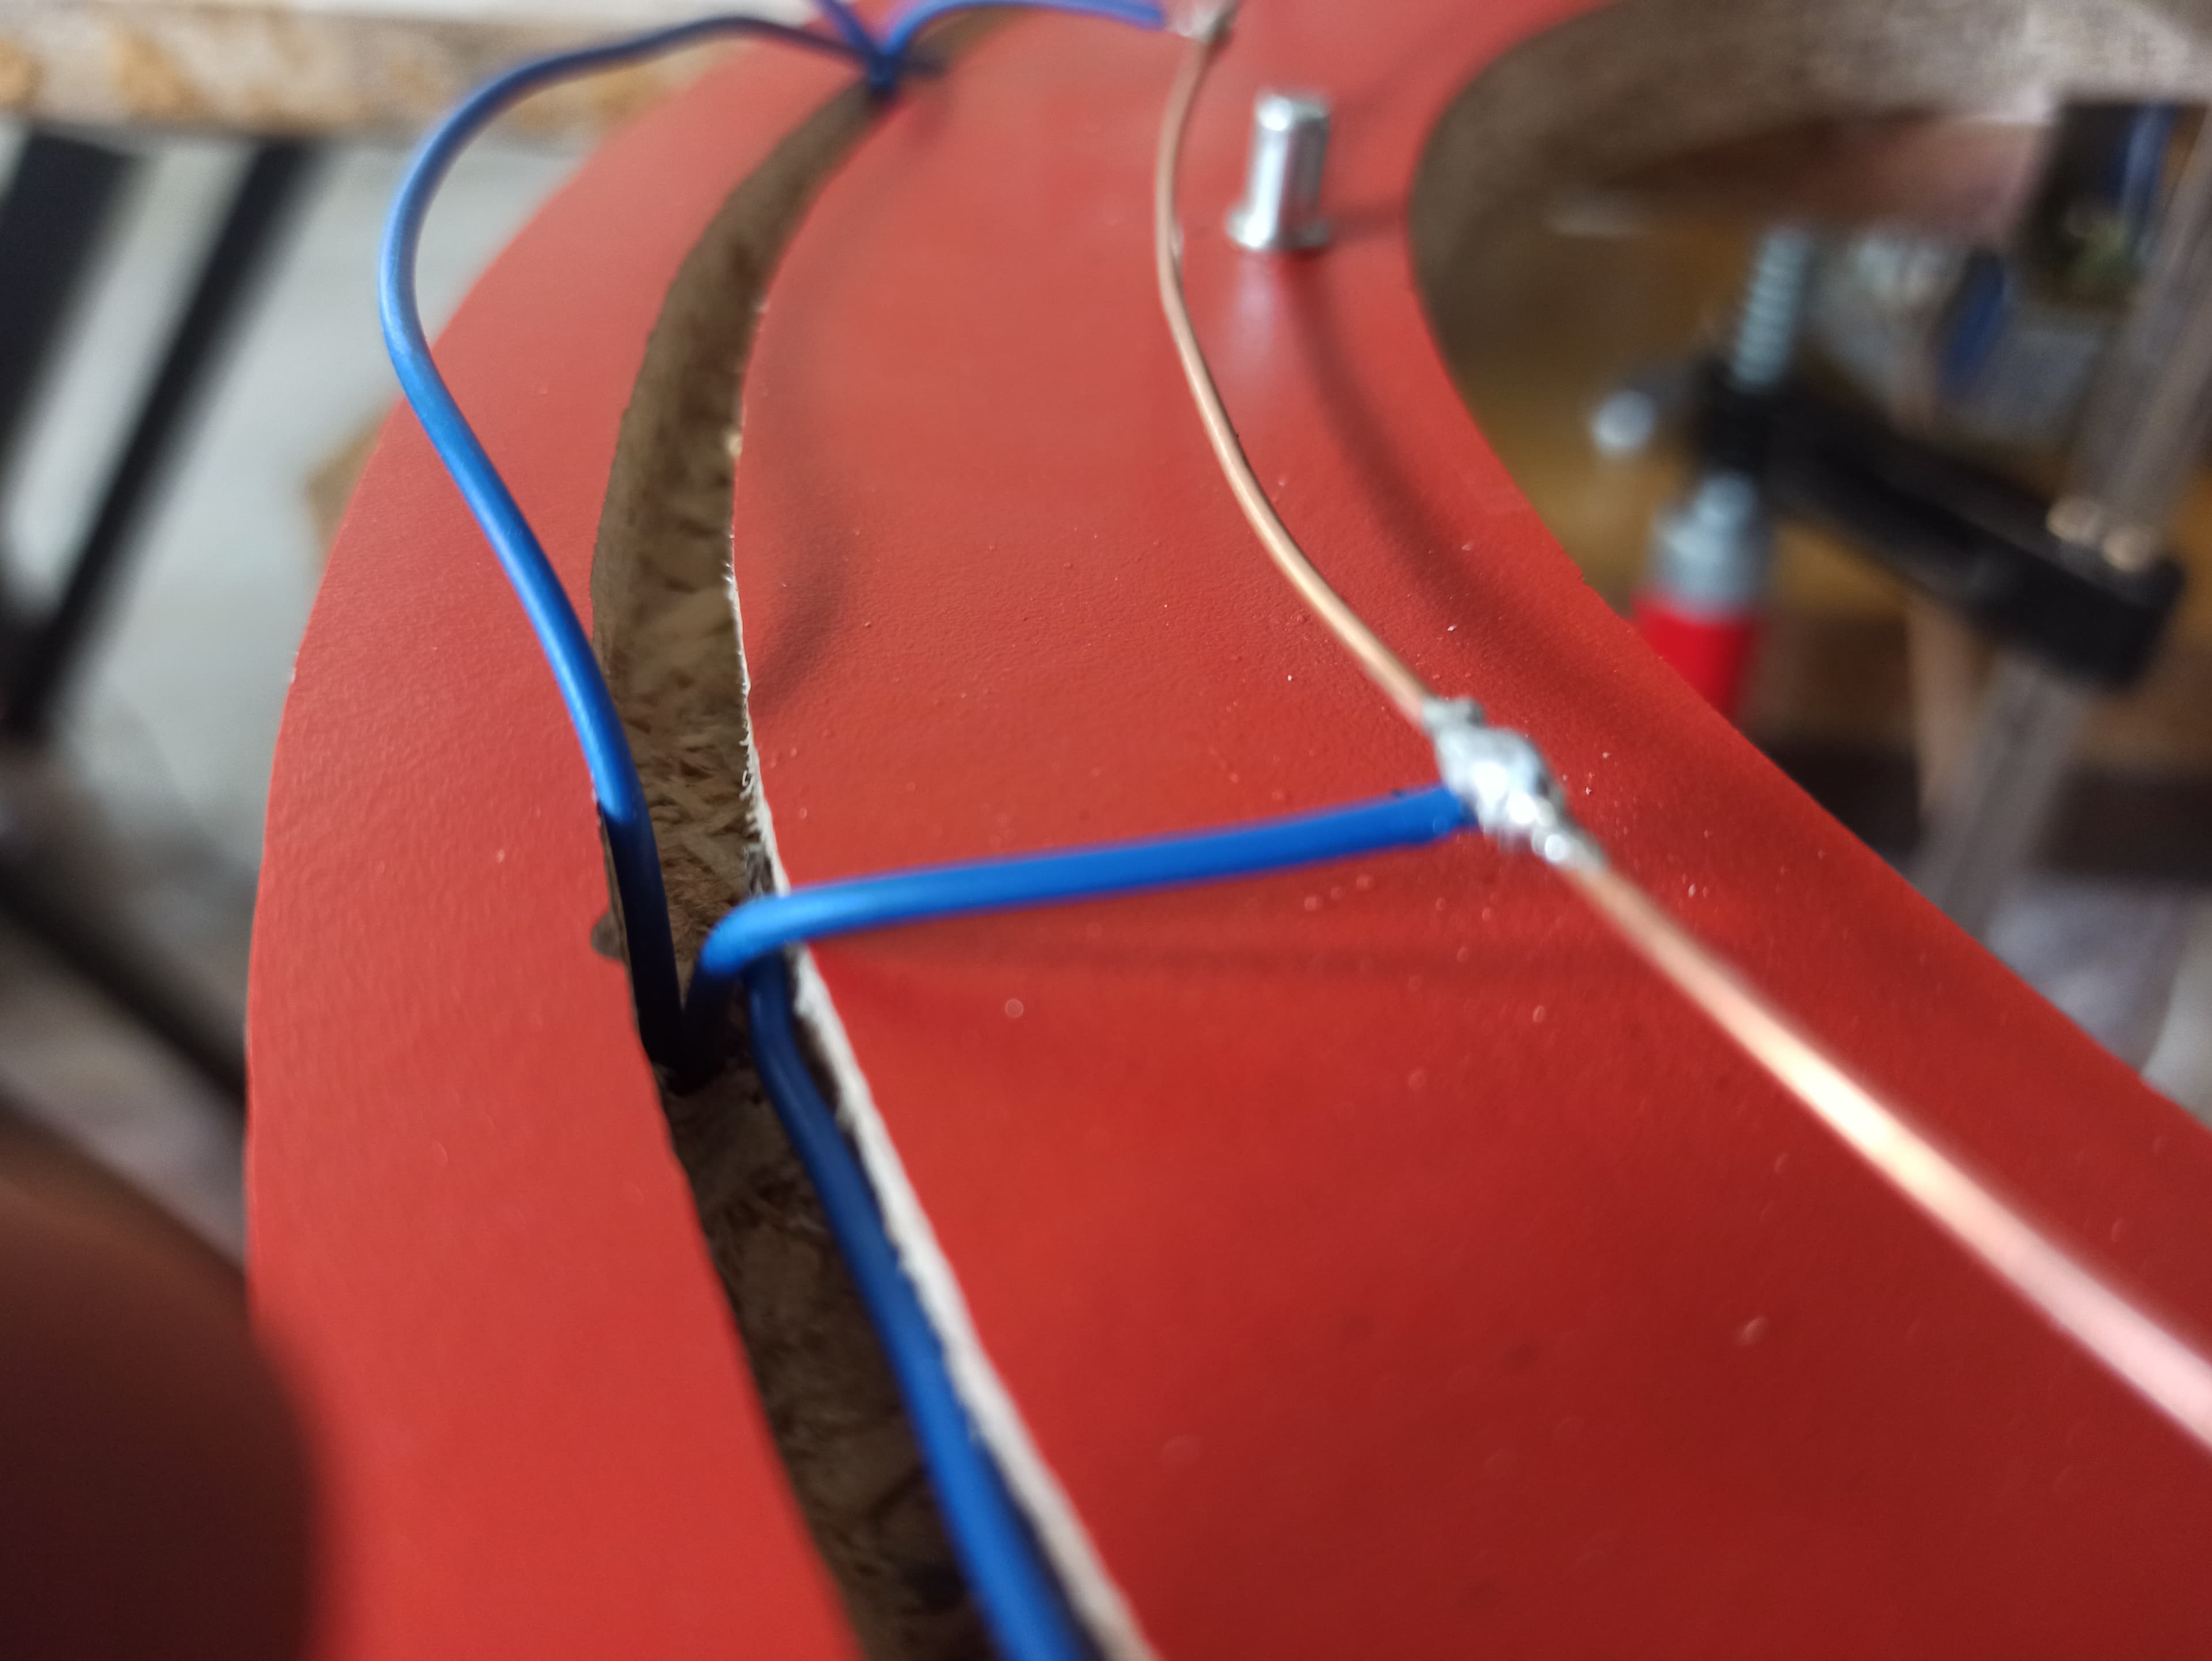
The mechanics required several iterations to produce even and reproducible strikes.
Parts list
The following components were used for the build:
- 1× MIDI jack
- 1× optocoupler (6N138)
- 1× Arduino Uno
- 2× shift registers (74HC595)
- 1× MIDI cable
- 1× 24-volt power supply
- 1× 5–9-volt power supply
- 11× MOSFETs
- 1× capacitor
- 2× 220 Ω resistors
- 1× 4.7 kΩ resistor
- 11× 999 Ω resistors
- 12× diodes
- 14× connectors
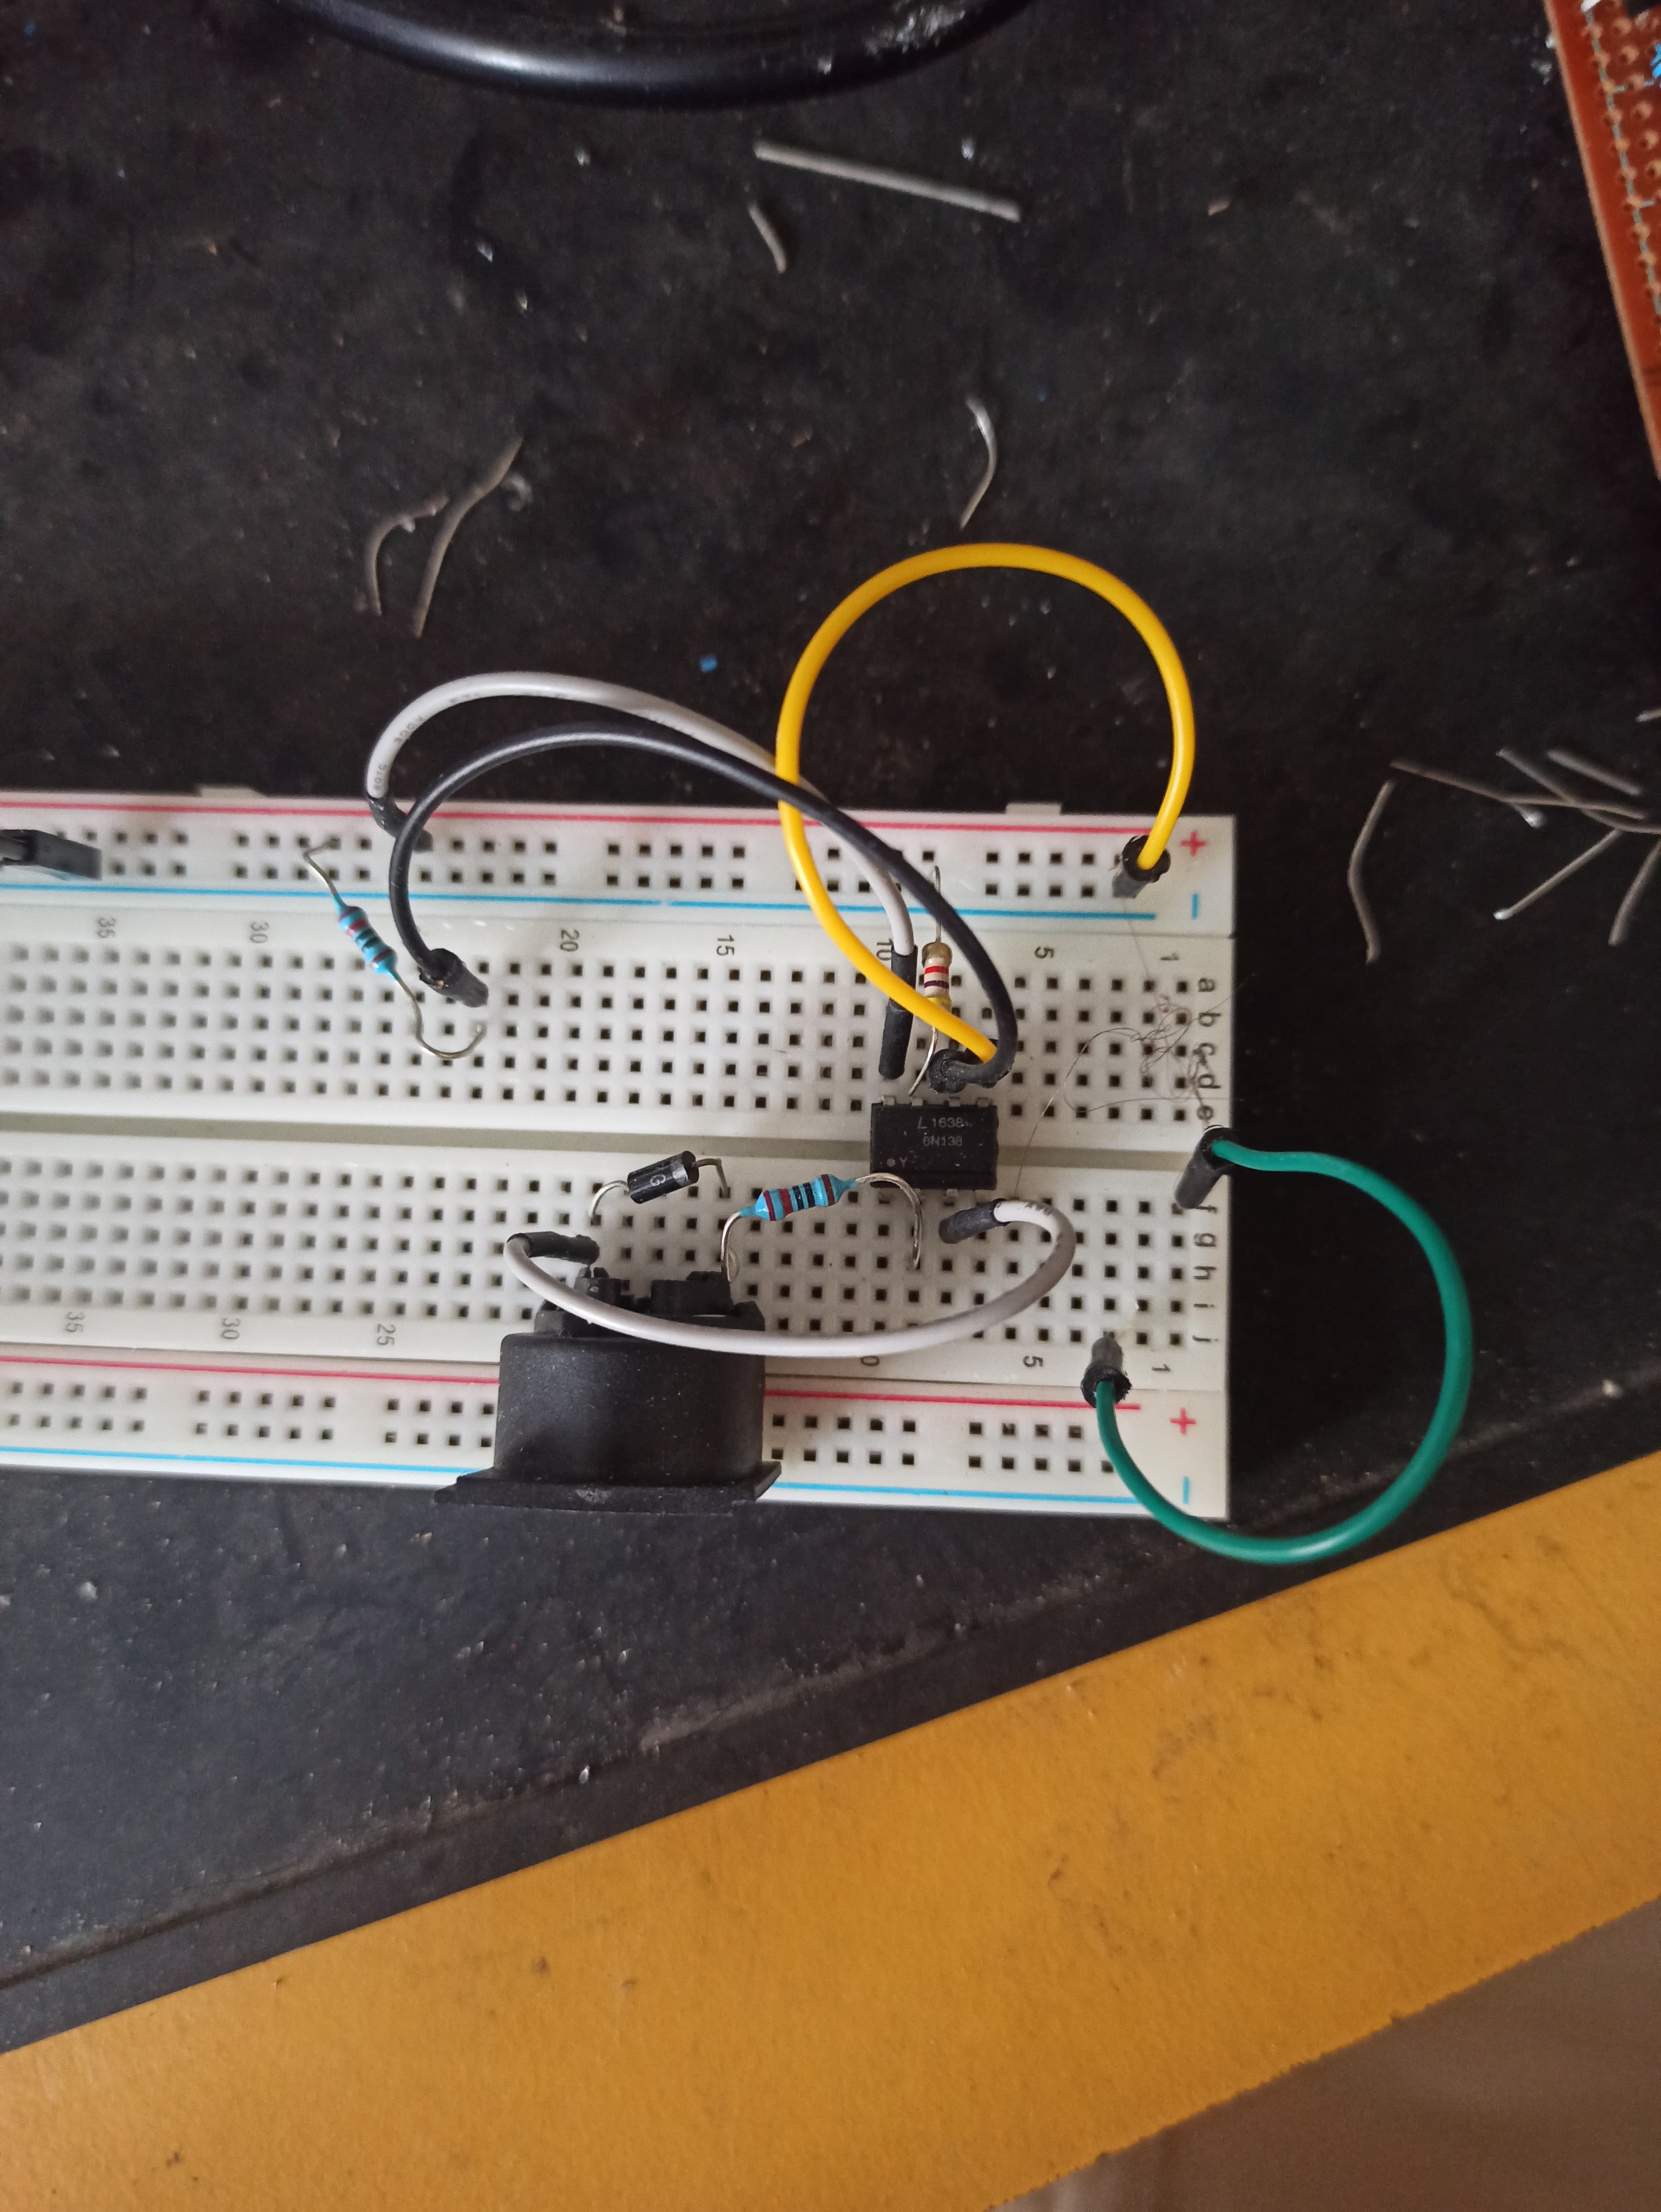
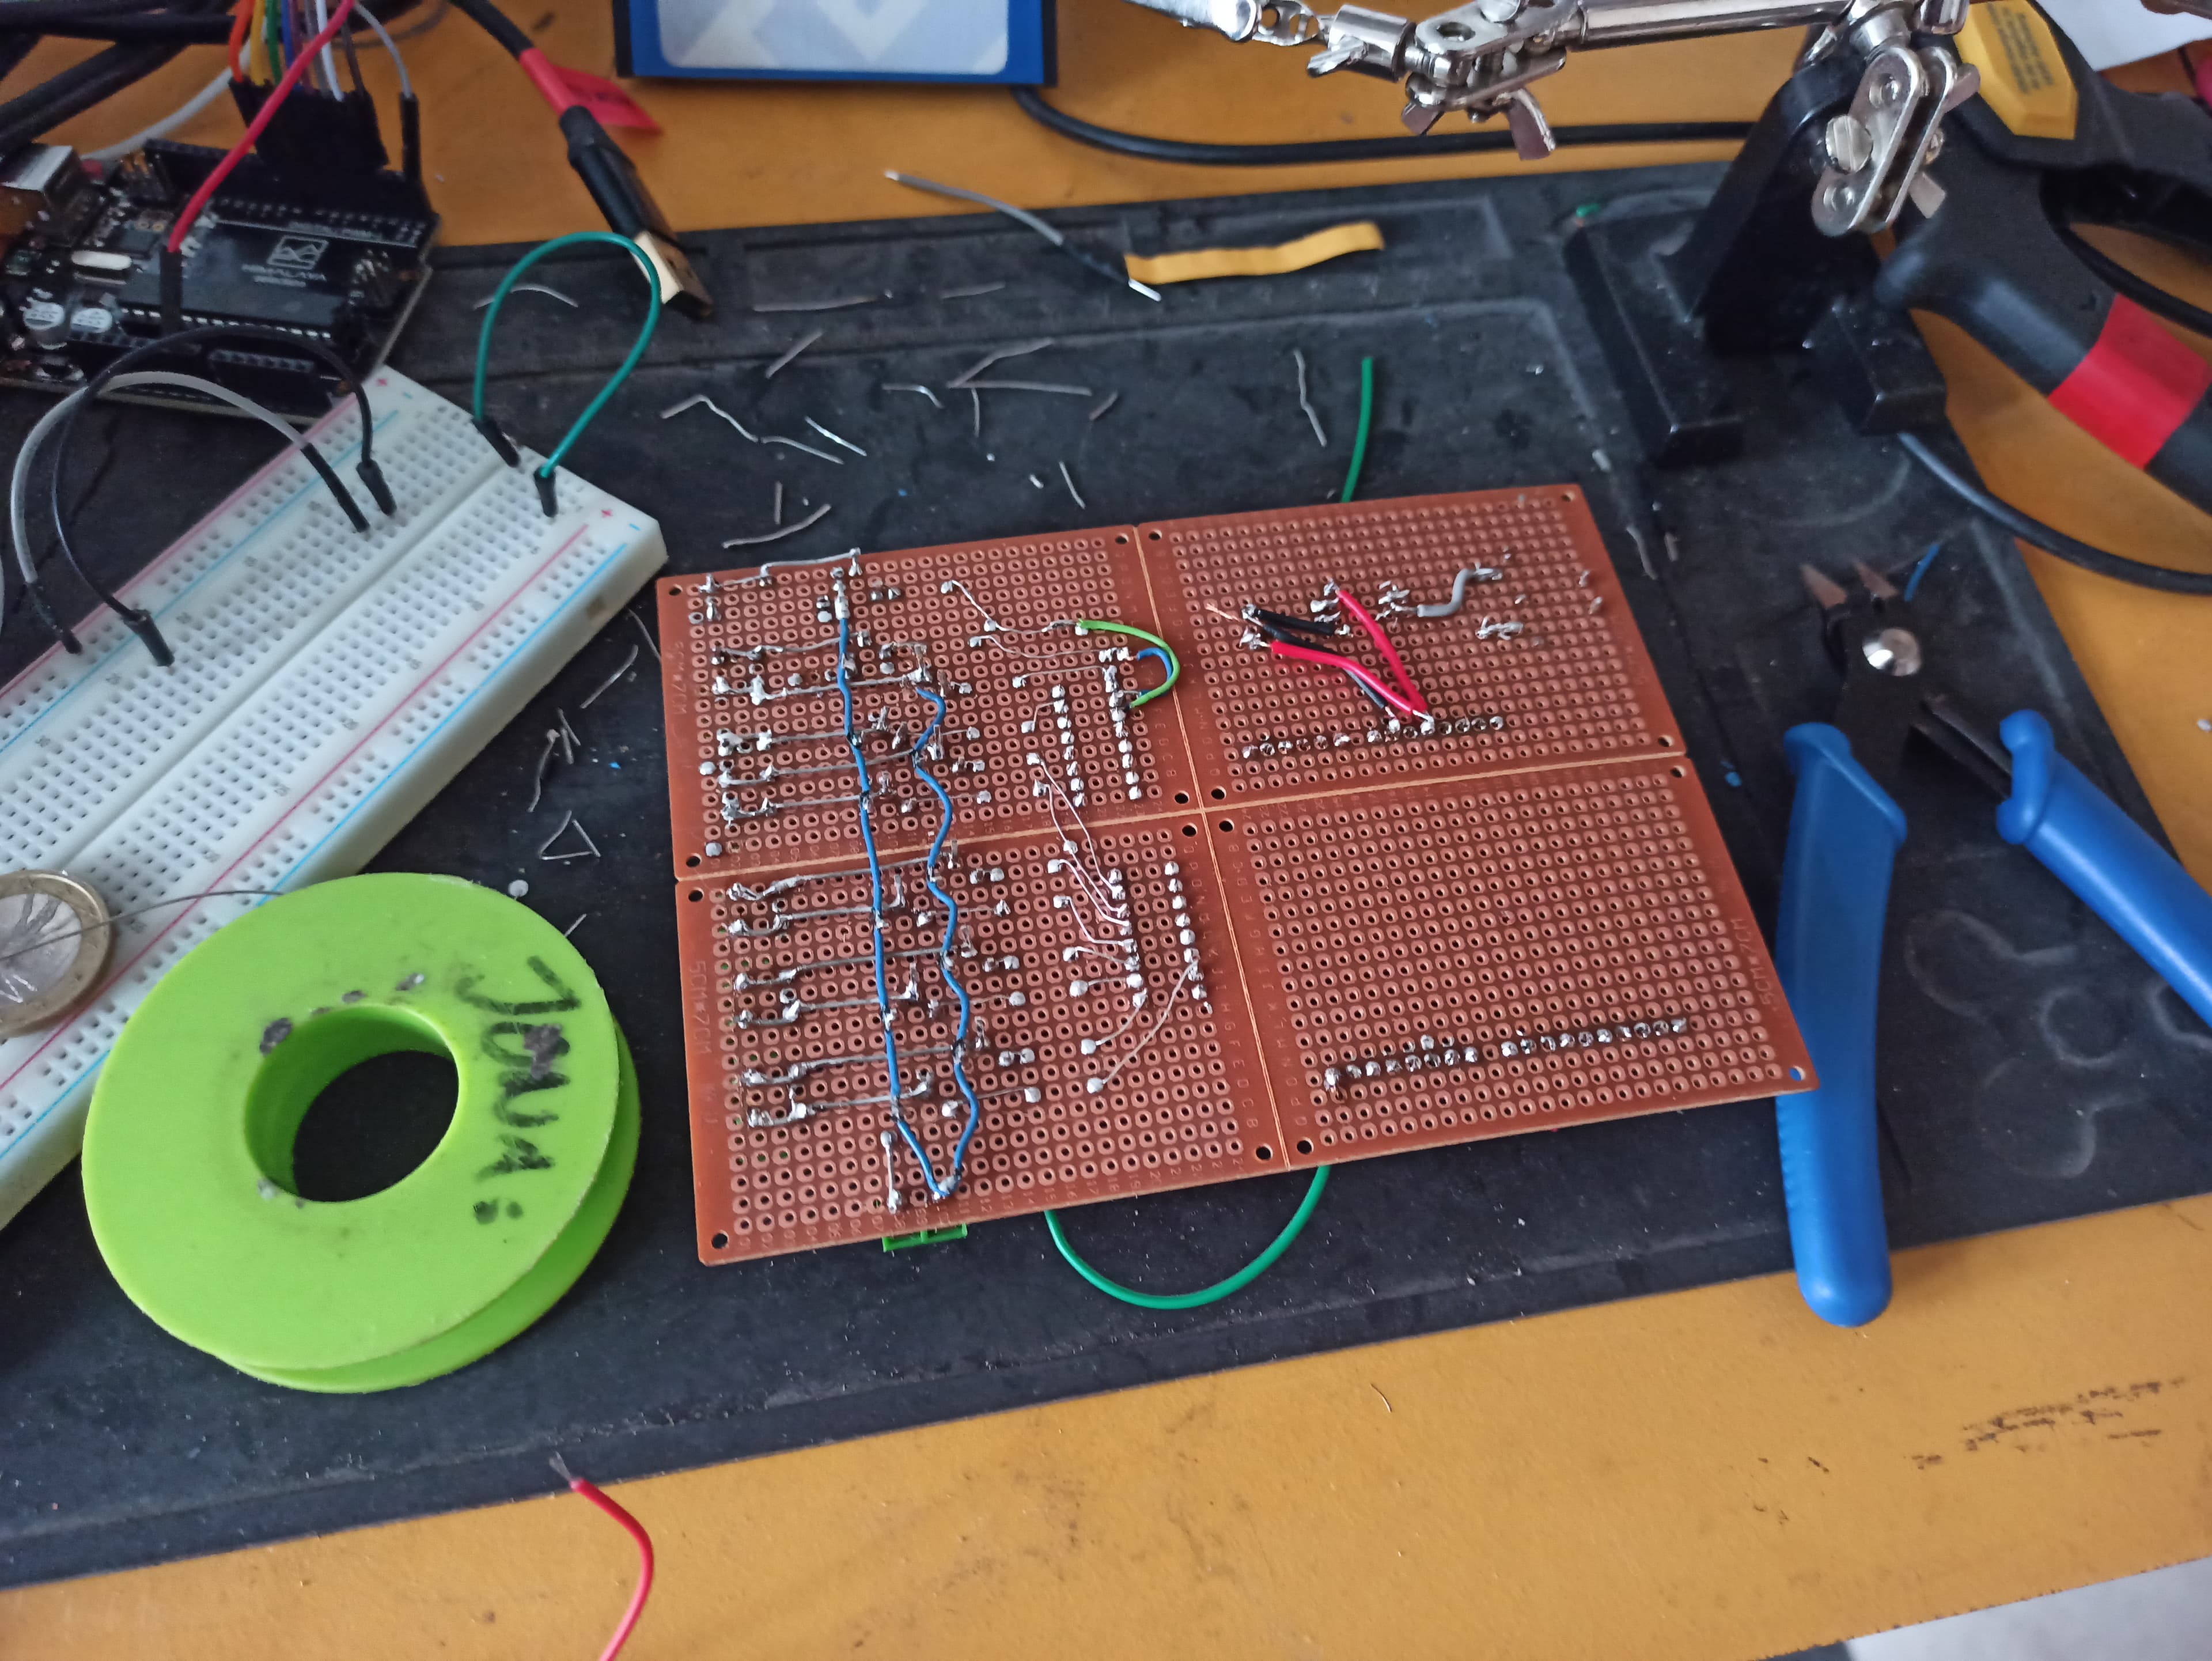
The prototype's electronics during the build. Visible are the soldered connections between the Arduino Uno, the shift registers, and the power drivers for the solenoids.
Conclusion
The Steel Tongue MIDI Player shows how digital and acoustic music worlds can be connected. Out of a simple MIDI signal, a physical sound on a traditional instrument is created through microcontrollers, power electronics, and mechanics. A similar approach — translating digital signals into physically perceptible effects — is also behind the DIY LED Music Visualizer, which turns music into light.
The project unites creativity, electronics, and programming, and makes clear that exciting technical experiments don't always have to serve a practical purpose. Sometimes the question is enough: "Wouldn't it be cool if this worked?" — and suddenly a steel tongue drum plays by itself.
The finished prototype during testing.