
DIY LED Music Visualizer with WLED & LedFx
February 11, 2025
This post was translated into English by AI. Read the original →
Project description
The Novum Kollektiv events needed light that reacts to the music — without expensive event technology. Out of that came a DIY LED music visualizer: an addressable LED strip that reacts to audio in real time via two open-source projects — WLED on a microcontroller and LedFx on the laptop.
The appeal lay in the combination of low cost and extensibility. The hardware could be sourced from common mail-order shops, the build needed only a few components, and the software is free. At the same time, the system can be extended by any number of devices and reconfigured for different rooms and events.
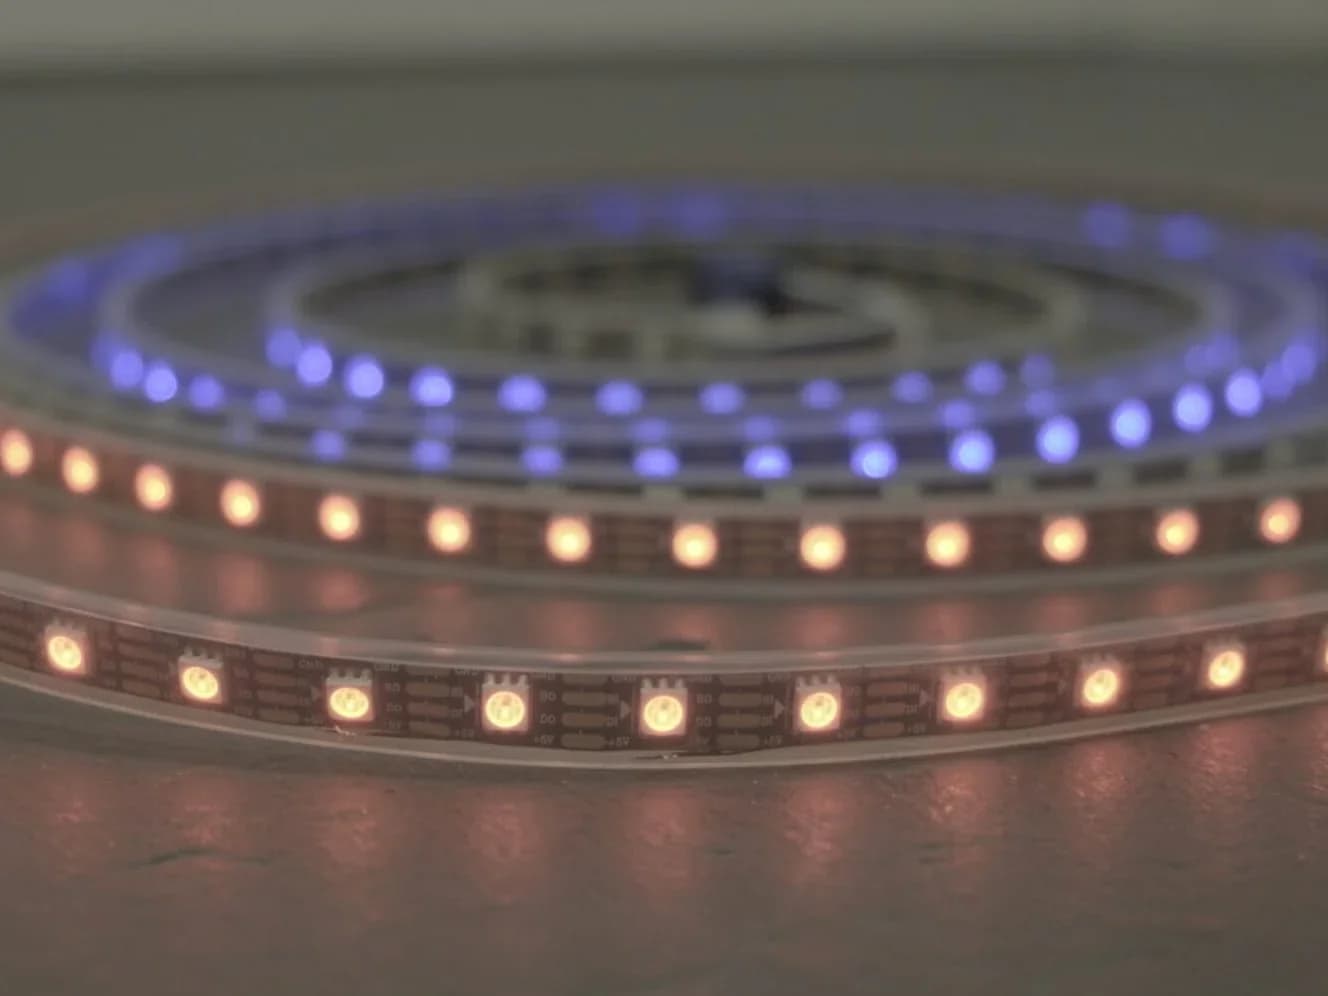
The addressable WS2812B strip in operation. Every pixel can be controlled individually in color and brightness.
The hardware
I deliberately chose a 5-volt system with addressable LEDs. Addressable strips have a small integrated microcontroller in each LED that receives the data signal over a serial line. The most common protocol is WS2812B: each pixel consists of three sub-LEDs in red, green, and blue with eight bits each — so 256 brightness levels per color. The first pixel takes the first 24 bits of the data stream and passes the rest to the next (serial cascading).
It's exactly this individual addressing that's the prerequisite for effects like running lights or frequency bands to become possible at all later on.
Power supply and the decisive rule of thumb
At full brightness, each color draws around 20 mA — so a white pixel about 60 mA. This value is the most important rule of thumb of the whole project: at 300 pixels, that theoretically yields 18 amps (300 × 60 mA = 18,000 mA). Accordingly, I chose a power supply with 5 V and 20 A. It's important that the power supply delivers exactly 5 volts, so as not to damage the components.
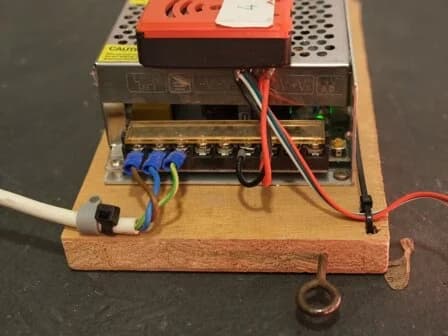
The power supply with a grounded plug. For the mains side I reused a defective power cable and fitted the open end with cable lugs.
Controller: why ESP8266 instead of ESP32
An ESP8266 was used as the control unit. The advantage over the more powerful ESP32 is quite practical here: the ESP8266 works at 5 volts and can therefore be powered directly from the same power supply as the strip — the signal doesn't have to be elaborately converted to a different voltage level. One component less, one source of error less.
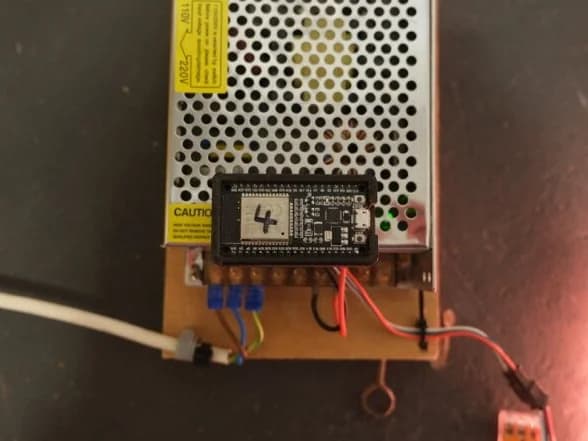
ESP8266 and power supply on a shared carrier board. An optional 3D-printed holder simplifies mounting.
Wiring
When wiring, there's a simple but important rule of thumb: where a lot of current flows, the cables have to be thick and short. Otherwise the cable's resistance leads to a voltage drop, and at up to 18 amps that quickly matters.
Between the power supply and the strip I therefore use the strip's thicker cable, crimped with cable lugs and routed via matching connectors. For the ESP, thin signal cables suffice, since its power consumption is negligible — only three connections are needed: Vin, GND, and the signal on GPIO 13.
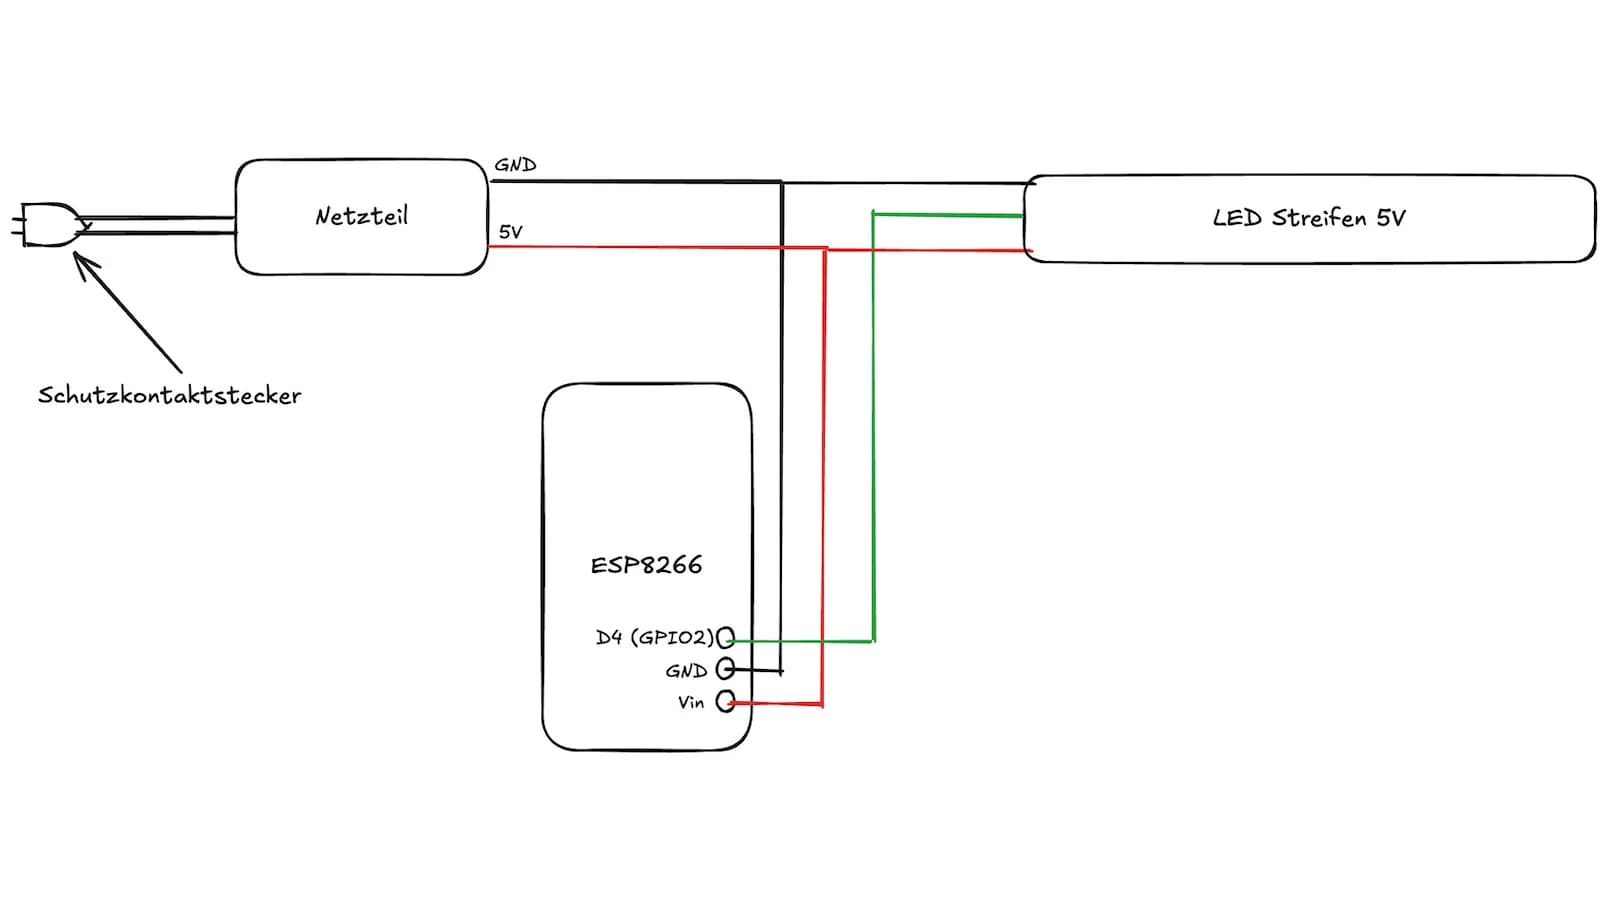
The schematic of the build: the power supply feeds both the strip and the ESP, and the signal runs over GPIO 13 to the first pixel.
The parts list stayed correspondingly manageable:
- Power supply with 220 V input and 5 V / 20 A output voltage
- ESP8266
- 5 m WS2812B LED strip with 300 pixels
- Power cable, cable lugs, matching connectors, and a socket header
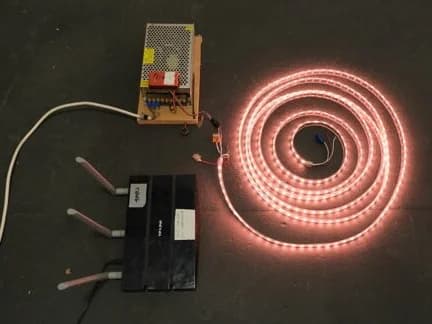
The coiled strip with a connected controller — compact enough to take along to events.
The software is the real rig
As with other projects, it showed here too: the mechanics, or rather the electronics, were only half the battle. To turn the light element into a music visualizer, you need a whole signal chain of laptop, LedFx, router, WLED, and strip.
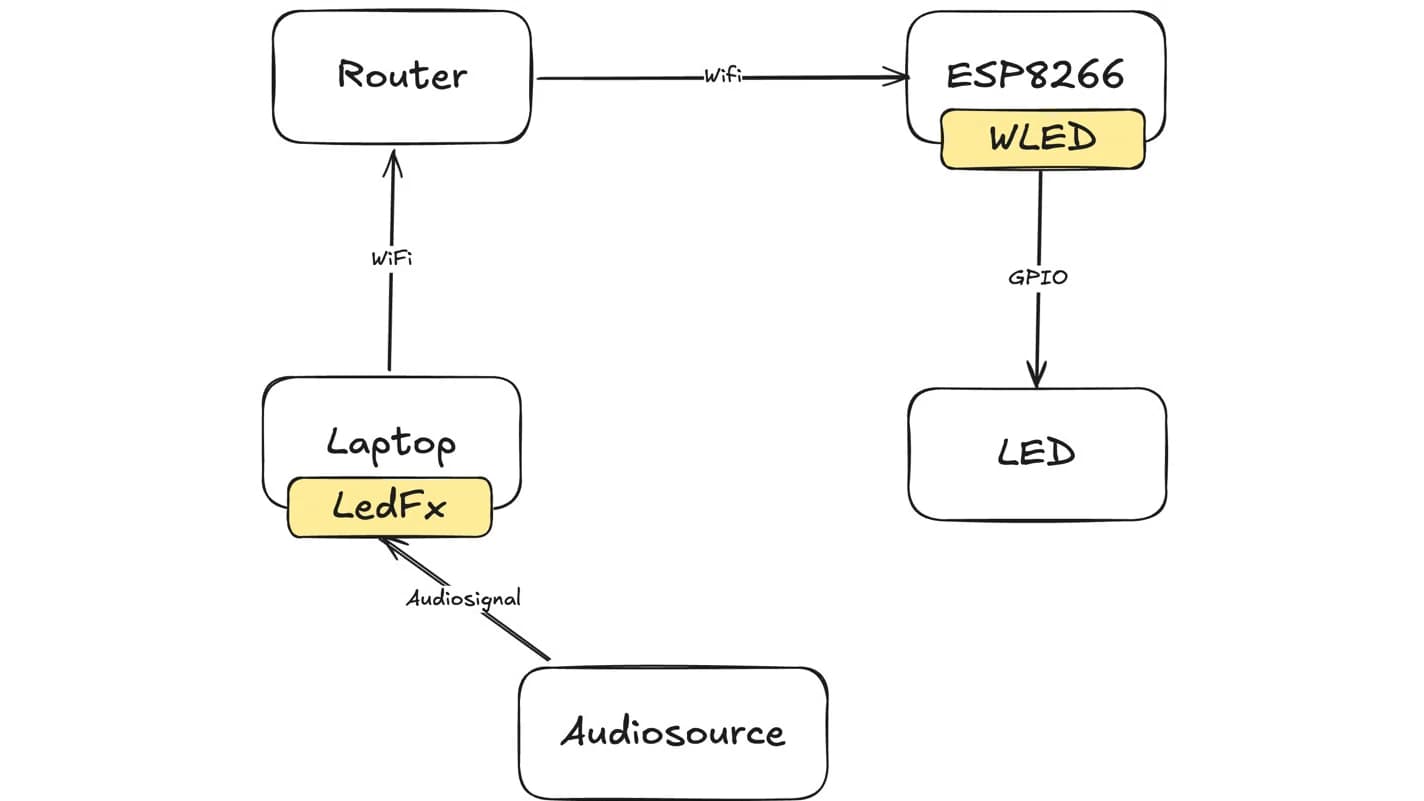
The signal chain: the audio signal is analyzed on the laptop by LedFx, the effect commands go via the router to the ESP8266, and WLED translates them into the protocol for the strip.
What's remarkable is the division of labor: the compute-intensive audio analysis doesn't happen on the microcontroller, but on the laptop. WLED itself can do audio-reactive effects, but I deliberately didn't use that function. LedFx breaks the audio signal down into frequency bands on the computer and sends only finished light commands over the network. The ESP8266 therefore only has to receive and output — and via the same router, several devices can be controlled in sync at once.
Flashing and setting up WLED
Via install.wled.me, the ESP can be flashed with the WLED firmware directly in the browser. Afterward, in the web interface under Config → LED Preferences, I set two things: the brightness limiter to 18,000 mA (so the power supply isn't overloaded) and the GPIO to 13. Under WiFi Setup, the device connects to the same network as the laptop, so LedFx finds it. Optionally, I set up an mDNS so the device is reachable on the network at http://wled1.local.
Configuring LedFx
LedFx handles the audio processing. After starting, the interface opens at http://127.0.0.1:8888/. The setup wizard finds the ESP8266 automatically on the network and lets you select the audio source. After that the device appears under Devices, where various effects can be tried out — some audio-reactive, others not. Successful settings I save as presets, and via scenes several devices and effects can be combined into one overall picture.
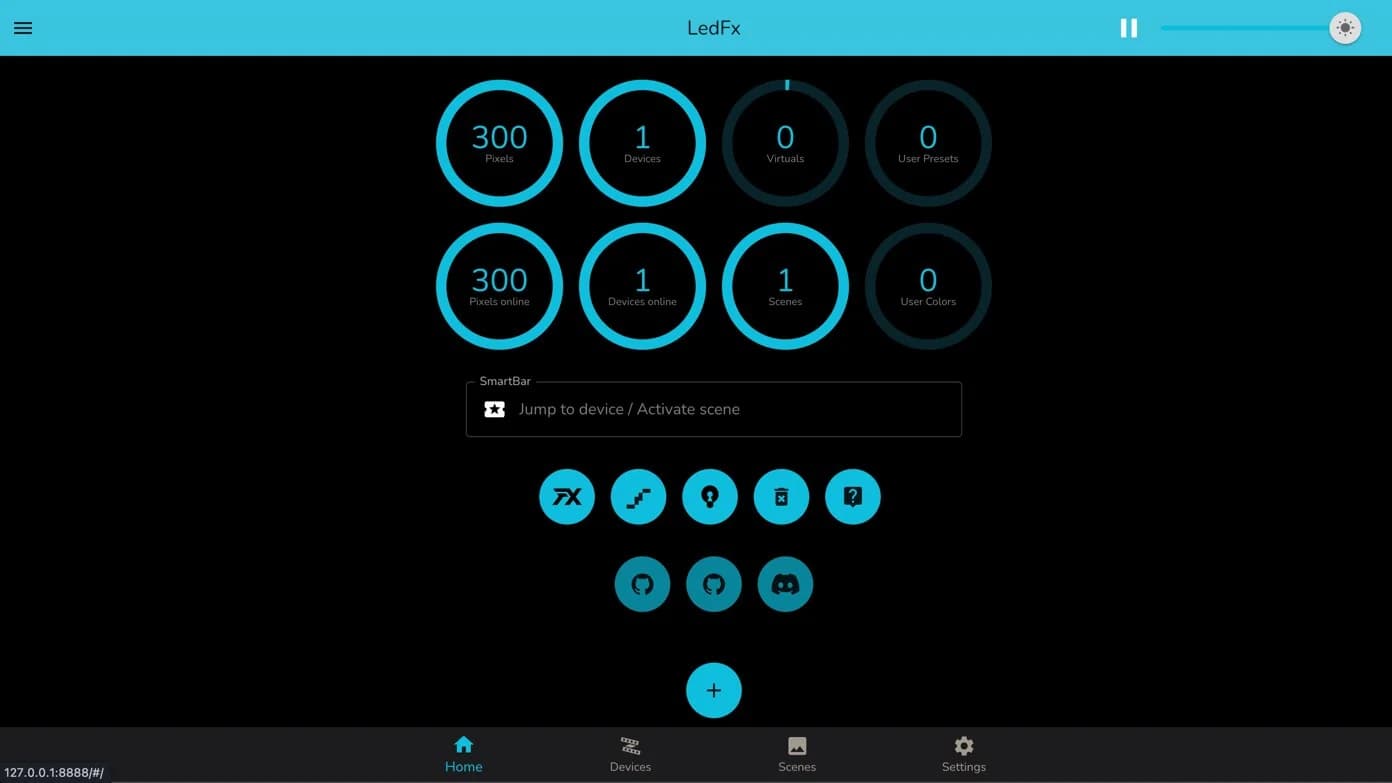
The LedFx interface: this is where audio analysis, effect selection, and the control of multiple devices come together.
The result
In operation, music turns into a live light picture. Two short showcases show the system in action:
What I learned
The project showed me how far you can get with cheap hardware and good open-source software. Three things in particular I take away:
Power is the real hurdle, not the lighting. The rule of thumb of 60 mA per pixel, the right power supply, and short, thick lines decide whether the installation runs stably and safely — the effects are in the end the easiest part.
Move tasks to where they belong. Offloading the audio analysis onto the laptop and letting the ESP only receive keeps the hardware simple and makes the system arbitrarily extensible over the network.
Open source lowers the barrier to entry drastically. WLED and LedFx turned a manageable materials budget into a flexible tool that I could redeploy and adapt again and again for different events.
A more detailed explanation of how it works — from addressable LEDs through the streaming protocols to the effect chain — I've recorded in the accompanying article Music-Reactive LEDs with WLED and LedFx.